
Many homeowners find themselves asking, “Can you drill into vinyl siding?” Whether you’re looking to mount a new mailbox, hang decorative items, or secure fixtures, the integrity of your home’s exterior is at stake. Drilling into vinyl siding isn’t just a question of possibility; it’s about doing it the right way to avoid damage and maintain your home’s aesthetic appeal.
Can You Drill Into Vinyl Siding? Yes, you can drill into vinyl siding if you do it carefully. The key is to pre-drill holes slightly smaller than the screws or anchors you’ll use, ensuring they grip securely without cracking the siding. Always check for wires or pipes before drilling, and consider the siding’s expansion and contraction due to temperature changes.
Embarking on this task requires more than just a drill; it involves understanding the nuances of the material you’re working with. This blog will guide you through the necessary steps and precautions to successfully drill into your vinyl siding without causing damage. We’ll cover everything from selecting the right tools and techniques to understanding the long-term implications of your modifications. Get ready to tackle your home improvement project with confidence and know-how!
Pre-Drilling Considerations to drill into vinyl siding
Assessing the Condition of the Vinyl Siding
Before commencing any drilling project on vinyl siding, it is crucial to thoroughly examine the condition of the siding. Look for signs of wear, damage, or brittleness as these factors can significantly impact the siding’s ability to withstand drilling.
Ensure that the siding is clean and free from dirt or debris, which could affect the drill’s precision. A well-maintained siding not only ensures a smoother drilling process but also minimizes the risk of unintended damage during the operation.
Identifying Suitable Locations for Drilling
Choosing the right location to drill into vinyl siding is a critical step. It’s essential to avoid areas that are structurally weak or prone to moisture accumulation.
Ideally, look for locations that are reinforced or have existing fixtures, as these spots can support additional hardware. It’s also important to consider the aesthetic impact of drilling; strategic placement can minimize visibility of the drill holes and hardware.
Be mindful of underlying structures such as wiring or plumbing to avoid costly mistakes.
Potential Risks and Precautions
Drilling into vinyl siding comes with inherent risks, such as cracking and water damage. To mitigate these, use a drill bit that is appropriate for the siding’s thickness and material. Drilling at a steady, controlled speed helps prevent cracking, while avoiding excessive force preserves the integrity of the siding.
To prevent water infiltration, which can lead to mold and structural damage, seal the drill holes properly after installation. It’s also advisable to check weather forecasts to avoid drilling during adverse conditions, which could exacerbate these risks.
Necessary Tools and Materials for Drill

Listing Essential Drilling Equipment
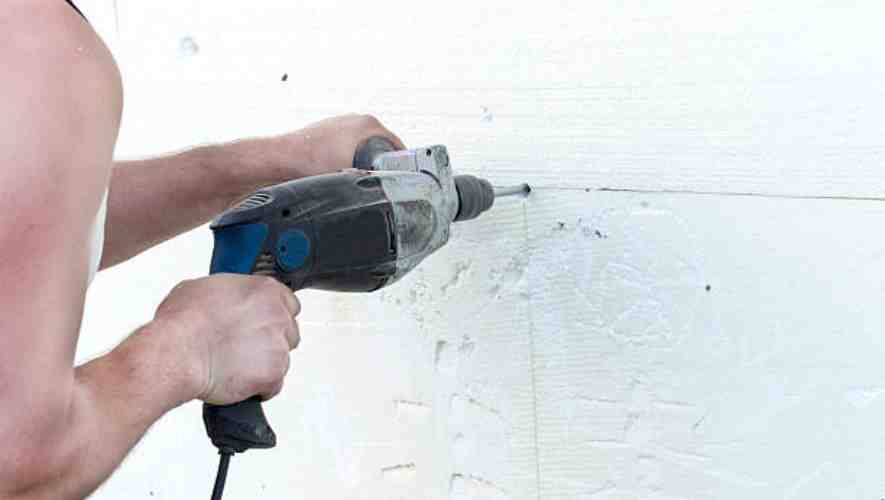
When undertaking any drilling project, it’s crucial to have the right equipment at hand. A high-quality power drill is the cornerstone of your toolset one with adjustable speed settings to cater to different materials.
A set of drill bit extensions can be invaluable for hard-to-reach areas. Ensure you have a sturdy ladder or step stool if height is a factor in your project. Lastly, safety gear, including goggles and gloves, is essential to protect against debris and accidents.
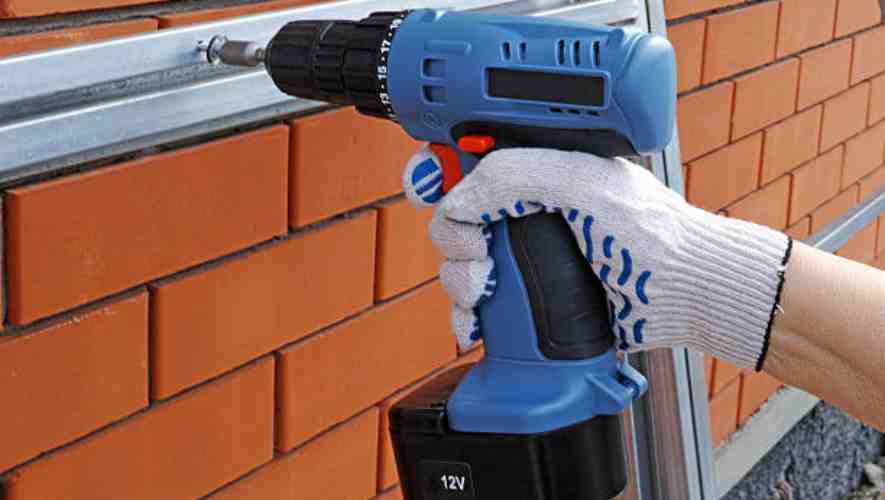
Selection of Drill Bits for Vinyl Siding
Choosing the appropriate drill bits for vinyl siding is vital for a clean and efficient job. For this specific task, HSS (High-Speed Steel) drill bits are generally recommended due to their durability and ability to cut through tough materials.
A set of twist drill bits in various sizes ensures versatility across different tasks. It’s important to select bits with sharp, precise tips to avoid cracking or damaging the vinyl. For larger holes, consider using a hole saw attachment, which makes the job easier and more precise.
Additional Materials for Sealing and Finishing
After drilling, it’s important to seal and finish the area to prevent water damage and maintain aesthetics. Silicone caulk is excellent for sealing any gaps or holes, as it’s waterproof and flexible.
Caulk guns aid in the precise and controlled application of the sealant. For a polished finish, use color-matched vinyl caps or paint to cover the drill holes, ensuring they blend seamlessly with the surrounding siding.
Lastly, have some cleaning materials handy, like a damp cloth or sponge, to clean any residue or markings left during the drilling process.
Step-by-Step Drilling Process
Detailed Instructions for Drilling into Vinyl Siding
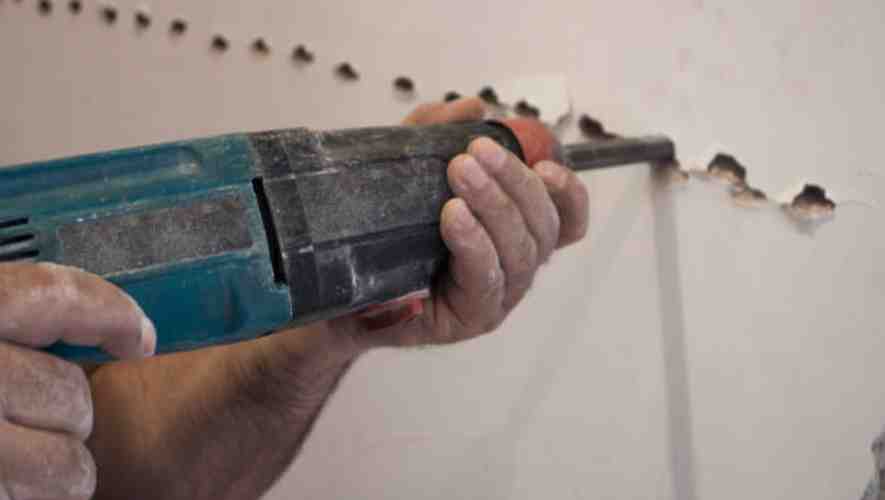
When drilling into vinyl siding, it’s essential to consider the material’s unique properties. Vinyl is prone to cracking and splitting, so start with a small pilot hole. This initial step reduces the risk of damaging the siding.
Gradually increase the drill bit size to your desired diameter, ensuring each step is done delicately. Using a piece of masking tape over the drilling area can also help in minimizing splintering. Drill during warmer weather, as vinyl becomes more brittle and prone to cracking in cold temperatures.
Techniques to Minimize Damage
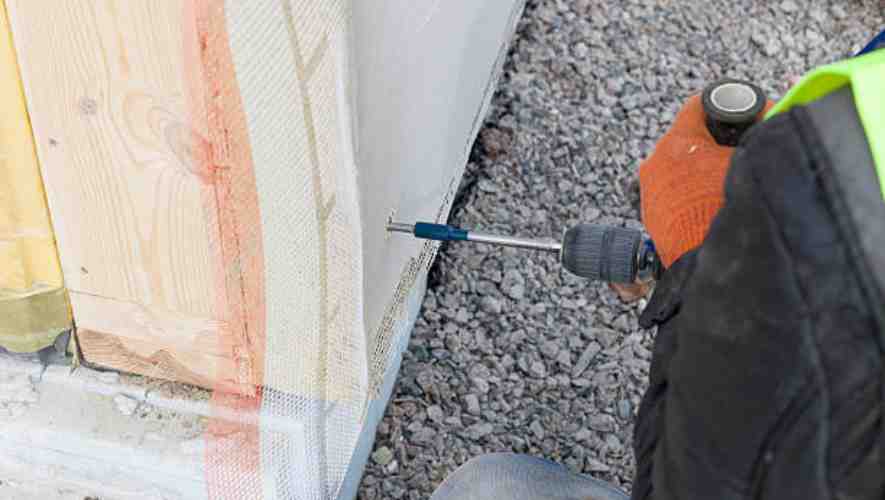
To minimize damage when drilling into vinyl siding, several techniques are essential. Firstly, always use sharp drill bits to ensure clean cuts and prevent the material from tearing. Avoid using excessive force; let the drill do the work.
If possible, drill into the siding where it overlaps, as this area is less visible and reduces the chance of noticeable mistakes. Lastly, consider using a backing material behind the siding to support it during the drilling process, thus reducing the risk of buckling or cracking.
Tips for Maintaining Aesthetic Consistency
Maintaining the aesthetic consistency of your vinyl siding post-drilling is crucial. Begin by selecting caps or covers that match your siding color and texture. If drilling for a fixture, ensure it’s complementary to the siding.
For unavoidable visible holes, use a caulk that matches the siding color to seal and conceal the drilled area. Regular cleaning and maintenance of the siding around the drilled area are also essential to prevent discoloration and maintain a uniform appearance. Remember, the goal is to make the drilled sections appear as seamless as possible.
Post-Drilling Procedures
Sealing and Protecting Drill Holes
After completing drilling operations, it’s crucial to seal and protect the drill holes to maintain structural integrity and prevent environmental damage. This involves applying durable sealants that not only adhere to the surrounding materials but also withstand varying conditions.
The choice of sealant depends on the material of the structure and the environmental factors it faces. Proper application ensures longevity and reduces the need for frequent maintenance, thus safeguarding the structure against moisture, pests, and other potential intrusions.
Ensuring Weather Resistance and Insulation Integrity
Post-drilling, ensuring weather resistance and insulation integrity is paramount in environments exposed to extreme weather conditions. This step involves inspecting and reinforcing the insulation around the drilled areas. It’s important to use materials that provide effective thermal resistance and prevent water ingress.
The insulation should seamlessly integrate with existing structures to maintain energy efficiency. Regular inspections and maintenance are vital to address any wear and tear and to adapt to changing environmental conditions.
Aesthetic Considerations and Touch-Ups
aesthetic considerations and touch-ups are essential in post-drilling procedures in visible areas. This involves using fillers and paints that match the surrounding surfaces to create a seamless look.
Attention to detail is key in this process, as it not only enhances the visual appeal but also contributes to the overall value of the property. Aesthetic touch-ups should be done with precision, using quality materials that are compatible with the existing surface to ensure a lasting and appealing finish.
Conclusion
Drilling into vinyl siding is feasible when done with precision and care. Pre-drilling holes smaller than your fixtures’ screws or anchors is crucial to prevent cracking. It’s imperative to be mindful of potential obstacles behind the siding and account for the material’s expansion and contraction.
As you conclude this project, remember that patience and attention to detail are your allies. While it’s possible to drill into vinyl siding effectively, doing so hastily can lead to unnecessary damage and future repairs. Consider the long-term appearance and integrity of your siding before proceeding. If in doubt, consulting with a professional can provide peace of mind and ensure your home’s exterior remains pristine and functional. Ultimately, your home is a reflection of your care and dedication, so take the steps necessary to maintain its beauty and structure. Happy drilling
