
If you’re reading this, you’re probably facing the stubborn challenge of removing rotor screws from your vehicle. These tiny but crucial components can become a significant hurdle, when they’re rusted or stripped. The reason you’re here is to find an effective method to tackle this common yet frustrating issue.
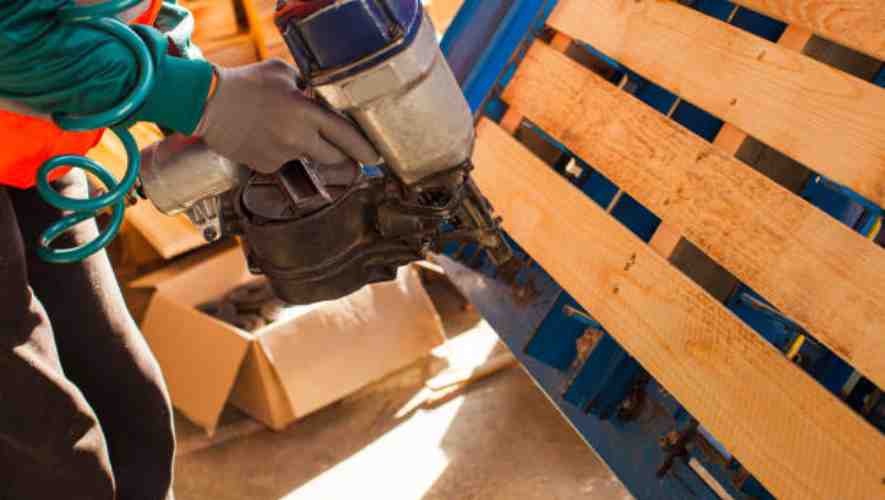
How To Drill Out Rotor Screws? Drilling out rotor screws is a practical solution when they’re too tight or corroded to be removed with a screwdriver. This process involves using a drill and a screw extractor to safely and efficiently remove the screws without damaging the rotor.
Think of this guide as your handy assistant in the garage, offering step-by-step instructions and useful tips. By the end of this article, you’ll not only have a clear understanding of how to drill out rotor screws but also the confidence to perform this task with ease.
Understanding Rotor Screws
Understanding rotor screws is pivotal in the field of mechanical engineering and aviation. These crucial components are responsible for the reliable and efficient operation of rotary mechanisms, particularly in helicopters.
Rotor screws, commonly referred to as rotor bolts, play a key role in securing the rotor blades to the rotor hub, ensuring stability and safety during operation.
Their design and material composition are meticulously engineered to withstand extreme forces and environmental conditions, making them vital for the longevity and performance of rotary-wing aircraft.
Step-by-Step Guide to Drilling Out Rotor Screws
Locating the Rotor Screws
Identifying the rotor screws is the initial step in the process. These screws are typically found securing the brake rotor to the hub. In most vehicles, they are visible upon removing the wheel. Ensure the vehicle is securely raised and supported on jack stands.
It’s crucial to have good lighting to accurately spot the screws. Clean any dirt or debris around the screws for better visibility. Remember, forcing the wrong component can cause significant damage.
Applying Penetrating Oil
Before attempting to unscrew, apply a generous amount of penetrating oil to the rotor screws. This oil helps in loosening rust and corrosion, making the removal easier.
Allow the oil to soak in for at least 15 minutes, or longer for severely rusted screws. While applying, ensure safety by wearing gloves and protective eyewear. Be patient; allowing the oil to work can significantly ease the following steps.
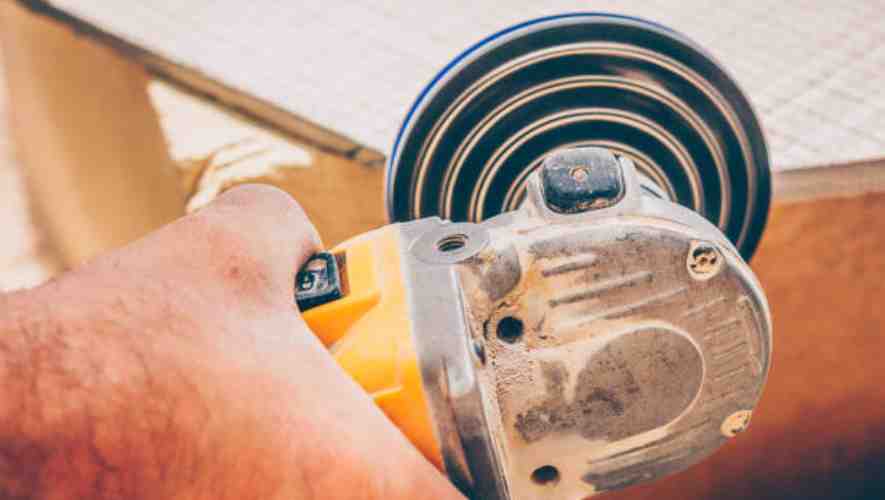
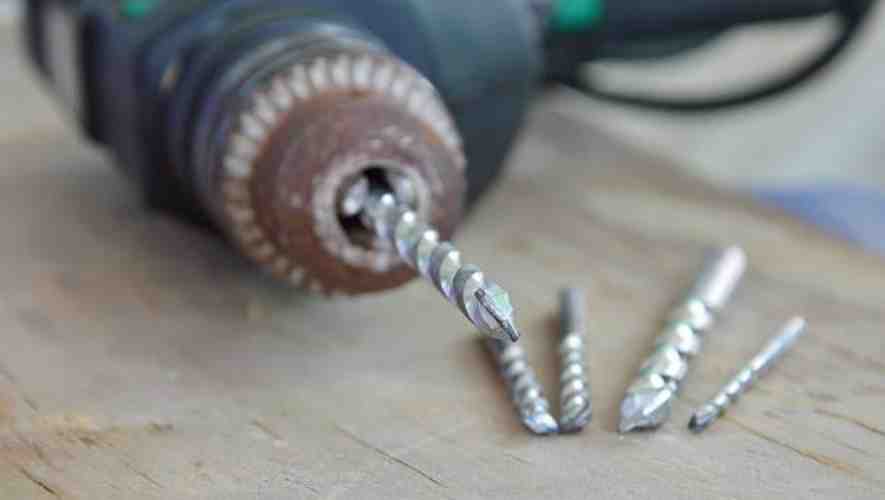
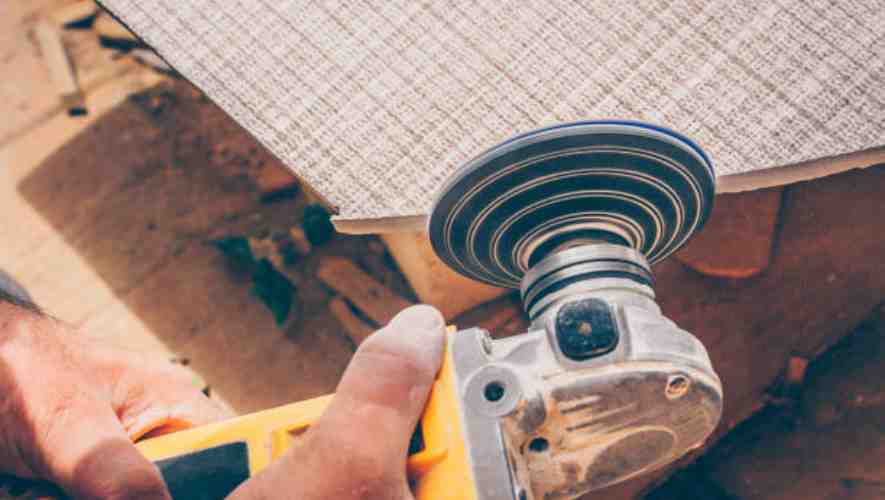
Choosing the Right Drill Bit
Selecting an appropriate drill bit is essential for this task. Use a cobalt or titanium bit that is slightly smaller than the screw’s shank.
The quality of the bit determines its ability to penetrate without breaking. It’s advisable to have multiple bits on hand in case of wear or breakage. Always wear safety glasses during drilling to protect your eyes from metal shavings.
Drilling a Pilot Hole
Carefully drill a pilot hole in the center of the screw. Start with a slow drill speed to establish a precise hole and gradually increase the speed.
Maintaining a steady hand is crucial to avoid damaging surrounding areas. If the drill bit starts to wander, stop and reposition. A well-placed pilot hole is key for the successful removal of the screw.
Drilling Out the Screw
Once the pilot hole is drilled, switch to a larger bit to drill out the screw. The aim is to remove enough material from the screw so it can be extracted easily.
Proceed slowly and check frequently to avoid drilling too deep. Excessive force can damage the rotor or the hub. Patience is vital in this step to ensure clean removal.
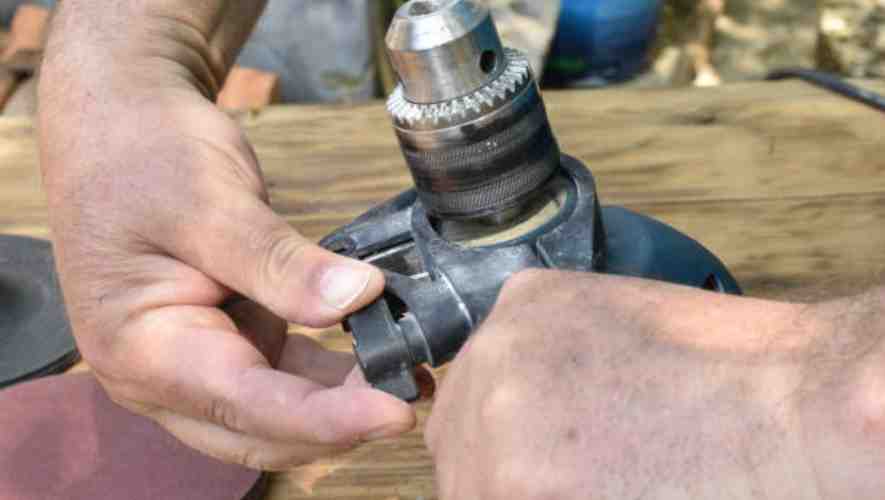
Removing Screw Remnants
After the main body of the screw is drilled out, remove any remaining fragments with pliers or a screw extractor.
Be cautious not to damage the threads in the hub. If necessary, clean the threads with a tap. Finally, inspect the area for any damage. Remember, safety is paramount, so wear gloves and goggles throughout the process
Tips and Warnings
Always work in a well-ventilated area.
Keep a fire extinguisher nearby when working with flammable penetrating oils.
If the screw does not come out, seek professional assistance to avoid further damage.
Tools and Materials Needed
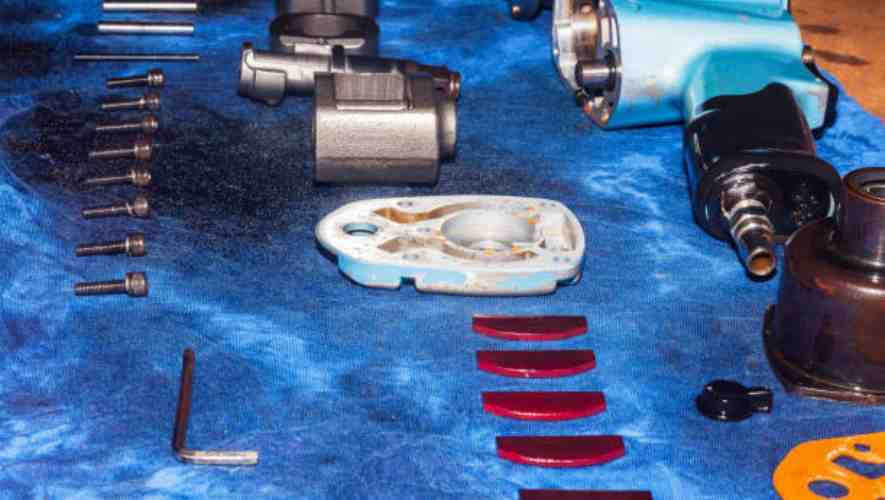
Essential Tools for Effective Work
To successfully undertake any project, certain tools are indispensable. Key among these are drills and drill bits, integral for creating precise holes in various materials.
A screw extractor is another vital tool, when dealing with stripped or damaged screws. These tools are essential for anyone looking to execute tasks efficiently and effectively, ensuring that the work is not only completed but done so with a high degree of precision.
Safety Equipment: A Must-Have
Safety cannot be overstated in any project. Essential safety equipment includes safety goggles, which protect your eyes from hazardous materials and debris. Gloves are equally important, safeguarding your hands from cuts, abrasions, and other injuries.
These pieces of safety equipment are not just accessories; they are crucial for maintaining a safe working environment, thereby preventing accidents and ensuring the well-being of everyone involved in the project.
Choosing the Right Tools for the Job
Selecting the right tools is critical for the success of any project. The key lies in understanding the nature of the task at hand. For precision work, opt for high-quality drill bits and a reliable drill. When dealing with stubborn screws, a sturdy screw extractor is indispensable.
Consider the material you will be working with and choose tools that are specifically designed for those conditions. Durability, ease of use, and compatibility with the task are paramount considerations. Remember, the right tool not only makes the job easier but also ensures a higher quality of work.
Common Problems In Drill Bit

Dealing with Broken Drill Bits
Understanding the Causes
Drill bits can break due to various reasons such as excessive pressure, improper use, or using a bit that’s not suitable for the material. It’s crucial to identify the cause to prevent future occurrences.
Preventive Measures
Ensure that you’re using the right drill bit for your material. For instance, a masonry bit for concrete and a metal bit for steel. Also, applying the correct amount of pressure is key. Too much force can snap the bit, while too little can make the job ineffective.
Safe Removal
If a bit breaks and gets stuck in your workpiece, the first step is to ensure your drill is unplugged or the battery is removed. Using pliers or a drill chuck, carefully try to grasp and wiggle the broken piece out. Avoid using bare hands to prevent injury.
Alternative Methods
In cases where the bit is too firmly lodged, you might need to drill around the broken piece with a larger bit. This method requires precision to avoid damaging the surrounding area.
Professional Assistance
If you’re unable to remove the broken bit or if it’s stuck in a delicate material, consider seeking professional help. Sometimes, specialized tools or techniques are needed, which are best handled by experts.
Future Practices
Regularly inspect your drill bits for wear and tear. Replace them as needed, and always start your drilling at a low speed, gradually increasing as you go. This approach reduces the risk of breakage.
What to Do If the Screw Doesn’t Come Out
Identifying the Issue
A stuck screw can be a result of rust, over-tightening, or using the wrong size screwdriver. Understanding why the screw won’t budge is the first step towards finding a solution.
Lubrication
Sometimes, applying a penetrating oil can help loosen the screw. Let the oil sit for a few minutes before attempting to unscrew it again. This method is particularly effective for rusted screws.
Correct Tools
Ensure that you’re using the right screwdriver or drill bit for the screw. A mismatched tool can strip the screw head, making it harder to remove.
Gentle Tapping
Tap the screwdriver gently with a hammer while it’s in the screw head. This can help break the bond caused by corrosion or paint.
Heat Application
For extremely stubborn screws, applying heat with a soldering iron or a heat gun can expand the metal and help loosen the screw.This should be done with caution to avoid damage to surrounding materials.
Professional Intervention
If all else fails, it might be time to call a professional. They have specialized tools like screw extractors, which are specifically designed to remove stripped or damaged screws without causing further damage.
Preventive Measures
To avoid future issues, clean and dry screws before use, and apply a bit of wax or soap on the threads. This will act as a lubricant and make future removal easier. Always use screws of the appropriate size and material for your project
Post-Drilling Procedures
Cleaning and Inspecting the Area
After the drilling process, it is crucial to ensure the work area is clean and safe. This involves meticulously removing any debris or dust generated during drilling.
Careful cleaning not only maintains a tidy workspace but also minimizes the risk of equipment malfunction or accidents caused by residual materials. Inspection of the area is equally important.
This step includes checking for any structural changes or damage that might have occurred during drilling. It’s essential to assess the integrity of the surfaces drilled and surrounding areas to ensure they remain stable and secure.
Regular cleaning and inspection are key practices that contribute to the longevity of equipment and the safety of the workspace.
Recommendations for Replacing Rotor Screws
When it comes to replacing rotor screws post-drilling, there are several best practices to consider. First, it’s vital to assess the condition of the existing screws.
If there are signs of wear, corrosion, or damage, replacement is recommended to maintain the integrity of the assembled components. Choosing the right type of screw is also crucial – it should match the specifications of the original screw in terms of size, material, and strength. Applying the correct torque is another important aspect.
Over-tightening can cause damage, while under-tightening might lead to screws loosening over time. Lastly, it’s advisable to check the alignment of the screws during replacement to ensure they fit perfectly, maintaining the balance and functionality of the rotor.
Preventive Measures for Rotor Screw Issues
Understanding the Basics
To prevent rotor screw issues, it’s essential to understand their role in vehicle mechanics. Rotor screws are pivotal in attaching the brake rotor to the hub. Ensuring their proper installation and condition is crucial for vehicle safety.
Routine Checks
Regular inspections of rotor screws should be part of your maintenance routine. Check for any signs of wear, rust, or damage. This simple step can prevent major issues down the line by ensuring the screws are in good condition and properly tightened.
Correct Installation Practices
When installing rotor screws, it’s important to follow the manufacturer’s guidelines. Use the right tools and torque specifications to avoid over-tightening or cross-threading, which can lead to damage and future problems.
Quality Parts
Always opt for high-quality rotor screws. Cheaper alternatives might save money in the short term but can compromise the integrity of your vehicle’s brake system. Investing in quality parts ensures longevity and reliability.
Avoiding Overheating
Overheating can cause rotor screws to expand and contract, leading to loosening or damage. Ensure your vehicle’s braking system is functioning efficiently to avoid excessive heat build-up during braking.
Professional Advice
Lastly, consult with a professional mechanic for any doubts or concerns. Their expertise can provide insights specific to your vehicle’s make and model, ensuring that your rotor screws and overall brake system function optimally.
Regular Maintenance Advice for Vehicle Brake Systems
Regular Brake Inspections
Schedule regular inspections of your entire brake system. This includes checking the brake pads, rotors, calipers, and fluid. Early detection of wear or damage can prevent more serious issues and ensure consistent braking performance.
Brake Fluid Maintenance
Brake fluid should be checked regularly and changed as recommended by your vehicle manufacturer. Contaminated or old brake fluid can lead to a reduction in braking efficiency and potential brake system failure.
Pad and Rotor Replacement
Be aware of the lifespan of your brake pads and rotors. They should be replaced before they become too thin or damaged. This not only ensures safety but also protects other components of the brake system from damage.
Listening for Warning Signs
Pay attention to any unusual sounds like grinding or squealing when braking. These noises can indicate that your brake pads are worn out and need immediate attention to prevent rotor damage.
Cleaning and Lubrication
Regularly clean and lubricate the brake system components, especially in areas prone to rust and corrosion. This not only extends the life of these parts but also maintains optimal brake system performance.
Professional Servicing
Lastly, ensure that your vehicle’s brake system is serviced by a professional mechanic. They have the expertise and tools to diagnose, repair, and maintain the system effectively, providing peace of mind regarding your vehicle’s safety.
Conclusion
Successfully drilling out rotor screws is all about patience and the right technique. By following the steps outlined in this guide, you can remove even the most stubborn screws without damaging your rotor.
In conclusion, while the task of drilling out rotor screws might seem daunting at first, with the right tools and approach, it’s entirely achievable. Remember, the key is to stay patient and methodical. Don’t hesitate to revisit any step if you’re unsure. Ultimately, this process is about ensuring your vehicle’s safety and performance. So, take your time, follow the guidelines, and you’ll be back on the road in no time, with a job well done!
