

If you’re delving into the world of epoxy resin projects, you might find yourself asking, “Can I drill into epoxy resin?” This question is common among beginners and experienced crafters alike, as working with resin can be intricate and requires specific techniques. Whether you’re creating custom jewelry, furniture, or art pieces, understanding how to properly manipulate resin is crucial for the success and durability of your project.
Can you Drill into epoxy resin? Yes, you can drill into epoxy resin. It’s important to use sharp drill bits and go slowly to prevent cracking. Drilling after the resin has fully cured, usually 24-72 hours after pouring, gives the best results. Always wear protective gear to avoid inhaling dust or particles.
This blog will guide you through the nuances of drilling into epoxy resin. From selecting the right tools to understanding the appropriate timing for drilling, you’ll gain valuable insights that will enhance your crafting skills. By the end of this post, you’ll not only know the answer to your question but also how to execute the task efficiently and safely, ensuring your resin projects turn out exactly as envisioned.
Preparation for Drilling into epoxy resin
Selecting the Right Tools: Drill Bits and Drilling Machines
When embarking on a drilling project, the selection of appropriate tools is paramount for both efficiency and accuracy. Drill bits come in various sizes and materials, tailored to specific tasks and surfaces.
For instance, wood drilling requires spade bits or augers, while masonry demands carbide-tipped bits. Equally important is the choice of drilling machine, which should align with the task’s complexity and scale.
Cordless drills offer portability and ease of use for simple projects, whereas more robust hammer drills are better suited for heavy-duty tasks involving harder materials.
Surface Preparation: Cleaning and Marking Drill Points
Prior to drilling, surface preparation is crucial to ensure precision and prevent damage. This process involves thoroughly cleaning the surface to remove debris and dust that could impair the drill’s performance.
After cleaning, the next step is accurately marking the drill points. Using a pencil or a marking tool, precise points are marked as guides, often after measuring and aligning with a ruler or a spirit level.
This preparation not only guides the drilling process but also helps in achieving the desired outcome with minimal errors or deviations.
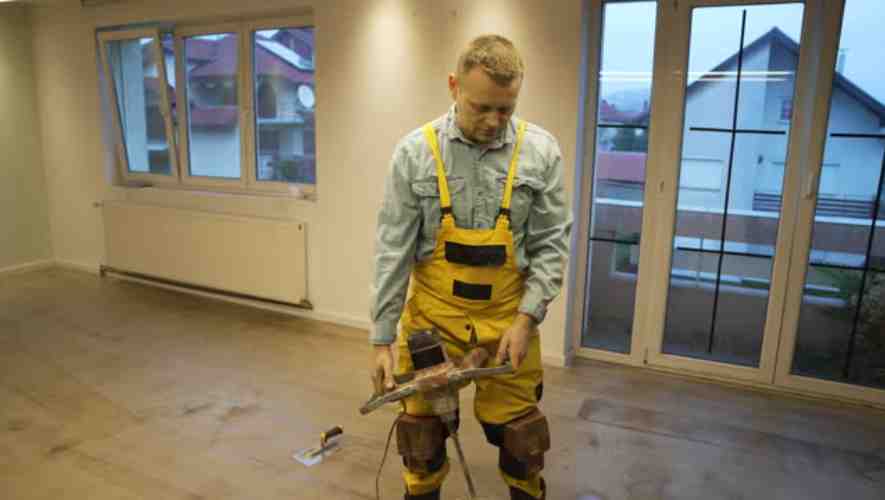
Safety Equipment: Protective Gear and Workspace Setup
The importance of safety in drilling operations cannot be overstated. Personal protective gear is essential to shield oneself from potential hazards.
This includes wearing safety goggles to protect eyes from flying debris, ear protection to guard against noise, and gloves to ensure a firm grip and protect hands. The workspace should be adequately set up to prevent accidents.
This setup involves ensuring a clutter-free environment, adequate lighting, and the secure positioning of the workpiece. Taking these safety precautions not only minimizes the risk of injuries but also enhances the efficiency of the drilling process.
Drilling Techniques and Best Practices
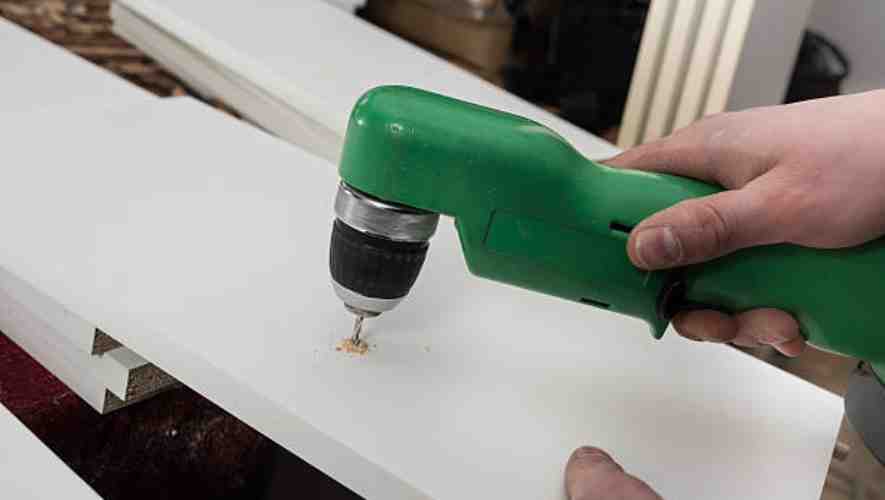
Step-by-Step Guide to Drilling into Epoxy Resin
Drilling into epoxy resin starts with selecting the right drill bit. A carbide-tipped or diamond-coated bit is ideal for resin’s hardness. Begin by marking the drilling point with a small indent to guide the bit.
It’s essential to start at a low speed to establish the hole, gradually increasing speed to prevent overheating. Throughout the process, use light, steady pressure and frequently withdraw the bit to clear out resin dust. This step-by-step approach ensures a smooth hole without cracking the resin.
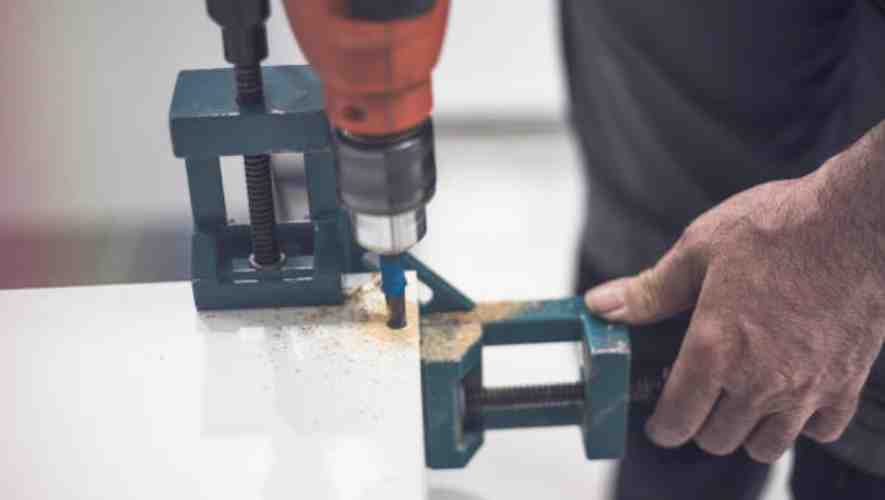
Speed and Pressure Control: Avoiding Cracks and Chips
Controlling the drill’s speed and the applied pressure is critical when working with epoxy resin. High speeds can generate excessive heat, leading to cracks, while too much pressure can cause chipping.
The optimal technique involves starting at a low speed and gradually increasing, allowing the bit to cut through without overheating. Maintaining a consistent, moderate pressure ensures the bit penetrates the resin evenly without causing stress fractures.
Regularly withdrawing the bit helps in heat dissipation and clearing debris, further reducing the risk of damage.
Techniques for Different Thicknesses and Types of Epoxy Resin
Different thicknesses and types of epoxy resin require tailored drilling approaches. For thin resin layers, a high-speed, low-pressure technique is effective, preventing the bit from sticking.
In contrast, thicker resin blocks need slower speeds and higher pressure for controlled penetration. When drilling colored or filled resins, using a sharp, clean bit is crucial to prevent smearing or fragmenting the additives.
Understanding these nuances ensures that regardless of the resin type or thickness, the drilling process is smooth, precise, and free from defects.
Common Challenges and Solutions of Drilling
Dealing with Cracks and Splintering
Cracks and splintering in materials are common challenges that compromise structural integrity and aesthetic appeal. To address this, it’s crucial to first identify the material type and the extent of damage.
For minor cracks, using a filling compound that adheres well to the material and matches its properties can be effective. For splintering, gentle sanding followed by a reinforcing sealant often works. Regular maintenance and protective coatings can prevent such issues from recurring.
Overheating Issues: Causes and Prevention
Overheating in mechanical systems or electronic devices can lead to performance degradation and potential failure. The primary causes include inadequate cooling, excessive workload, or environmental factors.
Implementing efficient cooling systems, ensuring proper ventilation, and regular maintenance checks are key to prevention. Monitoring system workloads and avoiding overuse can significantly reduce the risk of overheating.
Using thermal management solutions like heat sinks or cooling fluids can also be effective.
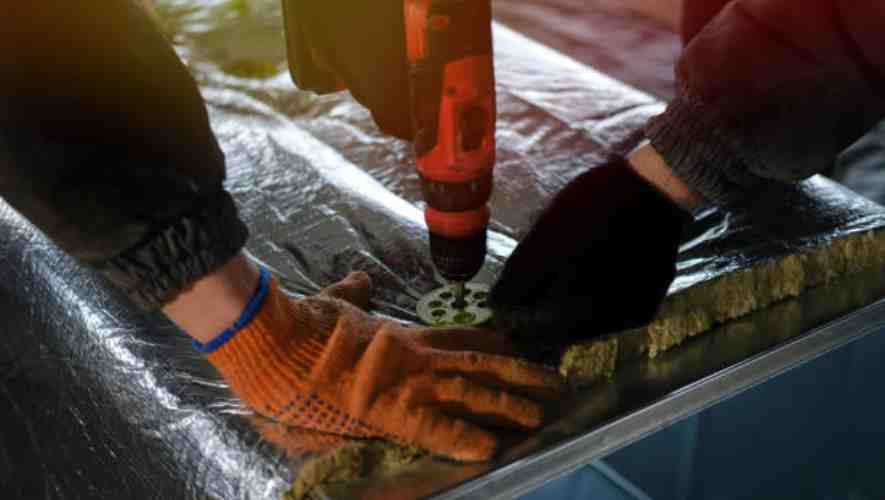
Managing Epoxy Resin Dust: Collection and Disposal
Epoxy resin dust, generated during cutting or sanding processes, poses health risks and environmental concerns. Efficient dust collection systems, such as vacuum extractors with HEPA filters, are essential in capturing fine particles.
Workers should use appropriate personal protective equipment, like masks and goggles, to minimize inhalation and contact risks. Proper disposal of collected dust is crucial; it should be done in accordance with local environmental regulations to prevent contamination.
Regular cleaning and maintenance of the workspace also reduce dust accumulation.
Post-Drilling Processes of Drilling
Smoothing and Finishing the Drilled Holes
Once drilling is completed, smoothing and finishing of the drilled holes is the next vital step. This process involves removing any burrs or rough edges left by the drill bit, ensuring the holes are of uniform size and shape.
Smoothing is typically done using fine-grade abrasives or specialized tools designed for precision. A well-finished hole not only looks aesthetically pleasing but also facilitates easier insertion of fasteners or other components, reducing the risk of damage during assembly.
Cleaning and Maintenance of Drilled Epoxy Surfaces
Drilled epoxy surfaces require special attention during the post-drilling phase. Epoxy, being a durable and adhesive material, often accumulates debris and dust during drilling.
Cleaning these surfaces involves careful removal of all foreign particles, which can be achieved using compressed air, gentle brushing, or specialized cleaning solutions. Regular maintenance of these surfaces is also crucial to preserve their integrity and appearance.
This maintenance typically includes periodic cleaning and inspection for any signs of wear or damage.
Tips for Inserting Fasteners or Other Embedments
The final stage in post-drilling processes often involves inserting fasteners or other embedments into the drilled holes. To ensure a secure and precise fit, it’s essential to select the right size and type of fastener for the material and hole dimensions.
Preparing the hole with a suitable lubricant can facilitate easier insertion. Adpplying consistent and gradual pressure while inserting the fastener helps prevent damage to both the fastener and the hole.
It’s also advisable to periodically check and tighten these fasteners as part of regular maintenance, ensuring long-term stability and performance.
Conclusion
Drilling into epoxy resin is a feasible task when done with the right tools and techniques. Using sharp drill bits, drilling slowly, and ensuring the resin is fully cured are key steps to success. Always prioritize safety by wearing protective gear.
In conclusion, drilling into epoxy resin is not just about making a hole; it’s about understanding the material you’re working with and respecting its properties. With patience and precision, you can create stunning projects that are both beautiful and functional. Remember, the key to mastering any craft is practice and patience. So, go ahead, give it a try, and watch your resin crafting skills flourish!
