
Have you ever found yourself wondering about the limits of drilling into a wall stud? Whether you’re hanging shelves, mounting a TV, or undertaking a DIY project, knowing how many times you can safely drill into a stud is crucial. This is not just a matter of structural integrity, but also of safety.
How Many Times Can You Drill Into A Stud? It’s generally safe to drill into a wooden stud two to four times, provided the holes are spaced at least an inch apart and are not too large. Excessive drilling can weaken the stud, compromising its load-bearing capacity.
In this blog post, we’ll delve into the specifics of drilling into studs, exploring factors like spacing, size of holes, and the type of studs in your walls. By understanding these elements, you’ll be able to undertake your home projects with confidence, ensuring both the safety and stability of your walls. Let’s dive in and unlock the secrets of working with wall studs!
Overview Of Studs
Definition and Role of Studs in Construction
Studs are fundamental components in building construction, acting as vertical supports within walls. These elements are crucial for framing and are typically spaced evenly to provide structural integrity and support for both interior and exterior walls.
Studs serve as anchors for attaching materials like drywall and play a vital role in the distribution of load and provision of insulation space. Their importance in construction cannot be overstated, as they form the backbone of a building’s structure.
Studs can be made from various materials, each offering distinct advantages. Wood softwood lumber like pine, spruce, or fir, is a popular choice due to its cost-effectiveness, ease of use, and natural insulation properties.
Metal studs, made from steel, are gaining popularity in modern construction for their durability, resistance to fire, and immunity to issues like rot and insect damage. Each material type caters to different requirements and preferences in construction, reflecting variations in strength, weight, and environmental factors.
Standard studs have specific dimensions and characteristics tailored to their application. They are 2×4 or 2×6 inches in cross-section, with lengths varying according to ceiling height and project requirements.
Wood studs usually have a moisture content specification and are graded for quality and strength. Metal studs, on the other hand, are gauged by thickness and are often lighter than their wooden counterparts, providing ease of installation.
The choice of dimensions and material directly impacts the structural integrity and thermal performance of buildings.
Guidelines for Drilling into Wooden Studs
Pre-drilling Considerations
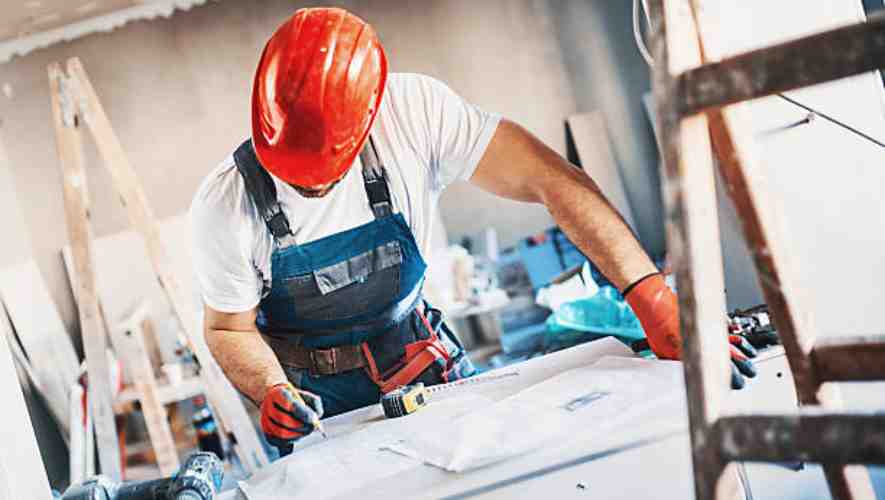
Before commencing any drilling activity into wooden studs, it is crucial to employ a reliable stud finder. This tool aids in accurately locating the studs behind drywall, ensuring that you drill in the right place. Once the studs are located, marking the drilling points is a critical step.
Use a pencil or masking tape to mark these points clearly, ensuring precision in your work. This preparatory phase lays the foundation for safe and effective drilling, minimizing potential structural damage.
Recommended Techniques and Tools
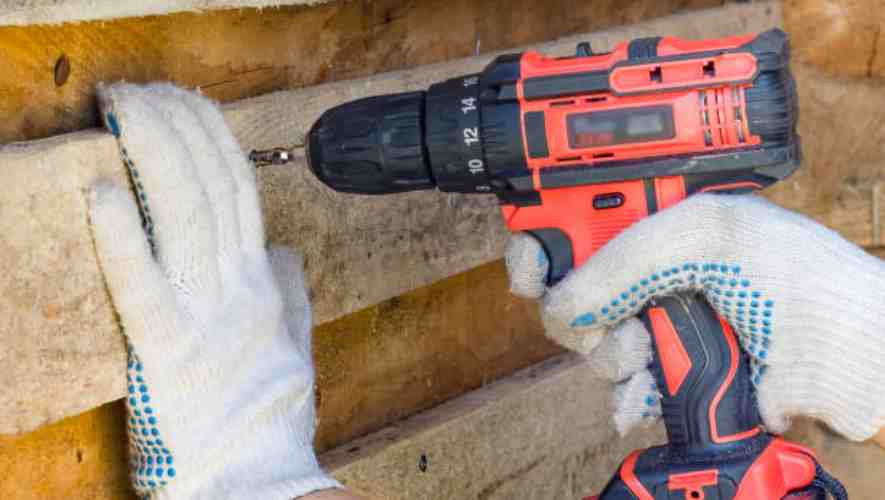
Drilling into wooden studs requires both skill and the right set of tools. A high-quality drill bit, matched to the size of the screw or bolt you plan to use, is essential. When drilling, start with a smaller pilot hole to guide your drill and prevent the wood from splitting.
Maintain a steady, controlled speed and avoid pushing too hard, as this could damage the stud or the drill bit. Proper technique and the right tools ensure a clean, precise hole and maintain the integrity of the stud.
Signs of Stud Weakness or Damage
It’s important to recognize the signs of stud weakness or damage before and during drilling. If you notice excessive splintering, cracks, or the wood feels soft and spongy, these are indicators of compromised wood integrity.
If the drill goes through the wood too easily or you observe sawdust that looks like fine powder, it may suggest rot or insect damage. Identifying these signs early can prevent further damage and ensure the structural safety of the project.
Repair and Reinforcement Options
In cases where a stud has been weakened or damaged, there are several repair and reinforcement options available. If the damage is minor, using wood filler or putty can help fill in the gaps.
For more significant damage, reinforcing the stud with a sister stud – a new stud attached alongside the damaged one – can provide additional support. In severe cases, replacing the damaged stud entirely may be necessary to ensure the structural integrity of the wall.
Guidelines for Drilling into Metal Studs
Differences in Approach Compared to Wooden Studs
Drilling into metal studs requires a different approach compared to wooden studs due to the material’s properties. Metal studs are harder and more resilient than wood, making them less forgiving to errors.
It’s important to use sharp, appropriate drill bits and to apply steady, moderate pressure. Avoid excessive force which can lead to bending or warping of the stud. Precise measurement and marking are also more critical with metal studs to ensure accuracy in hole placement.
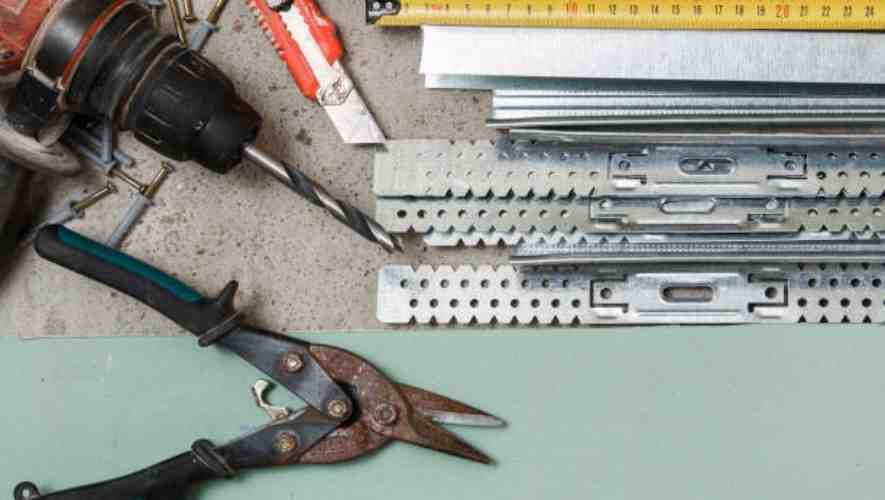
Suitable Tools and Fasteners for Metal Studs
The right tools and fasteners are essential for successful drilling into metal studs. High-speed steel or cobalt drill bits are recommended for their durability and efficiency. An electric or battery-powered drill with variable speed control offers the best results.
When it comes to fasteners, self-tapping screws specifically designed for metal studs are ideal. These screws have sharp threads and a pointed tip to penetrate metal easily, providing a secure hold.
Common Challenges and Solutions
Drilling into metal studs presents several challenges, but each has a solution. One common issue is the drill bit slipping on the metal surface. To prevent this, start with a smaller pilot hole or use a center punch to create a starting point.
Another challenge is the generation of heat, which can dull drill bits. To combat this, use cutting oil or take frequent breaks to allow the bit to cool. Lastly, metal shards can be a safety hazard, so wearing protective gear and cleaning up thoroughly after drilling is crucial.
Factors Affecting Drilling Capacity

Material of the Stud (Wooden vs. Metal Studs)
The material of the stud significantly influences drilling capacity. Wooden studs, made from softwood or hardwood, offer less resistance to drilling compared to metal studs. Metal studs, made from steel or aluminum, require sharper drill bits and more power.
The choice between wooden and metal studs depends on structural requirements and the intended load-bearing capacity, with metal studs generally providing higher durability and strength.
Diameter and Type of Screws or Bolts Used
The drilling capacity is also determined by the diameter and type of screws or bolts used. Larger diameter screws distribute load more effectively, reducing stress on the drilled hole.
The screw or bolt material, such as stainless steel or titanium, influences the drilling process. Thread design and screw type (e.g., wood screws, machine screws) are chosen based on the material being drilled and the application’s specific needs.
Spacing and Distribution of Drilled Holes
Proper spacing and distribution of holes are crucial for maximizing drilling capacity. Overcrowding holes can weaken the structural integrity of the material, leading to potential failures.
Evenly distributed and strategically placed holes ensure better load distribution and structural stability. This aspect is important in construction and manufacturing, where precision and safety are paramount.
The Weight and Type of Objects Being Supported
Drilling capacity is heavily impacted by the weight and type of objects being supported. Heavier objects require more secure and deeper drilling to ensure stability.
The nature of the object, whether static or dynamic, also influences the drilling strategy. Dynamic loads, such as machinery, demand more robust anchoring compared to static loads like shelves or frames.
Environmental Factors (Humidity, Temperature Changes, etc.)
Environmental factors like humidity and temperature fluctuations play a significant role in drilling capacity. High humidity can cause materials, wood, to swell and weaken, affecting hole integrity.
Temperature changes can lead to expansion and contraction in materials, necessitating careful consideration of drill hole size and depth to accommodate these variations. These factors are critical in outdoor or variable environments.
Safety Considerations and Best Practices
Importance of Following Building Codes and Regulations
Adhering to building codes and regulations is crucial for ensuring safety and compliance. These codes, which are based on years of research and testing, provide guidelines for safe construction and maintenance practices.
Ignoring these codes not only jeopardizes the integrity of the structure but also puts the occupants at risk. Moreover, compliance with these regulations is often legally mandatory, avoiding potential legal issues and fines.
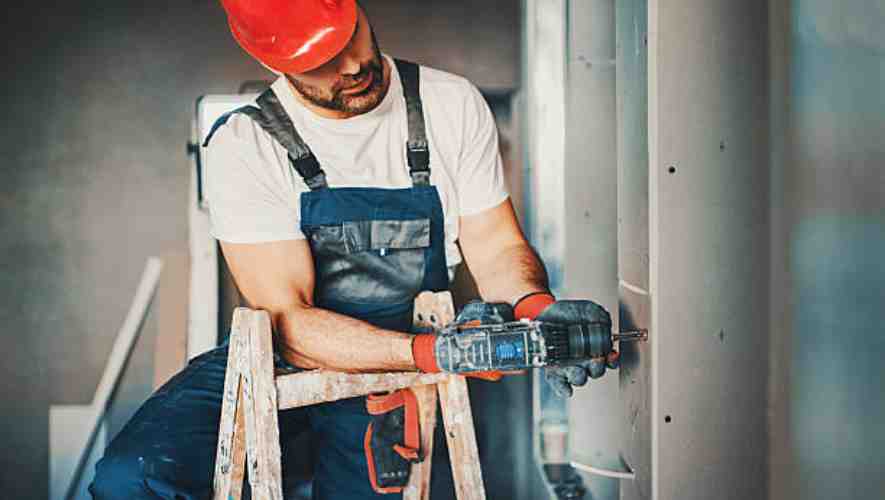
Tools and Protective Gear Recommendations
Using the right tools and protective gear is essential for safe construction work. High-quality tools reduce the risk of accidents and improve efficiency, while protective gear such as helmets, gloves, and safety glasses protect workers from potential hazards.
Regular checks and maintenance of equipment are necessary to ensure their proper functioning. Investing in ergonomic tools can also prevent long-term health issues like repetitive strain injuries.
Tips for Maintaining Structural Integrity
Maintaining structural integrity is key to ensuring the longevity and safety of any building. Regular inspections can identify potential problems early, preventing costly and dangerous issues in the future.
Key aspects include monitoring load-bearing structures, ensuring proper waterproofing, and preventing corrosion in metal components. Addressing these issues promptly can significantly extend the lifespan of a building and guarantee its safety.
When to Consult a Professional
While DIY projects can be rewarding, knowing when to consult a professional is critical. Complex tasks requiring specialized knowledge, such as electrical work, structural modifications, or major plumbing changes, should be handled by qualified experts.
Professionals not only bring experience and expertise but also ensure that the work complies with local building codes and standards. Consulting them can prevent costly mistakes and ensure the safety and reliability of the work.
Conclusion
Repeated drilling into a stud is safe up to a point. It’s crucial to space holes at least an inch apart and keep them moderately sized. Over drilling can weaken the stud, affecting its structural integrity.
In conclusion, when it comes to drilling into studs, moderation and precision are key. As we’ve discussed, the type of stud, spacing, and size of the holes all play a vital role in maintaining the integrity of your walls. If you’re ever in doubt, it’s always wise to consult with a professional. Remember, a little caution and knowledge go a long way in DIY projects. By following these guidelines, you can ensure that your home remains both safe and structurally sound. Happy drilling!
