
Chances are, if you’re seeking out “How To Drill Granite Rock,” you’re facing a project that demands precision and strength. Granite, known for its formidable nature and stunning appearance, is not a material to be taken lightly when it comes to drilling.
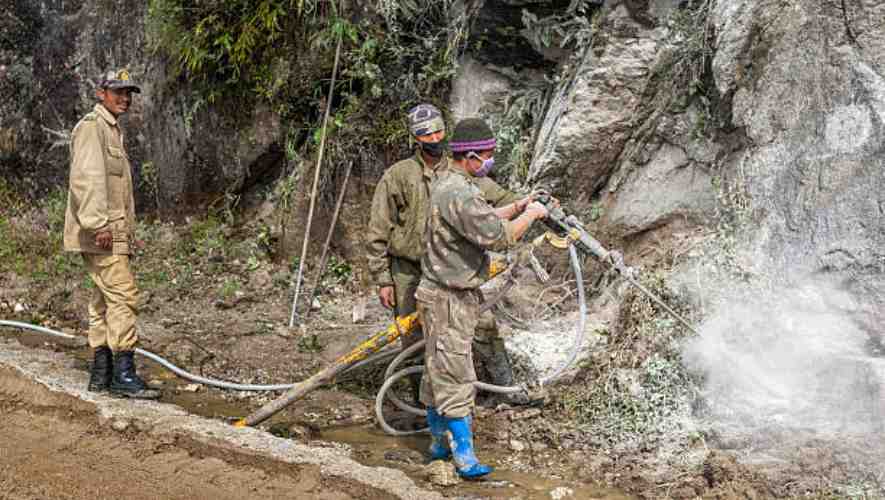
How To Drill Granite Rock? Drilling granite requires specialized tools and techniques. It’s essential to use a diamond-tipped drill bit and proceed with steady, gentle pressure to avoid cracks. Lubrication with water is crucial to prevent the drill bit from overheating and to keep the granite dust from spreading.
Imagine embarking on a journey where every twist and turn is a learning opportunity – that’s what drilling into granite is like. This blog will be your compass, guiding you through the necessary tools, techniques, and tips to transform this daunting task into a manageable and even enjoyable project. So, gear up and get ready to dive into the world of drilling, where patience meets precision, and every effort leads to exquisite results.
Overview of Granite Rock
Granite is an igneous rock, famous for its robustness and aesthetic appeal. Formed from cooled magma deep within the earth’s crust, it comprises mainly quartz, feldspar, and mica.
Its distinct granular texture and hardness make it a favorite in construction and decorative applications. Granite’s varied colors and patterns result from the minerals and conditions under which it was formed.
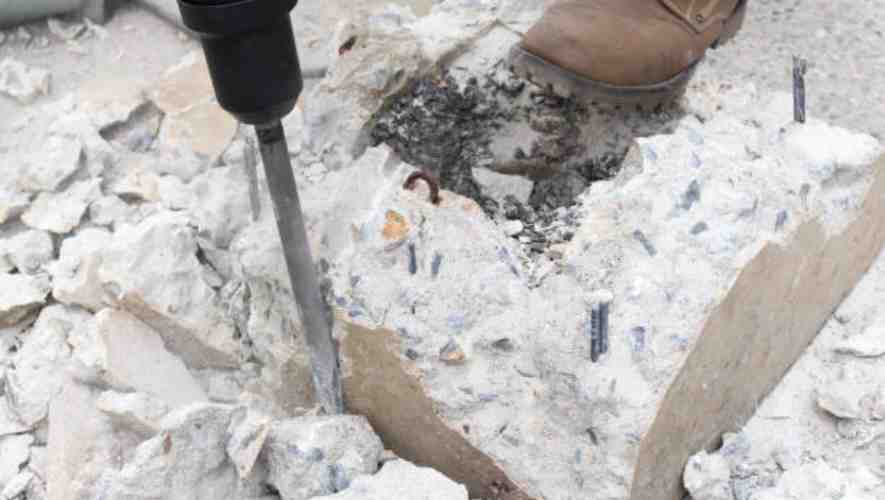
Drilling Process Of Granite Rock
Step-by-Step Guide To Drill Granite Rock
Starting the Drill at a Low Speed
Initiating the drilling process requires precision and control. Begin with the drill at a low speed to establish a stable, accurate starting point.
This method reduces the risk of slipping or damaging the material’s surface. It’s crucial to position the drill bit correctly and maintain a steady hand, ensuring the bit bites into the material without skidding.
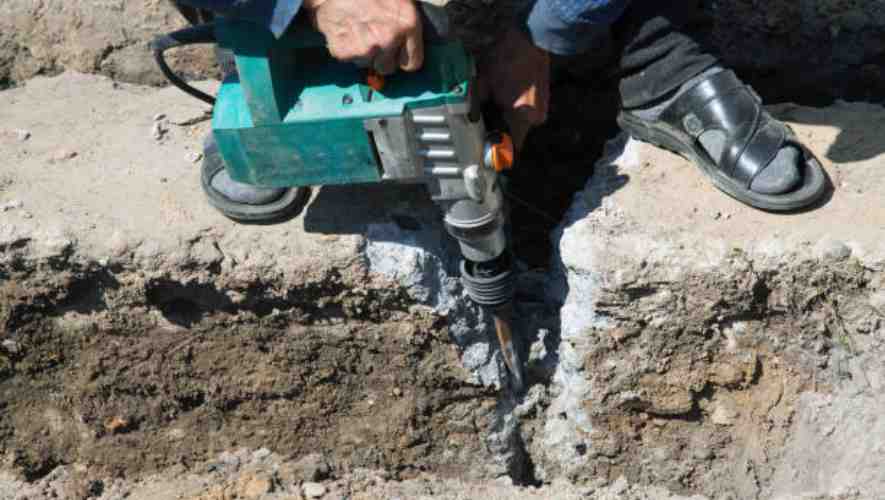
Gradually Increasing Speed and Applying Even Pressure
Once the initial hole is established, gradually increase the drill speed. This gradual escalation helps in penetrating the material more effectively without causing undue stress. Even pressure is essential;
Too much force can damage the drill bit or the material, while too little can make the process inefficient. The key is to find a balance that allows the drill bit to do the work without excess force.
Techniques for Minimizing Chip-out and Cracks
Preventing chip-out and cracks is vital for a clean drilling process. Techniques like using a backing board, choosing the right drill bit for the material.
Drilling at a consistent speed help in achieving a smooth finish. It’s also beneficial to periodically withdraw the drill bit to remove debris, reducing friction and the chance of material breakage.
Monitoring and Managing Heat
The Role of Water in Cooling the Drill Bit
Water plays a crucial role in cooling the drill bit, especially when working with hard materials like metal or stone. It acts as a lubricant, reducing friction and heat buildup.
This cooling method not only prolongs the life of the drill bit but also results in a smoother drilling process. It’s essential to apply water regularly and in the right amount to maintain effective cooling.
Signs of Overheating and How to Address Them
Overheating can be detrimental to both the drill bit and the material. Recognizing signs of overheating, such as discoloration of the bit, smoke, or a burning smell, is crucial.
Once these signs are observed, stop drilling immediately. Let the bit cool down naturally and assess if it needs replacement. Reassess your drilling technique, ensuring adequate lubrication and appropriate speed.
Deep Drilling: Special Considerations
Strategies for Drilling Deep Holes Without Overheating
Drilling deep holes presents unique challenges, primarily the risk of overheating. To mitigate this, use a peck drilling technique.
Where the drill bit is periodically retracted to allow cooling and debris removal. Ensure continuous lubrication and choose a drill bit designed for deep drilling, which typically features enhanced cooling capabilities.
Managing and Removing Granite Dust
In deep drilling, especially in materials like granite, managing dust is essential. Granite dust can affect visibility, tool efficiency, and even health.
Use dust extraction systems or wet drilling methods to control dust dispersion. Regularly clearing the dust from the hole also prevents clogging, which can lead to overheating and reduced drilling efficiency.
Preparations Before Drilling Granite Rock
Selection of the Right Tools To Drill Granite Rock
Types of Drills and Drill Bits Suitable for Granite
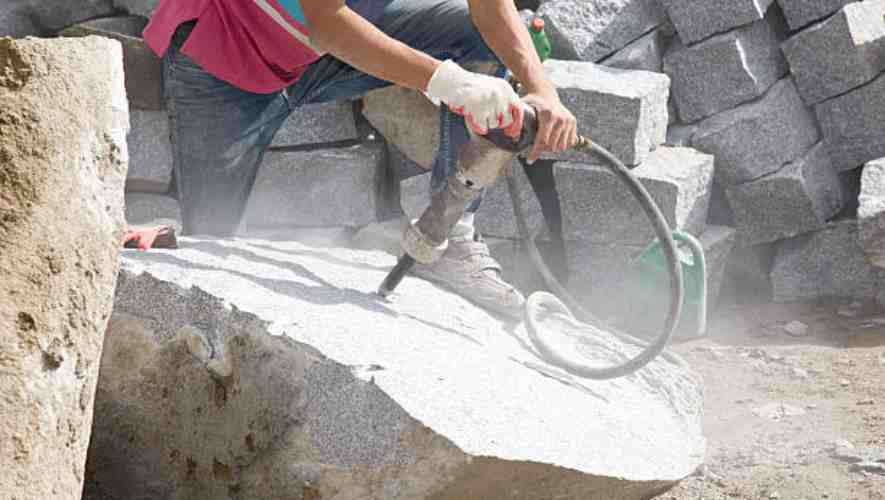
Drilling into granite requires specialized tools for precision and durability. High-speed drills combined with diamond-tipped drill bits are ideal, as granite is a hard stone.
These drill bits are specifically designed to cut through tough materials without losing sharpness or damaging the stone. It’s crucial to select the right size and type of bit for the specific drilling task to ensure efficiency and safety.
Comparing Diamond-Tipped Drill Bits and Carbide-Tipped Drill Bits
When choosing between diamond-tipped and carbide-tipped drill bits, consider the hardness and abrasiveness of granite.
Diamond-tipped bits are superior for granite due to their exceptional hardness and long-lasting sharpness. While carbide-tipped bits are effective for softer materials, they may wear down quickly or fail to penetrate granite effectively, potentially damaging both the bit and the stone.
Setting Up the Workspace To Drill Granite Rock
Securing the Granite Piece
Safety and precision in granite drilling start with properly securing the stone. Use clamps or a vice to hold the granite in place, ensuring it’s firmly anchored to prevent any movement during drilling.
This not only enhances safety but also contributes to the accuracy of the drilling process, preventing slippage or misalignment.
Marking the Drilling Point
Precise drilling requires careful marking of the drilling point. Use a non-permanent marker or masking tape to indicate the exact spot where the hole is needed.
This step is crucial for accuracy and helps in aligning the drill bit correctly, reducing the risk of errors or damage to the granite surface.
Importance of Water Cooling and Lubrication
Water cooling and lubrication play a vital role in granite drilling. The friction generated during drilling can lead to overheating, which may damage both the drill bit and the granite.
Using water not only cools the drill bit but also reduces dust and prolongs the life of the bit. Continuous lubrication ensures smoother drilling, minimizes wear, and enhances the overall quality of the hole.
After Drilling The Granite Rock
Cleaning the Drilled Area
Removing Granite Dust and Debris
After completing the drilling process, it’s crucial to remove all granite dust and debris. This step is vital for both aesthetic and safety reasons.
The use of a high-efficiency particulate air (HEPA) filter vacuum is recommended to effectively capture the fine granite particles. Regular cleaning not only maintains the beauty of the granite but also prolongs its lifespan by preventing dust accumulation.
Checking for and Smoothing Out Any Rough Edges
Once the area is free of dust and debris, the next step involves inspecting the drilled hole for any rough or uneven edges. These imperfections can be a hazard and may compromise the structural integrity of the granite.
Smoothing these edges is typically done with fine-grit sandpaper or a specialized granite filing tool. This process ensures a clean, professional finish, enhancing the overall appearance and safety of the drilled area.
Finishing Touches
Techniques for Polishing the Drilled Hole
Polishing the drilled hole is essential for restoring the granite’s natural shine and texture. This can be achieved using a series of progressively finer polishing pads.
The process begins with a coarse pad and gradually moves to finer grits, which smoothens and brings out the stone’s luster. Polishing not only improves the appearance but also seals minor cracks, providing additional protection to the granite.
Sealing the Granite, if Necessary
Sealing is the final step in the finishing process, especially for porous types of granite. A quality sealant provides a protective layer, guarding against stains and moisture penetration.
It’s important to choose a sealant that is specifically designed for granite to ensure compatibility and longevity. Applying the sealant with a soft cloth and allowing it to penetrate the stone before wiping off the excess ensures an even, protective coat
Safety Measurements Of Drilling Granite Rock
Personal Protective Equipment (PPE)
Importance of Eye Protection, Gloves, and Masks
Eye protection is crucial in environments where debris, chemicals, or intense light pose a risk to our most sensitive sensory organs. Safety glasses or goggles shield the eyes from harmful exposure.
Gloves are essential for hand protection, safeguarding against cuts, burns, and chemical hazards. Masks play a pivotal role in respiratory safety, filtering out dust, fumes, or pathogens, thereby preventing inhalation of harmful substances.
Together, these PPE elements form a first line of defense, ensuring personal safety in various work scenarios.
Workspace Safety
Ensuring Proper Ventilation
Adequate ventilation in a workspace is vital for maintaining air quality and controlling temperatures. It helps in dispersing potentially harmful fumes, dust, or vapors, thereby reducing the risk of respiratory issues or toxic exposure.
Proper ventilation systems, whether natural or mechanical, ensure a constant flow of fresh air, crucial for employee health and prevention of accident risks associated with stagnant air, such as fire or explosion hazards.
Handling Tools and Equipment Safely
Safe handling of tools and equipment is fundamental for accident prevention in any workspace. It involves understanding the correct usage of tools, adhering to operating manuals, and ensuring regular maintenance.
Employees should be trained in recognizing signs of wear or damage in equipment, as this can preempt malfunctions or accidents. Additionally, organizing tools effectively and storing them safely after use minimizes the risk of injury and contributes to a tidier, more efficient working environment.
Troubleshooting Common Problems
Drill Bit Binding or Breaking
Drill bit binding or breaking is a frequent issue faced by professionals working with hard materials like granite. The primary cause is often excessive pressure or using an inappropriate bit type.
To prevent this, it’s crucial to select the right drill bit, such as a diamond-tipped one, designed specifically for granite. Maintaining a steady, moderate pressure and using a drilling guide can also significantly reduce the risk of binding or breakage.
Regular inspection of the bit for wear and tear and ensuring it’s securely fastened in the drill chuck are essential preventive measures.
Uneven Holes or Cracking in the Granite
Creating smooth, even holes in granite, a tough material, requires precision. Uneven holes or cracks typically occur due to uneven pressure or an unsteady drilling process. To avoid this, it’s important to start with a small pilot hole and gradually increase the size.
Ensuring your drill is perpendicular to the surface throughout the process is vital. Additionally, using a water dampening method can reduce dust and improve the drill’s efficiency, thus preventing uneven holes and reducing the risk of cracking the granite.
Overheating Issues
Overheating is a common problem when drilling into granite, primarily due to the material’s hardness and the friction generated during the drilling process. To mitigate this, it’s crucial to use a drill bit specifically designed for granite, which can withstand high temperatures.
Applying a constant flow of water or a coolant can help dissipate the heat, thus preventing the bit from overheating. It’s also advisable to take regular breaks during the drilling process to allow the bit to cool down, thereby extending its life and ensuring safer operation
Conclusion
Drilling into granite is not just about making holes; it’s an art that requires patience, precision, and the right tools. By following the proper techniques and using a diamond-tipped drill bit, you can achieve clean, precise holes without damaging the beautiful stone.
As we wrap up, remember that drilling granite is more than just a task; it’s an experience that hones your skills and patience. Whether you’re a DIY enthusiast or a professional craftsman, the satisfaction of successfully drilling into this majestic stone is unparalleled. So, take a moment to appreciate the journey you’ve embarked on, armed with new knowledge and confidence. And remember, in the world of granite drilling, it’s not just about the destination; it’s about crafting a path with precision and care, leaving a trail of craftsmanship in your wake.
