
Are you struggling with the task of drilling into a hardy board for your home projects? Hardy board, known for its durability and resistance, can pose a unique challenge when it comes to drilling. This is often due to its cementitious construction, making it tougher than traditional wood or drywall. In this guide, we’ll navigate through the specifics of handling this robust material.
How To Drill Into Hardy Board? Drilling into a hardy board requires specific tools like a carbide-tipped drill bit and a steady hand. Pre-drilling pilot holes and using screws designed for cementitious materials ensure a successful and clean installation. This process, while meticulous, guarantees the integrity of the hardy board and your project.
As we delve deeper, this blog will equip you with essential tips and step-by-step instructions for drilling into hardy boards effectively. Whether you’re a DIY enthusiast or a professional, you’ll find valuable insights here. By the end of this guide, drilling into this tough material will no longer be a daunting task but a skill you can confidently add to your toolkit.
Preparation Before Drilling the hardy board
Selecting the Right Drill and Drill Bits
When preparing to drill into a hardy board, choosing the right tools is crucial. A high-quality drill and appropriate drill bits are necessary for efficient and accurate work.
For hardy boards, carbide-tipped drill bits are recommended due to their durability and ability to withstand the material’s hardness. It’s important to select a drill that allows you to control the speed, as a controlled speed reduces the risk of cracking or damaging the board.
Always ensure that the drill bits are sharp and in good condition to facilitate a smooth drilling process.
Marking the Drilling Points
Accuracy in marking the drilling points cannot be overstated. Before beginning, measure and mark the exact spots where the holes are to be drilled.
Using a pencil or a marker, lightly draw your drilling points. It’s advisable to use a ruler or a measuring tape for precision. Consider using a template if multiple holes need to be drilled at uniform intervals.
This preparation step ensures that the drilling is done accurately, preventing misplacement of holes which could compromise the structural integrity of the hardy board.
Setting up a Clean Workspace
Maintaining a clean workspace is essential for safety and efficiency while drilling. Before starting, clear the area of any unnecessary items and ensure that you have ample space to work comfortably.
Lay down a drop cloth or a tarp to collect dust and debris, which can be useful when working indoors.
Having a vacuum cleaner or a broom at hand is beneficial for immediate cleanup. A well-organized workspace not only enhances safety but also allows for better concentration and accuracy in your drilling task.
Drilling Techniques of hardy board
Step-by-Step Guide to Drilling into Hardy Board
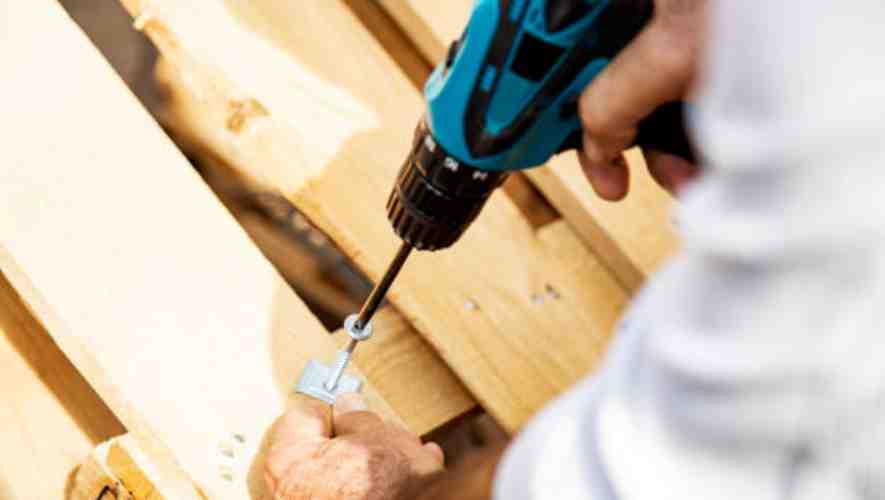
Drilling into Hardy Board, a popular cement fiber board used in construction, requires precision and understanding of the material. Begin by selecting the appropriate drill bit; carbide-tipped bits are ideal for this hardy material.
Mark the drilling spot clearly on the board to ensure accuracy. Next, position the drill perpendicular to the board to maintain alignment. Start drilling at a slow speed to establish the hole, gradually increasing speed as the bit penetrates the board. This method ensures a clean, precise hole, reducing the risk of cracks or damage to the Hardy Board.
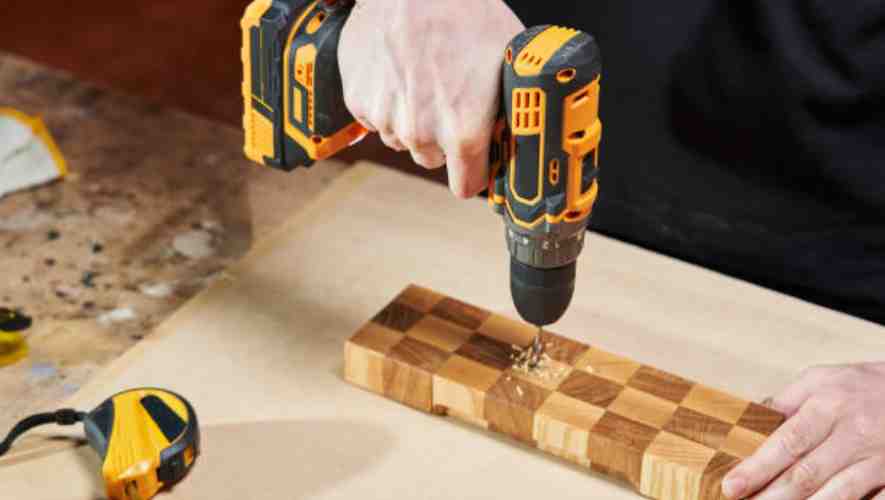
Tips for Maintaining Drill Bit Stability
Maintaining drill bit stability is crucial for achieving clean and precise holes in Hardy Board. To ensure stability, securely clamp the board onto a stable surface, preventing any movement during drilling.
Use a sharp, high-quality carbide-tipped drill bit to reduce wobble and enhance precision. Apply steady, moderate pressure while drilling, and avoid pushing too hard, as this can cause the bit to bend or break.
Withdrawing the bit from the hole helps clear out debris, reducing resistance and maintaining stability. These practices extend the life of your drill bits and ensure optimal results.
Adjusting Drill Speed and Pressure
Adjusting drill speed and pressure is key to effectively drilling into Hardy Board. Begin with a low speed to create a guide hole, which helps in maintaining accuracy and control. As you progress, gradually increase the speed.
High speed generates more heat, so it’s essential to find a balance that cuts efficiently without overheating the bit. Simultaneously, adjust the pressure applied. Start with light pressure, increasing as needed to aid the drilling process.
Excessive pressure can damage both the board and the bit. It’s important to listen to the sound of the drill and feel for resistance, adjusting speed and pressure accordingly for the best results.
Common Challenges and Solutions of hardy board
Addressing Cracking and Splitting
One of the most prevalent issues in woodworking is cracking and splitting of wood. This problem is often caused by improper drying techniques or environmental factors.
To prevent this, ensure that the wood is adequately dried and acclimatized to the working environment. Using moisture meters can help in monitoring the wood’s moisture content.
Applying suitable sealants or finishes can protect the wood from humidity changes, reducing the likelihood of cracking and splitting.
Overcoming Bit Slippage and Dullness
Bit slippage and dullness are common challenges that can hinder precision and efficiency. Slippage often occurs due to a lack of proper grip or alignment, while dullness results from regular wear and tear.
To combat these issues, it’s crucial to regularly maintain and sharpen your tools. Using high-quality bits and ensuring they are correctly fitted in the chuck can minimize slippage. Implementing a routine maintenance schedule for your tools can greatly enhance their performance and lifespan.
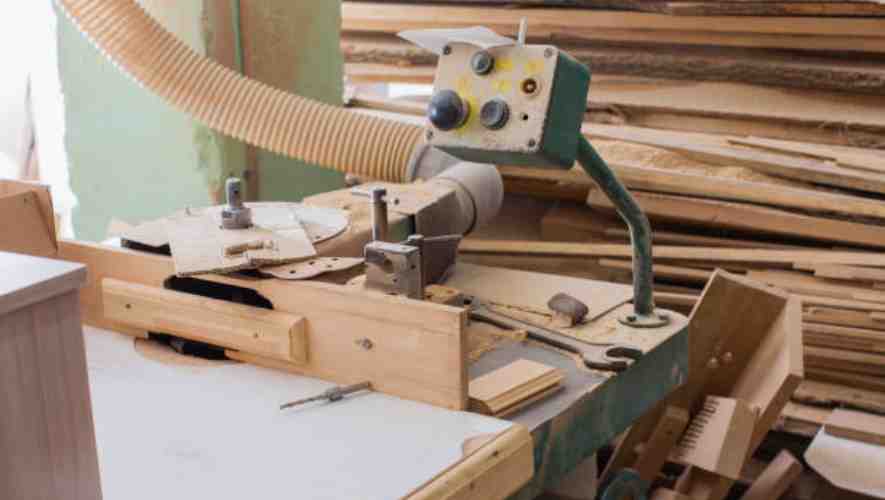
Dealing with Dust and Debris
Woodworking generates a significant amount of dust and debris, which can be hazardous to health and detrimental to the quality of work. Effective dust management involves using dust collection systems and ensuring proper ventilation in the workspace.
Regular cleaning and maintenance of the work area and tools also play a vital role in controlling dust.. Wearing appropriate protective gear, such as masks and goggles, can protect you from the harmful effects of wood dust.
Post-Drilling Procedures
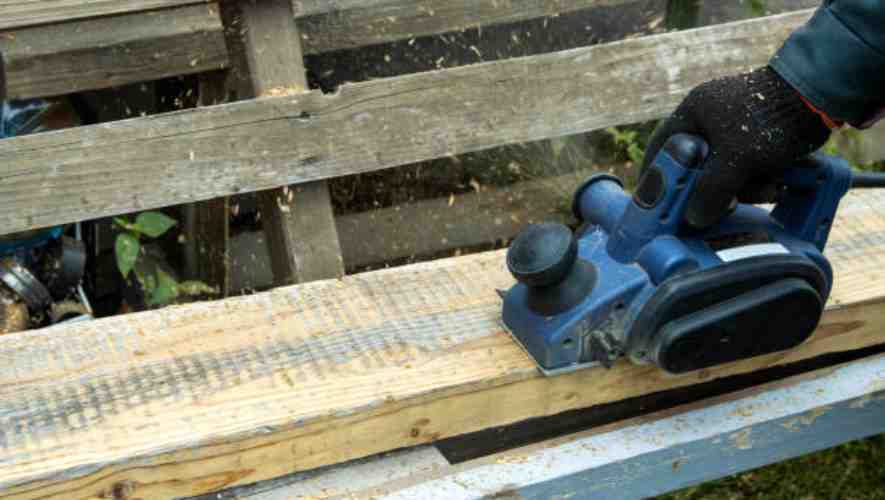
Cleaning and Smoothing Drill Holes
After drilling is completed, the first critical step is cleaning and smoothing the drill holes. This process involves removing any debris and burrs that are created during drilling, ensuring a clean and smooth finish.
Specialized tools are often used for this purpose, providing precision and efficiency. This step is vital not only for aesthetic reasons but also for the functional integrity of the drilled material.
A well-smoothed hole ensures a better fit for any fixtures or components that will be inserted, reducing the risk of damage or misalignment.
Applying Sealants or Grommets if Necessary
In certain drilling applications, particularly where environmental factors such as moisture or air exposure are a concern, applying sealants or grommets becomes necessary. Sealants provide a protective layer that prevents corrosion, leaks, and damage from environmental factors.
Grommets, on the other hand, are used to protect and insulate the edges of the drill holes,in materials like metal or plastic, to prevent wear and tear. This step not only enhances the durability of the drilled holes but also ensures long-term performance and safety.
Disposing of Waste Safely
The final, yet crucial step in post-drilling procedures is the safe disposal of waste. This includes the proper management of material shavings, dust, and any other debris generated during the drilling process.
Adhering to environmental regulations and safety standards is paramount in this step to prevent pollution and health hazards.
Safe waste disposal methods often involve segregating recyclable materials, using designated disposal bins, and sometimes, employing professional waste management services. This practice not only keeps the workspace clean and safe but also contributes positively to environmental conservation efforts.
Maintenance and Care for Drilled Hardy Board
Regular Inspection and Maintenance Tips
Consistent inspection is key to maintaining a drilled Hardy Board. Look for signs of cracking, chipping, or fading at least twice a year. Pay special attention to areas around the drilled holes, as these are more prone to damage.
It’s also wise to check caulking and seals around windows and doors for any gaps or deterioration. Regularly clear gutters and downspouts to prevent water damage, and trim any overhanging branches that could scrape against the siding.
Repairing Damaged Areas
When damage occurs, prompt repair is vital to prevent further deterioration. Small cracks or chips can be filled with an appropriate fiber cement patching compound. For larger damaged areas, it may be necessary to replace entire sections of the board.
Always match the new piece with the existing siding in terms of texture and color. After repairs, seal the drilled holes properly to prevent water ingress, which can lead to mold and structural damage.
Long-term Care for Preserving Integrity
To ensure the long-term integrity of the drilled Hardy Board, a few key steps should be taken. First, avoid direct water exposure from sprinklers, as prolonged moisture can harm the siding. Ensure that the landscaping allows for proper water drainage away from the siding.
Periodically check for pests or insects, near drilled areas, as they can cause unseen damage. Lastly, consider professional inspection every few years to assess and address any potential issues before they escalate.
Conclusion
Successfully drilling into a hardy board is a blend of the right technique and tools. From selecting the appropriate drill bit to the actual drilling process, each step plays a crucial role in achieving a clean and precise outcome.
In conclusion, drilling into a hardy board, though challenging, can be mastered with patience and practice. Remember, using the right tools and following the steps meticulously are key. Don’t rush the process; allow yourself the time to do it right. As you finish your project, you’ll appreciate the strength and durability that hardy board adds to your work. Embrace the challenge, and you’ll find that drilling into a hardy board isn’t just a necessary skill, but also a rewarding one.
