

Drilling into a stucco wall can often seem daunting. Whether you’re hanging decorations, mounting a TV, or undertaking a home improvement project, the unique nature of stucco makes it a challenging surface to work with. This guide is designed to demystify the process, ensuring you can approach your task with confidence and the right knowledge.
How To Drill Into Stucco Wall? Drilling into stucco requires specific tools and techniques to avoid damage. Use a masonry drill bit, start with a smaller pilot hole, and gradually increase to your desired size. Ensure to wear safety gear and verify there are no underlying utilities.
Embarking on a DIY project involving stucco walls can be intimidating, but fear not! This blog will walk you through every step needed for a successful drilling experience. From selecting the right tools to understanding the nuances of working with stucco, I’ll share insights and tips to help you complete your project efficiently and safely. Let’s dive in and turn this challenge into a rewarding DIY accomplishment!
Understanding Stucco
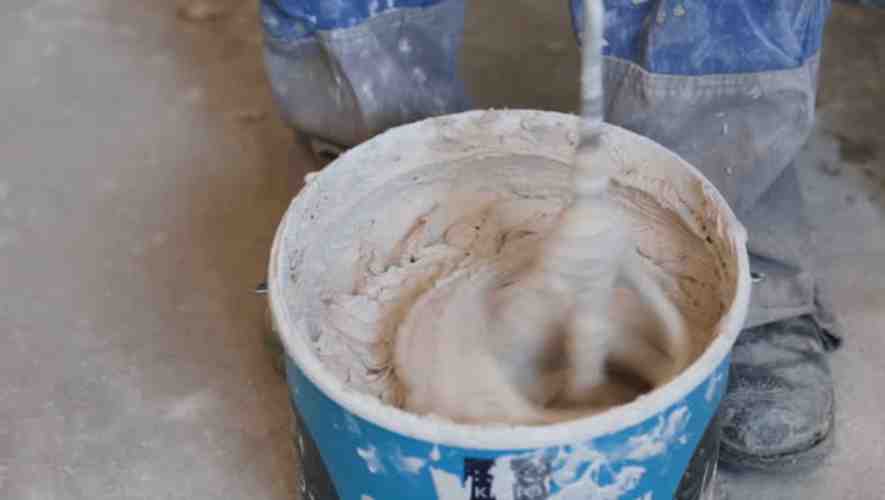
Stucco is a popular construction material composed of aggregates, a binder, and water. It’s applied wet and hardens to a very dense solid, offering an aesthetic finish to buildings.
Commonly used for coating walls and ceilings, stucco is admired for its versatility, durability, and easy application. It’s especially prevalent in Mediterranean and Spanish-style architecture.
Stucco not only enhances the visual appeal of structures but also provides some insulation and weather-resistant properties.
Stucco serves multiple functions in the construction industry. Primarily, it’s used as a decorative coating for walls and ceilings, both internally and externally. It’s also employed for artistic and architectural purposes, like molding and sculpting.
Due to its excellent durability, stucco is favored in regions with harsh weather conditions. It’s an affordable option for achieving a high-end look and can be easily textured or colored to suit various design preferences.
Different Types of Stucco

Traditional Stucco
Traditional stucco, known for its durability and breathability, is made from a mixture of cement, lime, sand, and water. This type is typically applied in three coats, making it thicker and more resistant to cracks.
Traditional stucco is ideal for buildings that require a robust and long-lasting exterior finish. It allows for moisture to escape, preventing mold and rot, which is essential in humid climates.
Synthetic Stucco
Synthetic stucco, often referred to as Exterior Insulation and Finish Systems (EIFS), is a lightweight and versatile alternative to traditional stucco.
It usually consists of a foam insulation board, a base coat, and a finish coat. Synthetic stucco is energy-efficient, providing better insulation than its traditional counterpart.
It’s less breathable and requires accurate installation to prevent moisture-related issues. It offers greater design flexibility and comes in a variety of textures and colors.
Tools and Materials Needed To Drill Into Stucco Wall
When undertaking a DIY project, having the right tools and materials is crucial for success and safety. This section outlines the essential and optional tools you’ll need.
List of Essential Tools
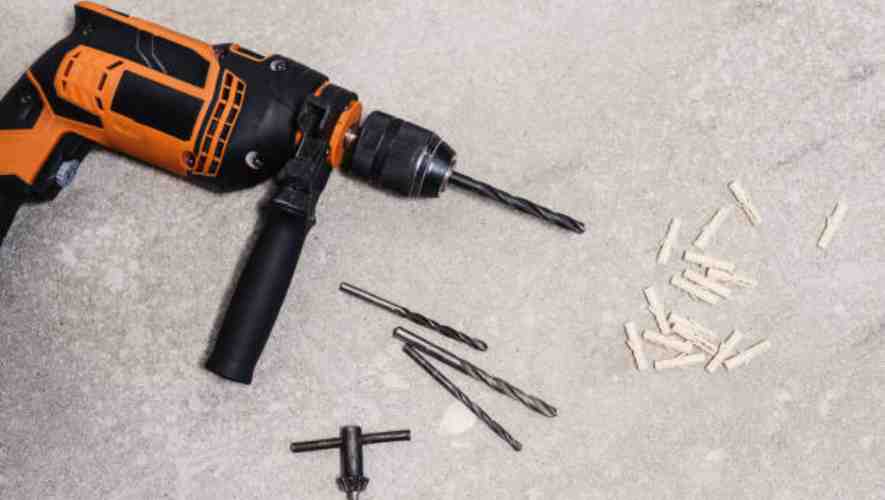
For most DIY projects, certain tools are indispensable. A high-quality drill is at the forefront of this list, providing the power and precision needed for various tasks.
Equally important are masonry drill bits, designed to penetrate tough materials without causing damage. These tools are not just about efficiency; they’re about ensuring the work can be done correctly and safely.
Safety Equipment
Your safety should always be a priority. Essential safety gear includes safety goggles, which protect your eyes from debris, dust, and accidental splinters.
Gloves are another crucial item, offering protection against cuts, scrapes, and blisters while improving grip. Always ensure your safety equipment is in good condition and fits properly before starting your project.
Optional but Helpful Tools
While not strictly necessary, certain tools can greatly enhance your DIY experience. A level is invaluable for ensuring your work is perfectly horizontal or vertical, crucial for tasks like hanging pictures or installing shelves.
A stud finder can be a game-changer, especially for projects involving walls, as it helps locate studs for secure mounting. These tools, while optional, can significantly improve the quality and ease of your DIY tasks.
Preparation Steps Of Drilling Into Stucco Wall
Choosing the Right Location for Drilling
Understanding the Surface
Before drilling, it’s crucial to understand the surface type, be it wood, concrete, or metal, as each requires specific drill bits and techniques.
Evaluating the Area
Assess the area for structural stability. Avoid areas too close to edges or weak spots that might not support the drill’s pressure.
Considering Aesthetics
Factor in the visual impact. The drilling location should align with the aesthetic goals of the project, ensuring symmetry and alignment with other elements.
Safety Considerations
Always prioritize safety by avoiding areas near electrical outlets or where there might be hidden wires or pipes.
Accessibility and Convenience
Ensure the chosen spot is easily accessible for drilling and future use, considering factors like height and reachability.
Measuring and Marking the Drilling Spot
Accurate Measurements
Utilize a tape measure or ruler for precise measurements, ensuring the drill spot aligns perfectly with the project’s requirements.
Marking Techniques
Use a pencil or marker to clearly mark the spot. For harder surfaces, a center punch can create a small indent, guiding the drill.
Cross-checking Measurements
Double-check measurements from multiple angles to ensure accuracy, preventing any misalignment.
Visibility of Marks
Ensure the marks are visible and distinct, adjusting the marking tool or method if necessary, especially on darker surfaces.
Temporary Marking Options
Consider using masking tape for temporary markings, which can be adjusted easily and won’t leave permanent marks.
Precautions Before Drilling
Detecting Hidden Wires and Pipes
Use a stud finder or pipe detector to check for hidden wires, pipes, or structural supports, avoiding potential hazards.
Clearing the Area
Ensure the drilling area is free from obstructions, including movable objects and debris that could interfere with the drilling process.
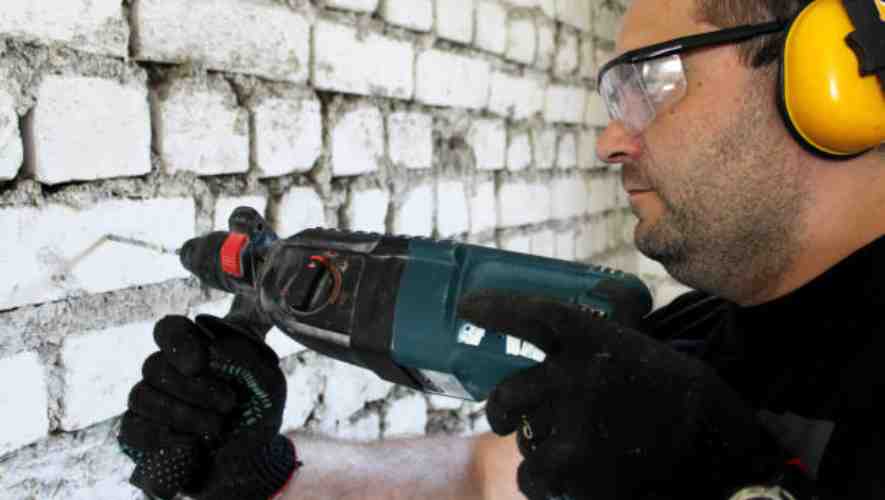
Personal Safety Gear
Always wear appropriate safety gear, such as goggles, gloves, and ear protection, to prevent injuries.
Verifying Equipment Condition
Inspect the drill and drill bits for any damage or wear, ensuring they are appropriate for the material and task.
Emergency Preparations
Have a first aid kit and emergency contact numbers handy, preparing for any unforeseen accidents during the drilling process.
Step-by-Step Guide Of Drilling Into Stucco Wall
Setting up the Drill and Drill Bit
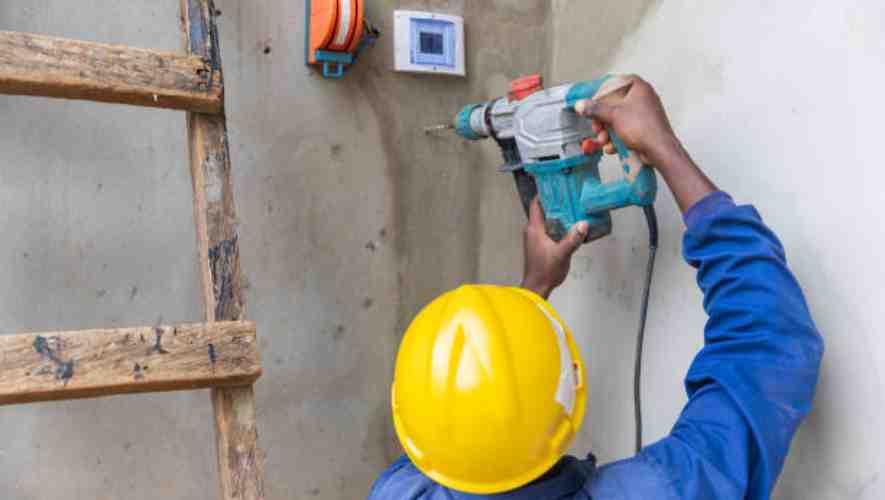
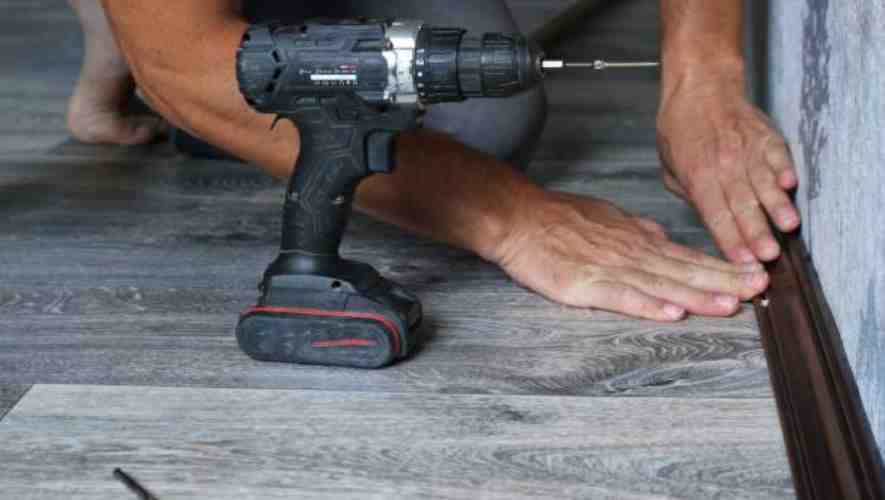
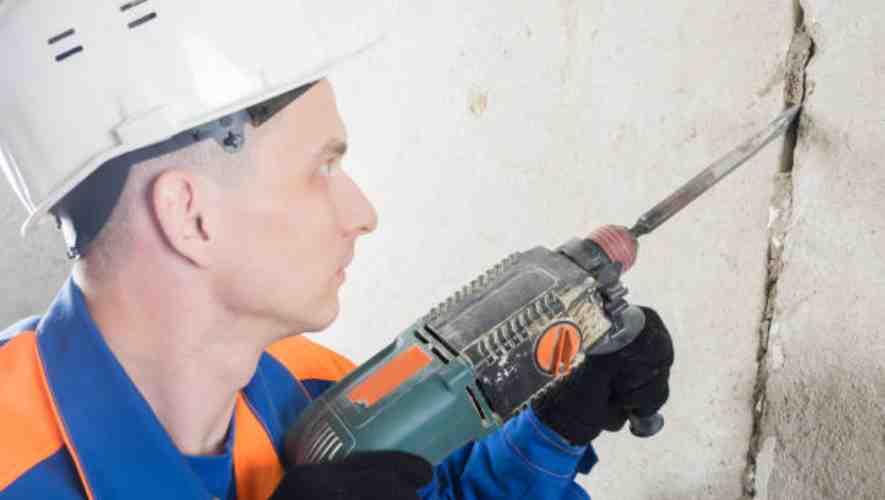
Before beginning the drilling process, it’s crucial to select the right drill and drill bit for stucco. A hammer drill is recommended for its effectiveness on masonry surfaces.
Choose a masonry drill bit that matches the size of the hole you plan to drill. Ensure the drill is set to the hammer setting for optimal performance. It’s also advisable to wear safety goggles and a dust mask to protect against stucco dust and debris.
Drilling the Pilot Hole
The next step involves drilling a pilot hole, which acts as a guide for the main hole. Begin by marking the drilling point with a pencil.
Start the drill at a low speed to establish the hole, then gradually increase the speed. Apply steady pressure but avoid pushing too hard, as stucco can crack easily. The pilot hole should be drilled to a depth slightly shorter than the length of the screw or anchor you will use.
Drilling the Main Hole
After the pilot hole is complete, switch to the appropriately sized masonry bit for your main hole. Align the drill bit with the pilot hole and start drilling at a slow speed, gradually increasing as the bit penetrates deeper.
It’s important to periodically withdraw the drill bit to remove debris and prevent overheating. Continue drilling until you reach the desired depth, ensuring the hole is clean and free from excess debris.
Finishes Touches After Drilling
Cleaning the Area Post-Drilling
After completing the drilling process, it’s crucial to maintain the integrity and cleanliness of the work area. Begin by removing any debris, dust, or particles using a vacuum or a soft brush.
This step not only ensures a tidy workspace but also prepares the surface for any further installations or treatments. Careful cleaning prevents potential damage to the drilled surface and surrounding area, and is essential for achieving a professional finish.
Installing Anchors or Screws (If Necessary)
Once the area is clean, the next step is to install anchors or screws, if required for your project. This is particularly important in cases where the drilled holes are meant to support weight or secure objects.
Select the appropriate size and type of anchor or screw for the material you’ve drilled into. Proper installation of anchors or screws is key to ensuring stability and durability, preventing any future structural failures.
Sealing the Hole to Prevent Moisture Intrusion
Finally, to ensure the longevity of your drilling work, it’s important to seal the hole, especially if it’s exposed to elements that could lead to moisture intrusion. Use a suitable sealant that’s compatible with the material of your surface.
A proper sealant not only prevents moisture but also guards against dust and other environmental elements. This step is crucial for outdoor drilling projects or in areas prone to humidity and water exposure.
Common Mistakes to Avoid When Drilling Into Stucco Walls
List of Frequent Errors and Misconceptions
When drilling into stucco walls, a common misconception is that it’s similar to drilling into wood or drywall. This often leads to the use of incorrect drill bits, such as wood or metal bits, instead of masonry bits specifically designed for stucco.
Another frequent error is applying excessive force, which can crack or chip the stucco. People also mistakenly ignore the presence of underlying materials, such as mesh or wood lath, which can affect the drilling process. Avoiding these errors ensures a cleaner and safer drilling experience.
Tips for Troubleshooting Common Issues
To address common issues, start by ensuring the use of a masonry bit and a hammer drill for efficient and precise drilling. If the drill bit gets stuck, it’s often due to hitting a wire mesh. In such cases, gently wiggle the bit to dislodge it.
If the stucco chips or cracks, pause and reevaluate your pressure and angle. A pilot hole can help in guiding the drill bit accurately. When encountering resistance, it’s crucial to stop and assess instead of forcing the drill, as this can cause more damage to the stucco wall.
Conclusion
To successfully drill into a stucco wall, use a masonry bit, start with a small pilot hole, and gradually increase the size. Always wear protective gear and check for underlying utilities.
In wrapping up, remember that drilling into stucco is about patience and precision. Don’t rush the process; take your time to ensure accuracy and safety. If you’re ever in doubt, it’s okay to seek professional advice. Ultimately, the satisfaction of completing a DIY project on your stucco wall is immensely rewarding. With the guidelines and tips provided in this blog, you’re now equipped to tackle your stucco drilling project like a pro! Remember, every drill you make is a step closer to mastering the art of working with stucco. Happy drilling!
