

Are you looking to install a Ring Doorbell on your stucco wall but hesitant about drilling holes? You’re not alone. Many homeowners face the dilemma of wanting the security and convenience of a Ring Doorbell but are concerned about damaging their stucco walls. This guide is specifically tailored for you.
How To Install Ring Doorbell On Stucco Without Drilling? Installing a Ring Doorbell on stucco without drilling is achievable by using high-quality, weatherproof double-sided tape or adhesive strips. These materials provide a secure and durable hold, ensuring that your doorbell stays in place without the need for drilling or causing damage to the stucco.
The beauty of this method is its simplicity and effectiveness. In this blog, we will explore step-by-step instructions, tips for ensuring a secure fit, and advice for maintaining your doorbell over time. This approach not only preserves the integrity of your stucco but also saves you from the hassle and costs associated with more invasive installation methods. Let’s dive in and discover how you can enhance your home’s security effortlessly!
Understanding Your Ring Doorbell and Stucco
Overview of Ring Doorbell Models
Ring Doorbell Variants Explained: Ring Doorbell has become a household name in smart home security. With various models like the Ring Video Doorbell, Ring Pro, and Ring Doorbell 3, each offers unique features.
For instance, while the basic version offers essential video surveillance, the Pro model boasts advanced motion detection and connectivity features. These devices are designed for easy installation and user-friendly operation, making them a popular choice for modern homeowners.
Characteristics of Stucco as a Material
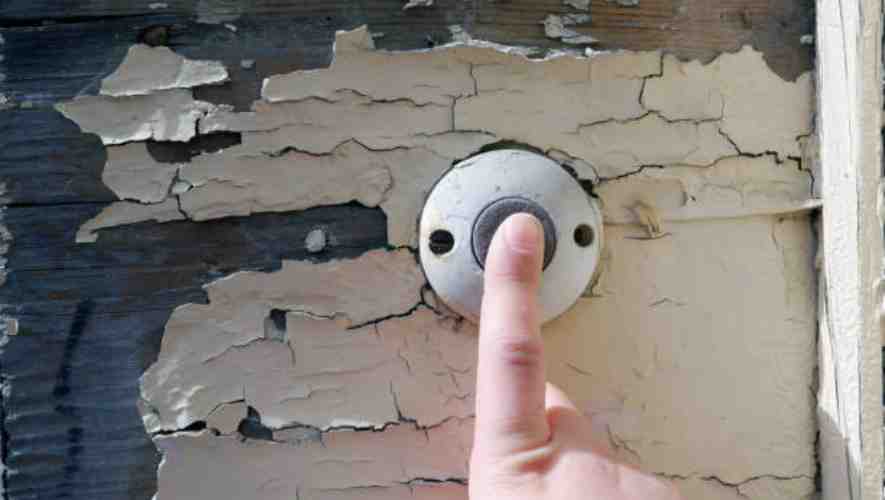
Understanding Stucco’s Composition and Properties: Stucco, widely used for exterior wall cladding, is a blend of cement, lime, sand, and water. This material is prized for its aesthetic appeal and durability.
Stucco’s texture can range from smooth to coarse, and it can be painted in various colors. However, its rigid structure and susceptibility to cracks when improperly handled are important considerations for homeowners thinking of attaching external fixtures like doorbells.
Why Drilling Might be Problematic for Stucco
Challenges of Drilling into Stucco Surfaces: Drilling into stucco requires careful consideration due to its unique composition. The risk of creating cracks or damaging the underlying moisture barrier is significant.
This damage can lead to water infiltration and structural issues over time. Additionally, the repair of stucco is often complex and can be aesthetically noticeable. Hence, alternative non-invasive installation methods for devices like Ring Doorbells are often recommended for stucco homes.
Tools and Materials Needed For Install Ring Doorbell
List of Required Tools and Materials
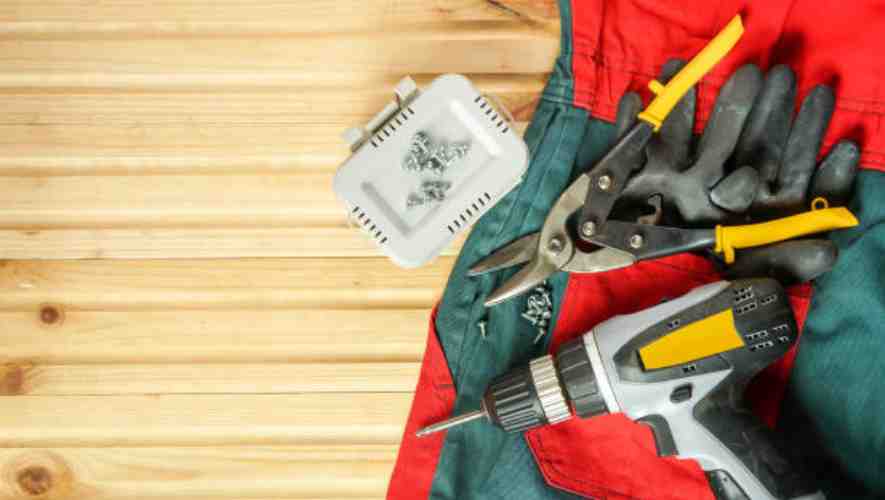
To embark on this project, a comprehensive list of tools and materials is essential. This list includes basic hand tools like hammers, screwdrivers, and pliers, as well as specialized equipment such as power drills and saws.
Materials may vary based on the project but generally include items like wood, nails, screws, and adhesives. Precision measuring tools such as rulers and levels are also crucial to ensure accuracy in your work.
Recommended Brands or Types for Each Tool/Material
When selecting tools and materials, the quality and suitability for the task are paramount. For power tools, brands like DeWalt and Makita offer durability and reliability. For hand tools, Stanley and Craftsman are known for their longevity.
In terms of materials, choose quality over cost; for instance, select kiln-dried wood as it is less likely to warp. For adhesives and fasteners, brands like Gorilla Glue and 3M are recommended for their superior performance.
Where to Purchase or Find These Items
Locating the right place to purchase your tools and materials is as important as selecting them. Local hardware stores often provide a wide range of quality options and the added benefit of expert advice.
For a more extensive selection, home improvement chains like Home Depot or Lowe’s offer a vast array of tools and materials. Online marketplaces such as Amazon can also be convenient options, providing reviews and competitive pricing.
Don’t overlook second-hand stores or online marketplaces for used tools, especially for more expensive items.
Pre-Installation Steps for Ring Doorbell

Checking Your Wi-Fi Strength and Ring Doorbell Battery Life
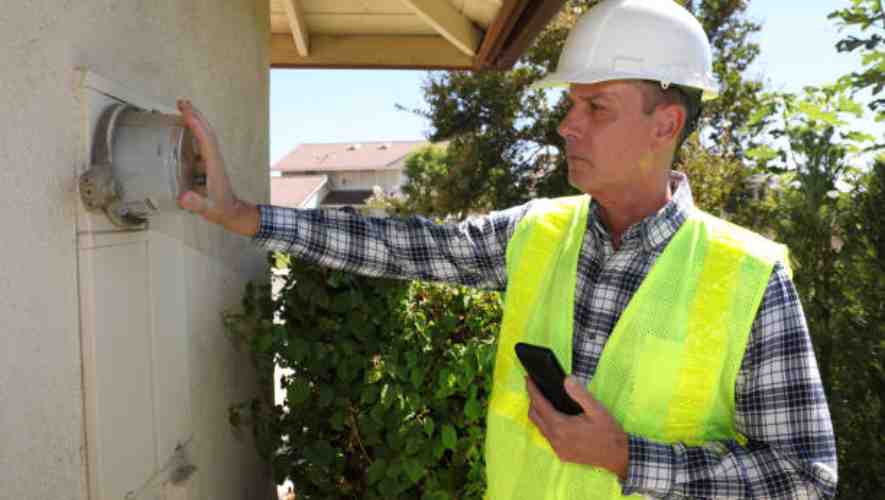
Before installing your Ring Doorbell, it’s crucial to ensure your Wi-Fi signal is strong where you plan to mount the device. Weak Wi-Fi can lead to poor video quality and delayed notifications.
Use a Wi-Fi signal strength tester app on your smartphone to check the signal at the intended location. Also, fully charge your Ring Doorbell’s battery. A fully charged battery ensures that the device can be tested immediately after installation for optimal performance.
Choosing the Optimal Location for Your Ring Doorbell
Selecting the right location for your Ring Doorbell is key to maximizing its efficiency and coverage.
The ideal height is about 48 inches from the ground, providing a clear view of faces and packages. Avoid direct sunlight and reflective surfaces to prevent glare. Consider the angle of view and any potential obstructions, like plants or decorations, that might block the camera’s line of sight.
Cleaning and Preparing the Stucco Surface
When installing on a stucco surface, proper preparation is essential for a secure and stable installation. Start by cleaning the area where the doorbell will be mounted, removing any dirt or debris to ensure a clean surface.
If the stucco is uneven, consider using a mounting bracket or a wedge kit for a level installation. Mark the drill points clearly, and ensure you have the right drill bits for stucco, which are typically masonry bits.
Installation Methods for Doorbells
Using Adhesive Strips
Step-by-step Guide to Applying Adhesive Strips
To effectively use adhesive strips for doorbell installation, begin by cleaning the surface where the doorbell will be mounted.
Ensure it is dry and free from dust. Peel off the protective layer from the strips and press them firmly onto the back of the doorbell. Then, align the doorbell with the desired position on the wall, pressing firmly for about 30 seconds to secure it.
Tips for Ensuring a Strong Bond
For a strong bond, choose high-quality adhesive strips designed for outdoor use. Avoid installing on uneven or porous surfaces as they reduce adherence.
In cold weather, warm up the surface before application. Pressing firmly for a longer duration and allowing the adhesive to set for an hour before mounting the doorbell can also enhance the bond.
Using Silicone-Based Adhesives
Preparing the Surface for Silicone Adhesives
Start by thoroughly cleaning the surface with alcohol or a similar solvent to remove grease or dirt. Dry the area completely. If the surface is smooth, lightly sanding it can create a more adhesive-friendly surface. Tape around the area where the adhesive will be applied to ensure a clean installation.
Applying the Silicone and Mounting the Doorbell
Apply a thin bead of silicone adhesive on the back of the doorbell. Be careful not to over apply as it could ooze out the sides. Carefully position the doorbell against the wall, pressing it firmly in place. Wipe away any excess adhesive immediately with a damp cloth.
Curing Time and Conditions
Silicone adhesives typically require 24 hours to cure fully. Avoid disturbing the doorbell during this period. Ensure that the weather conditions are favorable – too cold or humid environments can prolong the curing time. Checking the manufacturer’s recommendations for optimal curing conditions is always beneficial.
Mounting on a Non-Stucco Surface Adjacent to Stucco
Identifying Suitable Adjacent Surfaces
Look for non-stucco surfaces close to your stucco wall, such as wooden trim or siding. These surfaces should be stable, flat, and capable of supporting the doorbell’s weight. Ensure that the chosen spot is within reach of your doorbell’s wiring or wireless signal range.
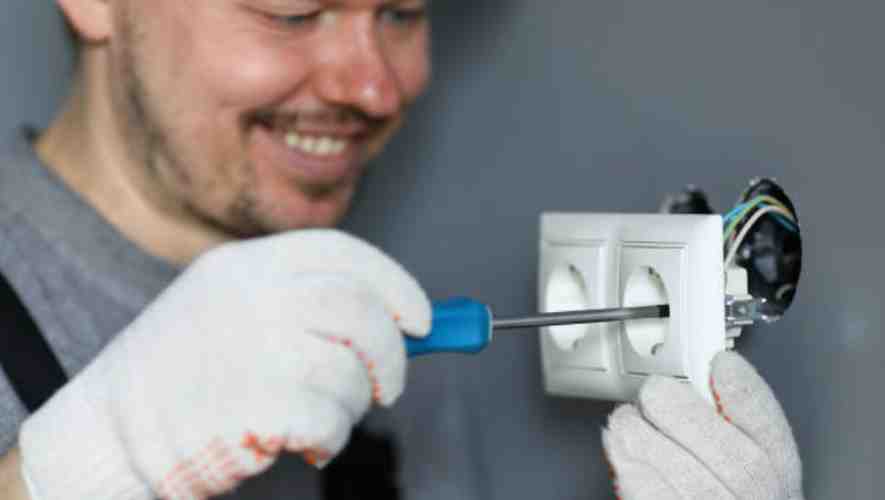
Securing the Doorbell to the Adjacent Surface
Depending on the surface, use appropriate screws or anchors. For wooden surfaces, direct screwing might be sufficient.
For harder materials, you may need to drill pilot holes and use wall anchors. Ensure the doorbell is level before fully tightening the screws. If the doorbell is wireless, check its functionality before finalizing the installation.
Post-Installation After Installing Ring DoorBell
Testing the Ring Doorbell
After successfully installing your Ring Doorbell, it’s crucial to test its functionality to ensure optimal performance. Begin by checking its connection to your Wi-Fi network and the Ring app. Test the doorbell’s video and audio quality by making a few test calls.
Verify motion detection settings and fine-tune them to your preference. Regular testing ensures your Ring Doorbell operates effectively, providing the security and convenience it’s designed for.
Maintenance Tips for a Secure Mount
Maintaining your Ring Doorbell is essential for long-term reliability and security. Regularly inspect the mounting hardware to ensure it’s secure and hasn’t loosened over time.
Clean the camera lens gently to maintain clear video quality, taking care not to damage sensitive components.
Check for any firmware updates via the Ring app, as these can enhance functionality and security. Protecting the device from extreme weather conditions can also prolong its lifespan and performance.
Troubleshooting Common Issues
Encountering issues with your Ring Doorbell can be frustrating, but many common problems have simple solutions. If the doorbell is offline, check your Wi-Fi connection and router settings.
For poor video or audio quality, ensure there are no obstructions near the camera or microphone. If motion detection isn’t working correctly, adjust the sensitivity settings in the app.
For more complex issues, consulting the Ring support team or referring to online resources can provide additional guidance.
Conclusion
In conclusion, installing a Ring Doorbell on stucco without drilling is a practical and effective solution. Using high-quality adhesive strips allows for a secure and damage-free installation, ensuring your doorbell stays in place without compromising the integrity of your stucco.
It’s important to remember that the key to a successful installation lies in choosing the right materials and following the steps carefully. By doing so, you can enjoy the benefits of a Ring Doorbell without the worry of damaging your home’s exterior. Whether you’re a DIY enthusiast or a novice, this method offers a straightforward and satisfying way to enhance your home’s security. So go ahead, give it a try and enjoy the peace of mind that comes with a well-installed Ring Doorbell.
