
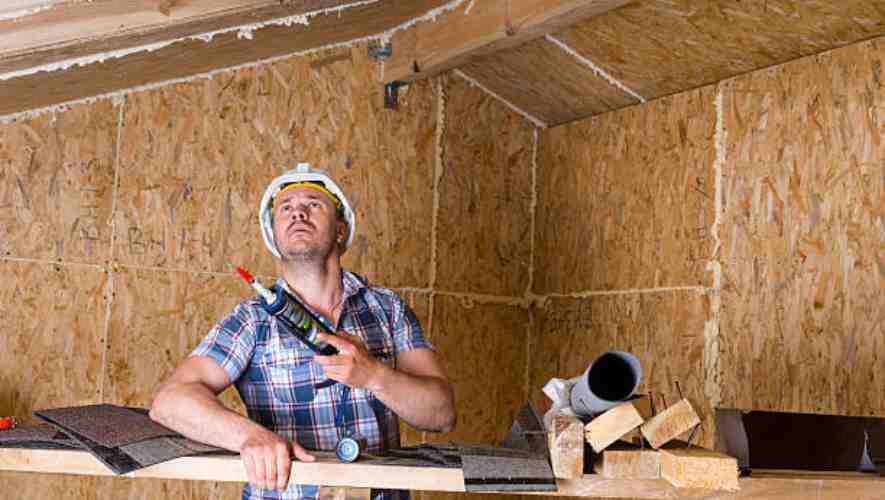
Embarking on a home improvement project often involves unexpected challenges, such as needing to drill through joists in a finished ceiling. Whether you’re installing new lighting, running cables, or adding ventilation, this task can seem daunting. It requires precision and care to avoid damaging your ceiling or compromising the structural integrity of your joists.
How To Drill Through Joists In A Finished Ceiling? To drill through ceiling joists, locate the joists using a stud finder, then drill a pilot hole. Ensure the hole’s size is adequate for your project but small enough to maintain the joist’s strength. Always check for wiring and pipes before drilling to avoid costly mistakes.
You’re about to delve into a guide that simplifies this seemingly complex task. In this blog, we’ll navigate through the step-by-step process, share tips to avoid common pitfalls, and ensure your project’s success. Whether you’re a seasoned DIY enthusiast or a beginner, this guide promises to enhance your skills and confidence in tackling this task.
Understanding Your Ceiling
Identifying Joists and Their Role
Joists are crucial components in your ceiling structure, providing support and stability. They are horizontal structures that distribute weight evenly across the ceiling.
Understanding their location and role is key for any ceiling-related project. Identifying these joists is the first step to ensuring a successful and structurally sound endeavor.
Tips for Locating Joists in a Finished Ceiling
Locating joists in a finished ceiling can be challenging. Use a stud finder to easily detect them through the ceiling material.
Another method is to tap on the ceiling and listen for solid sounds indicating a joist’s presence. Observing the direction of nails or screws on the surface can offer clues to their alignment.
Gathering the Right Tools
Listing Essential Tools and Materials
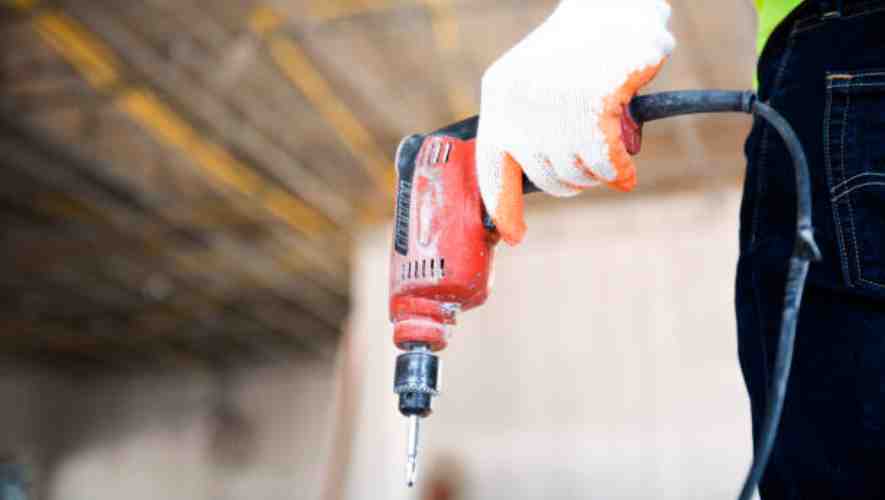
For any ceiling project, certain tools are indispensable. A drill, suited to the material of your ceiling, is essential. A variety of drill bits may be needed depending on the task.
A reliable stud finder is vital for locating joists. Safety gear, including goggles and gloves, should not be overlooked. Ensure you have all necessary tools before beginning your project.
Recommendations for Selecting Quality Tools
Selecting quality tools is crucial for efficiency and safety. Opt for a drill with adjustable speed and power settings to suit different materials.
High-quality drill bits reduce the risk of damage to your ceiling. When choosing a stud finder, consider one with deep scanning features for accuracy. Investing in durable safety gear ensures your protection throughout the project.
Safety Measures
Highlighting the Importance of Safety
Safety is paramount in any construction or repair task. Always wear protective gear, including safety goggles and gloves, to prevent injuries.
Ensure your ladder is stable and appropriate for the ceiling height. Be mindful of your surroundings to avoid accidents. Precautionary measures may seem time-consuming but are essential for a safe and successful project.
Planning Your Drilling Points
Before initiating any drilling project, it’s crucial to have a strategic plan. This involves identifying the purpose of the drilling and the type of surface you’ll be working on.
Whether it’s for installing fixtures or running cables, understanding the scope of your project helps in choosing the right tools and techniques. This planning phase minimizes mistakes and ensures a smoother workflow, reducing the chances of damage to your working surface.
Measuring and Marking
Accuracy in measuring and marking is the foundation of a successful drilling project. Begin by determining the exact spot where the drilling is required. Use a ruler or a measuring tape to measure the distance from reference points like edges or corners.
Once the point is identified, mark it clearly with a pencil or a marker. This step is vital to avoid misaligned holes and ensures that your drilling aligns perfectly with your project’s requirements.
Instructions on How to Measure Accurately and Mark Drilling Points
Precise measurement is key to ensuring your drilling points are correctly placed. Start by clearly defining the location for each point. Use a tape measure for accuracy, and double-check measurements to avoid errors.
Mark the drilling points with a visible tool, such as a marking pen or chalk. For surfaces that are hard to mark, like tiles, use masking tape as a marking guide. Always recheck your marks before drilling to ensure they align with your project’s design.
Discussion on Avoiding Electrical Wiring and Plumbing
When planning drilling points, it’s imperative to consider the location of electrical wiring and plumbing. Accidentally drilling into these can lead to dangerous and costly damages. Use a stud finder to detect wires and pipes behind walls.
Consulting building plans can provide insight into the layout of these utilities. If uncertain, it’s always safer to seek professional advice. Remember, safety is paramount, and taking these precautions can prevent accidents and additional repair costs.
The Drilling Process
The drilling process is a critical task in various construction and home improvement projects. It requires precision, understanding of the materials involved, and awareness of potential obstacles.
This guide provides a detailed look into the drilling process, focusing on drilling through joists, handling unexpected obstacles, and post-drilling procedures.
Drilling Techniques
Step-by-Step Instructions for Drilling Through a Joist
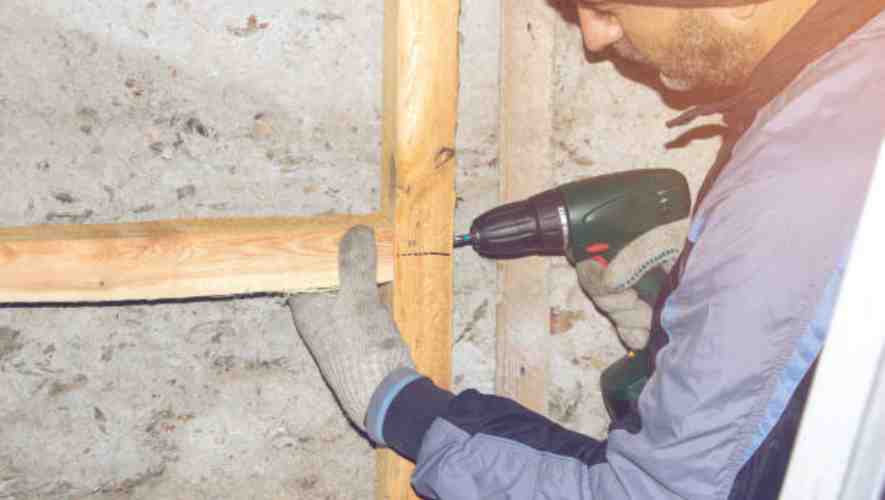
Preparation
Begin by identifying the drilling location on the joist. Use a pencil to mark the precise spot where the hole is needed.
Equipment Selection
Choose a drill bit appropriate for the material of the joist and the size of the hole required. Ensure that your drill is fully charged or plugged in.
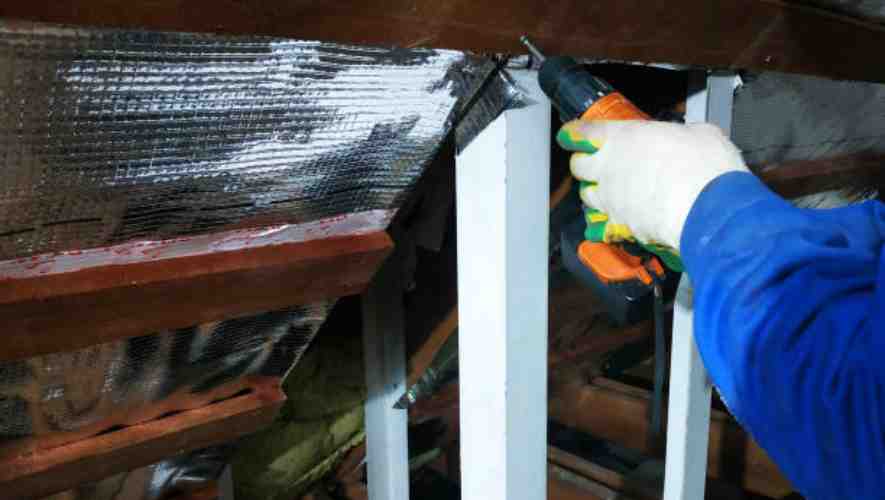
Drilling Position
Position the drill perpendicular to the joist. Apply steady pressure and start drilling at a slow speed to gain control.
Progressing the Drill
Gradually increase the speed while maintaining control. If the material is tough, periodically withdraw the bit to remove debris.
Finalizing the Hole
Slow down as you near the end of the joist to prevent splintering. Once through, pull out the drill bit carefully.
Tips for Maintaining Control and Precision
Steady Hand
Keep your hand firm and stable to ensure precision. Avoid any sudden movements.
Speed Control: Start slowly and increase speed gradually. High speeds can cause loss of control.
Use of Guides
Utilize a drill guide or a makeshift guide (like a wooden square) for straight drilling.
Regular Breaks: Take breaks to prevent fatigue, which can lead to errors.
Bit Quality: Regularly check the sharpness of your drill bit. A dull bit can lead to inaccurate drilling.
Dealing with Obstacles
Advice on Encountering Unexpected Obstacles
Identification
When you feel resistance, stop drilling. Investigate the cause using a flashlight or an endoscopic camera.
Pipes and Wires
If you encounter pipes or wires, do not proceed. Assess the situation and, if necessary, consult a professional.
Rerouting
In some cases, it may be safer to change the drilling location to avoid the obstacle.
Safety First
Always turn off the power when drilling near electrical wires to prevent electrocution.
Damage Control
If damage occurs, immediately seek professional help to rectify the situation.
Post-Drilling Procedures

Steps to Take After Drilling
Cleaning Up
Remove all debris and sawdust from the drilling site. This can be done using a vacuum or a brush.
Inspecting the Hole
Check the hole for any irregularities or splintering. If necessary, use sandpaper to smooth out rough edges.
Structural Integrity
Ensure that the drilling has not compromised the structural integrity of the joist.
Finishing Touches: If the hole is for wiring or piping, ensure that it is adequately sealed or grommeted to prevent damage.
Tool Maintenance
Clean and store your tools properly. This prolongs their lifespan and ensures they are ready for next use.
Considering the Structural Integrity
Assessing Impact on Structural Integrity
Drilling into joists requires careful consideration of the structural integrity. The process can compromise the strength and stability of joists, essential in supporting floors and ceilings.
Accurate assessment involves understanding the material properties, load distribution, and the role of the joist within the overall structure. It’s crucial to consult structural guidelines or a professional engineer to avoid compromising the building’s safety.
Guidelines for Drilling Holes in Joists
When drilling holes in joists, adherence to specific guidelines is essential to maintain structural integrity. Generally, holes should be no larger than one-third the depth of the joist. They should be positioned at the center of the joist’s depth, away from the top and bottom edges.
Spacing between holes is also crucial; a minimum distance equal to the diameter of the largest hole is recommended. Always follow local building codes and professional advice for precise requirements.
Understanding Load Distribution and Joist Strength
The load distribution on a joist significantly influences how drilling affects its strength. Joists are designed to handle loads in specific ways, and drilling can alter this balance.
It’s important to understand the type of load (static or dynamic) and the weight distribution the joist is supporting. Holes should be strategically placed to minimize disruption to the load-bearing path within the joist.
Impact of Joist Material on Drilling Limitations
Different materials used in joists, such as wood, steel, or engineered products, have varying tolerances to drilling. For instance, wooden joists are more forgiving than steel but have limitations regarding hole size and placement.
The material’s properties dictate the amount of alteration it can safely endure. Consult material-specific guidelines or a structural engineer for material-specific drilling practices.
Long-Term Considerations and Maintenance
After drilling into joists, long-term considerations include monitoring for signs of structural weakening, such as sagging or cracking. Regular inspections are vital to ensure the integrity of the modified joist.
Understanding the potential for environmental effects, like moisture or temperature changes, helps in maintaining the joist’s integrity over time. Preventive measures and routine checks play a crucial role in the longevity of the structure.
Finishing Touches
When finalizing your ceiling project, attention to detail makes all the difference. Finishing touches involve scrutinizing every aspect of the ceiling’s surface for uniformity and perfection.
This includes ensuring that the paint or finish is evenly applied, with no visible brush strokes or inconsistencies. Pay special attention to the edges and corners, as these areas often reveal the quality of the workmanship.
Adding decorative elements or final coatings can enhance the ceiling’s aesthetic appeal and provide a protective layer for longevity.
Repair and Refinish
How to Repair Any Accidental Damage to the Finished Ceiling
Accidents happen, and knowing how to repair damage to a finished ceiling is crucial. Start by identifying the extent of the damage – be it a crack, hole, or water stain.
For cracks and small holes, use a high-quality spackle or joint compound, applying it smoothly and allowing it to dry thoroughly.
Sand the area gently until it’s flush with the rest of the ceiling. In the case of water stains, it’s important to first address the source of the moisture before applying a stain-blocking primer and repaint.
Tips for Refinishing the Area to Match the Existing Ceiling
Refinishing a damaged area to match the existing ceiling requires a keen eye for detail and a steady hand. Begin by cleaning the area to be refinished to ensure that the new finish adheres properly.
If you’re repainting, try to find a paint that matches the existing color and finish – taking a small chip to your local paint store can be helpful. Apply the paint with care, feathering the edges to blend seamlessly with the old finish.
For textured ceilings, replicate the pattern using the appropriate tools and techniques, ensuring consistency across the surface.
Conclusion
To successfully drill through ceiling joists, use a stud finder for accurate positioning, drill a pilot hole first, and be mindful of the hole size to maintain structural integrity. Avoiding hidden wiring and pipes is crucial for a safe and effective project.
In wrapping up, it’s clear that drilling through joists in a finished ceiling requires more than just a steady hand and a drill. It demands attention to detail, respect for safety protocols, and an understanding of your home’s structure. Remember, taking the time to do it right not only ensures a successful project but also preserves the integrity and beauty of your home. As you put away your tools and admire your handiwork, take pride in the skill and knowledge you’ve gained. Happy drilling!
