
Drilling through carpet presents a unique challenge. You’re likely here because you need to install something, perhaps a floor lamp or a piece of furniture, that requires a stable, drilled connection to the floor beneath your carpet. Drilling through carpet is not as straightforward as drilling through wood or concrete due to the risk of tangling the carpet fibers or damaging the underlying surface.
How To Drill Through Carpet? To effectively drill through carpet without causing damage, first press down on the carpet to locate the exact drilling spot. Then, using a drill bit slightly smaller than the screw diameter, carefully drill through the carpet and into the floor. This method ensures minimal carpet damage and a secure attachment.
The information in this blog will guide you through each step of drilling through carpet, ensuring you do it correctly and safely. Whether you’re a DIY enthusiast or tackling this for the first time, you’ll find valuable tips and tricks here. Plus, you’ll learn how to avoid common pitfalls and ensure a clean, professional-looking finish. Let’s dive in and turn this seemingly tricky task into a straightforward, doable project.
Understanding the Challenges of Drilling Through Carpet
Identifying Potential Issues
Drilling through carpet presents unique challenges, unlike drilling into hard surfaces. One of the primary concerns is the risk of snagging carpet fibers.
This can lead to unravelling or damaging the carpet’s aesthetic integrity. Carpets often mask the true nature of the surface underneath, potentially hiding uneven or delicate areas that require careful handling.
Comparing with Hard Surfaces
The experience of drilling into hard surfaces is significantly different. Hard surfaces provide a stable and predictable platform, allowing for a clean and controlled drilling process.
In contrast, carpets can shift or compress, leading to a lack of stability and precision. This unpredictability requires additional precautions and techniques to ensure a successful drilling without damaging the carpet or the underlying surface.
Mitigating Fiber Snagging
One of the key strategies to mitigate fiber snagging is the use of appropriate drill bits and slow, steady drilling techniques.
It’s crucial to choose a bit that can cut through the carpet cleanly without pulling or tearing the fibers. Starting the drill at a low speed and gradually increasing can help maintain control and reduce the chances of snagging.
Ensuring Surface Stability
To address the issue of surface stability, it’s advisable to use a firm backing material beneath the carpet.
This can provide a solid base for drilling and help prevent the drill bit from wandering. Furthermore, identifying the type of surface under the carpet (wood, concrete, etc.) is essential for selecting the right drill bit and technique.
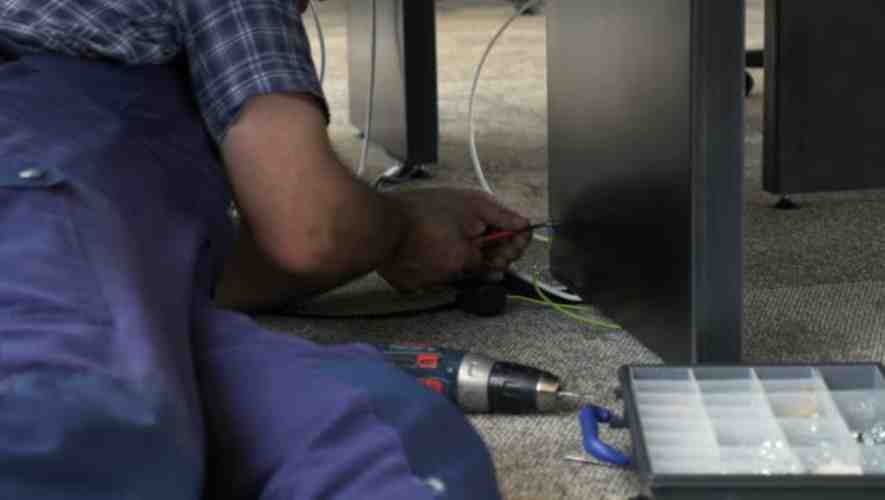
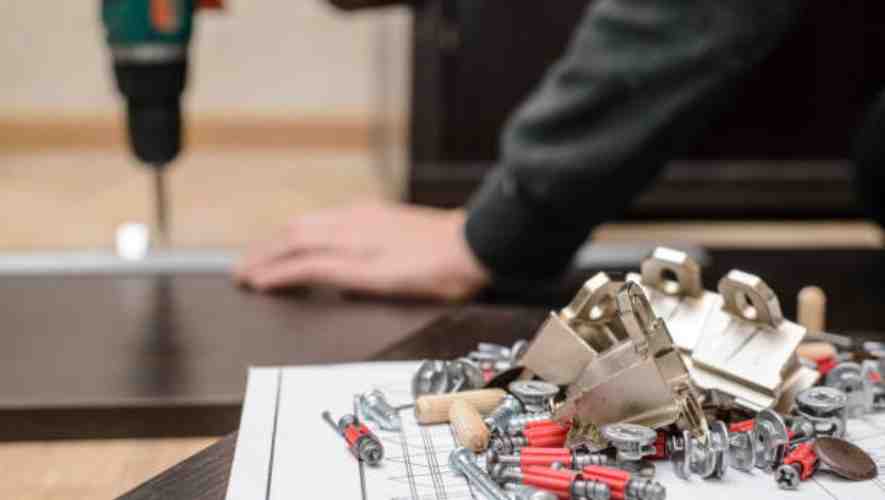
Necessary Tools and Materials
To undertake any professional project efficiently, a well-curated list of tools is indispensable. Essential items such as a drill and various drill bits tailored to different materials and sizes are fundamental.
Precision tools, like levels and measuring tapes, ensure accuracy in work. Utility items such as hammers, screwdrivers, and pliers cater to diverse needs. The selection of these tools must align with the specific requirements of the project to ensure efficacy and precision.
Additional Materials Needed
Apart from the primary tools, the success of a project often hinges on the availability of additional materials. Items such as tape – including masking, duct, and electrical – play versatile roles in securing components and marking measurements.
Markers and pencils are necessary for accurate marking and labeling. A vacuum cleaner or other cleaning tools are essential for maintaining a clean work environment, thereby enhancing safety and efficiency.
These materials, though secondary, significantly contribute to the streamlined completion of the project.
Safety Equipment
No project can compromise on safety, making safety equipment a crucial aspect of the work. Protective goggles shield the eyes from hazardous particles and debris, especially during drilling or cutting.
Gloves protect the hands from sharp objects, heat, and harmful substances. Depending on the nature of the work, additional safety gear like hard hats, ear protection, and respirators might be necessary. It’s vital to select the right type of safety equipment based on the specific risks associated with the project.
Preparing the Area of Drilling Through Carpet
Before beginning any drilling project, it’s essential to properly prepare the area. This includes removing furniture and any obstructions to create a clear workspace. Ensure the floor is clean to prevent any debris from interfering with the drilling process. Adequate preparation ensures a safer and more efficient workflow.
Clearing and Cleaning the Area
The initial step involves thoroughly clearing the space where drilling will occur. Remove all movable objects and cover immovable items with protective sheets to guard against dust and debris.
Cleaning the area is crucial; a dust-free surface reduces equipment malfunction risks and maintains a healthier work environment.
Tips for Marking the Drilling Spot Accurately
Accurate marking of the drilling spot is vital for precision. Use a pencil or masking tape to mark the exact point, ensuring visibility.
Employ a ruler or a measuring tape for exact placement, considering both horizontal and vertical alignment. Double-check measurements to avoid errors, as drilling mistakes can be difficult to rectify.
Discussing the Importance of Checking What’s Underneath the Carpet
It’s imperative to check what lies beneath the carpet before drilling. Hidden electrical wiring, plumbing, or structural supports can be damaged if drilled into.
Use a stud finder to detect any underlying studs or metal objects. Understanding the underlay structure prevents costly damages and ensures safety.
Choosing the Right Drill Bit
Drill bits are essential tools in both DIY projects and professional work, serving as the cutting edge in drilling operations.
Their design, material, and size significantly influence the outcome of drilling tasks. Understanding the basics of drill bits is crucial for efficient and safe drilling, ensuring the right bit is selected for each specific job.
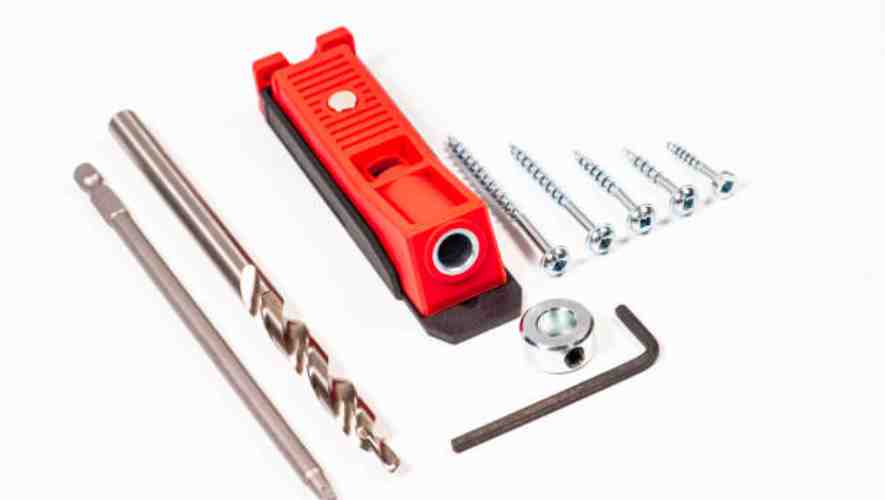
Types of Drill Bits
Drill bits come in various shapes and sizes, each designed for a specific purpose. Twist bits, commonly used for general drilling purposes, are great for wood, metal, and plastic.
Spade bits, with their broad, flat design, are ideal for drilling large holes in wood. Masonry bits, with a hardened tip, are specifically designed for drilling into concrete and stone. Each type’s unique design dictates its suitability for different materials.
Matching Drill Bits with Materials
Selecting the right drill bit for a material involves understanding the bit’s composition and the material’s properties.
High-speed steel (HSS) bits are versatile for drilling in metals, while cobalt bits excel in harder metals. For woodworking, carbon steel bits are preferred. The coating, such as titanium or black oxide, can also enhance the bit’s performance and durability in specific applications.
Choosing Drill Bits for Carpet and Underneath Surfaces
When drilling through carpet, the challenge lies in avoiding damage to the fibers and ensuring clean cuts. A twist bit is often suitable, but the choice also depends on the surface underneath the carpet.
For harder substrates like concrete, a masonry bit is necessary. It’s important to consider the thickness and hardness of both the carpet and the underlying surface for optimal results.
Maintenance and Care for Drill Bits
Proper maintenance extends the life of drill bits. Regular cleaning, proper storage, and sharpening when necessary are key.
Avoid using a bit for materials it’s not designed for, as this can lead to damage and decreased efficiency. Lubrication during drilling can also preserve the bit’s sharpness and prevent overheating.
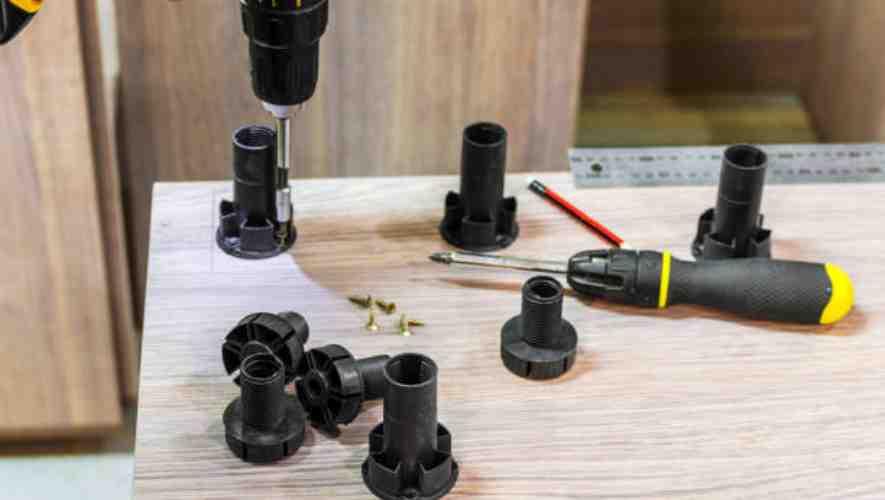
The Drilling Process
Drilling through a carpet requires precision and care to avoid unnecessary damage. The process involves several steps, each designed to ensure the integrity of the carpet while achieving the desired outcome.
This guide outlines the essential steps and techniques for drilling through carpet, ensuring a clean and damage-free result.
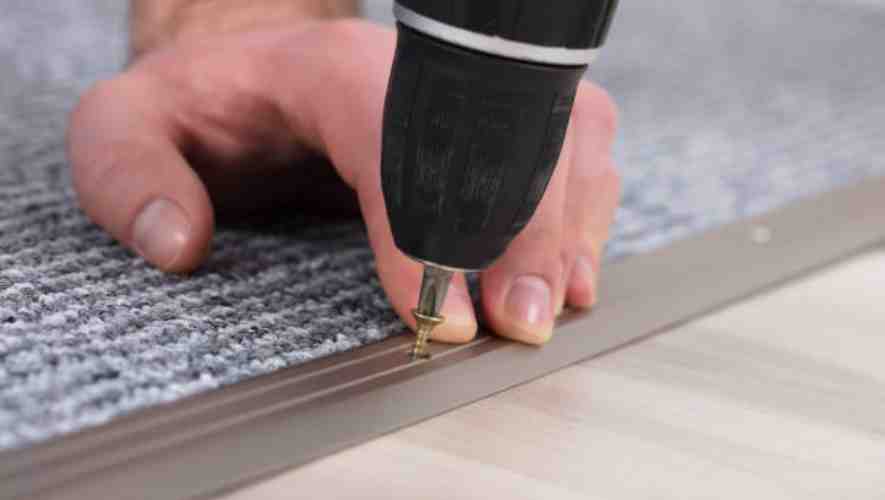
Step-by-Step Guide on How to Drill Through the Carpet
When drilling through carpet, it’s crucial to start by determining the exact location of the hole. Clear the area of any furniture and lay down protective sheets to catch debris.
Use a sharp, pointed tool to define your starting point, ensuring it doesn’t shift during drilling. Select the appropriate drill bit size for your project and attach it securely to the drill. Hold the drill perpendicular to the floor for a straight entry.
Starting with a Small Pilot Hole
The initial step in drilling through carpet is to create a small pilot hole. This smaller hole acts as a guide for the larger drill bit and helps in maintaining the precision of the drilling process.
Use a small drill bit, and apply gentle pressure to pierce through the carpet and underlying surface. The pilot hole should be just big enough to guide the larger bit but not so large as to fray the carpet fibers.
Gradually Increasing the Hole Size
Once the pilot hole is established, gradually increase the hole size using progressively larger drill bits.
This step-by-step approach helps in controlling the drill and reduces the risk of tearing or snagging the carpet fibers. Ensure each drill bit is securely attached and drill slowly, applying steady pressure to maintain control and accuracy.
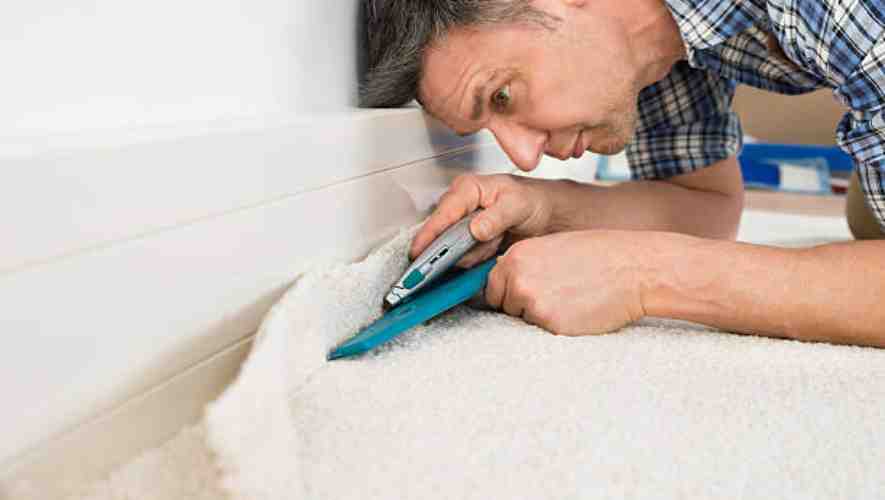
Techniques to Minimize Carpet Damage
Minimizing carpet damage is paramount when drilling. Use sharp drill bits to ensure clean cuts and prevent fraying. Place a scrap piece of wood underneath the carpet where you’re drilling to provide stability and prevent the carpet backing from tearing.
If possible, use a drill bit designed for use on soft materials. After drilling, gently clean the area to remove any debris and inspect the carpet for any signs of damage.
Post-Drilling Steps
Cleaning Up the Area
After completing a drilling task, the first step is to thoroughly clean the area. This includes vacuuming up all debris, such as dust and small particles, to prevent them from spreading throughout your space.
Ensuring the immediate vicinity is debris-free not only maintains cleanliness but also helps in assessing any potential damage caused during the drilling process.
Inspecting for Carpet Damage
Once the area is clean, the next step is to carefully inspect for any damage, particularly if the drilling was performed near or on carpeted surfaces.
Look for signs of tears, discoloration, or pulled threads. Accurate identification of any damage is crucial for effective repair or replacement strategies.
Repairing or Minimizing Visible Marks
If any marks or damages are found during the inspection, it’s important to address them promptly.
For minor scuffs or marks on walls or floors, using color-matched paint or a magic eraser can be effective. For carpet damage, small tears can often be repaired with carpet adhesive or a specialized repair kit, depending on the extent of the damage.
Conclusion
Drilling through carpet requires careful technique to avoid damage. Press the carpet down to locate the drilling spot, use a smaller drill bit than the screw, and drill carefully to ensure minimal damage and a secure attachment.
In conclusion, drilling through carpet is a delicate task that requires patience and precision. Remember, the key is to ensure that the carpet fibers are not unnecessarily damaged while securing a firm attachment to the floor. Feel free to experiment with the tips and techniques shared in this blog, and don’t hesitate to go back and review any steps if you’re unsure. Your final result should be both aesthetically pleasing and functionally sound. Happy drilling, and here’s to successfully completing your home improvement project!
