
Have you ever found yourself gazing at your tiled walls, wishing to add a shelf without the risk and hassle of drilling? Many homeowners and renters face this dilemma, seeking a way to enhance their space without causing permanent damage. The challenge of hanging a shelf on tile without drilling is a common one ,in bathrooms or kitchens where tiles are prevalent.
How To Hang A Shelf On Tile Without Drilling? Hanging a shelf on tile without drilling can be achieved using adhesive mounting strips or suction cup shelves. These options provide a secure hold without damaging the tile. Ideal for renters or those wanting a damage-free solution, these methods are easy, reversible, and effective.
This blog post is your ultimate guide on accomplishing this task. Not only will you discover the step-by-step methods to securely hang your shelves, but you’ll also learn how to select the right materials for your specific tiles. Whether you’re a DIY enthusiast or a novice, this guide promises to equip you with all the necessary knowledge, turning this seemingly daunting task into an achievable weekend project.
Understanding the Basics
Tiles are essential components in modern construction and interior design, offering both functionality and aesthetic appeal. Common types include ceramic, porcelain, and glass, each with unique characteristics and uses.
The choice of tile depends on factors like location, purpose, and personal preference. Understanding these basics is key to selecting the right tile for any project. This knowledge lays the foundation for further exploration into specific tile types and their applications.
Overview of the Types of Tiles
Ceramic Tiles
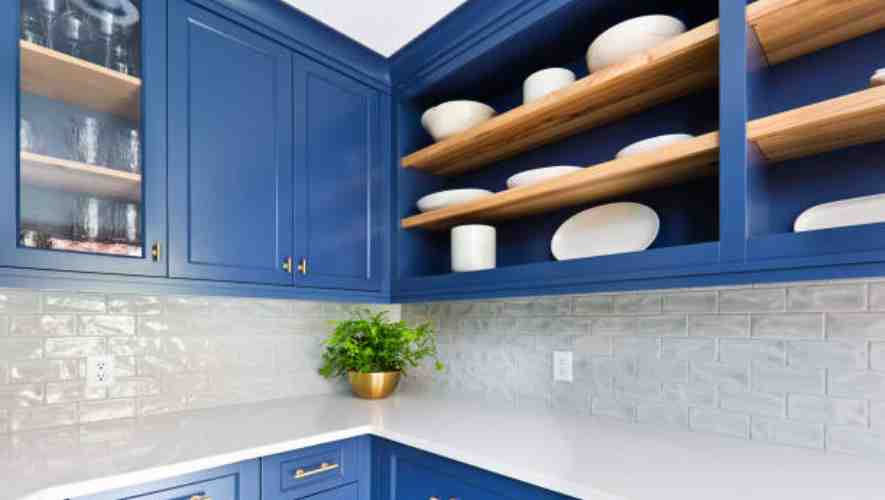
Ceramic tiles are popular due to their versatility and wide range of colors and designs. Made from clay and other natural materials, they are fired in a kiln and either glazed or left unglazed. Ceramic tiles are ideal for areas with moderate foot traffic, such as bathrooms and kitchens, due to their durability and ease of maintenance.
Porcelain Tiles
Porcelain tiles are a subset of ceramic tiles, known for their higher density and water resistance. These tiles are fired at extremely high temperatures, resulting in a hard and dense material. Porcelain tiles are an excellent choice for high-traffic areas and outdoor applications, owing to their strength and resistance to moisture and frost.
Glass Tiles
Glass tiles add a modern and aesthetic touch to spaces. They are made by melting glass into various shapes and finishes. Glass tiles are primarily used for decorative purposes in areas like backsplashes, walls, and borders. Their reflective nature can brighten up spaces, but they require careful handling and installation.
Discussion of Why Drilling Can Be Damaging
Drilling into tiles is a delicate task that, if done improperly, can cause significant damage. Tiles, those made of ceramic and glass, are prone to cracking and chipping when drilled.
This damage can compromise the structural integrity and aesthetic value of the tile. The risk of damaging tiles highlights the importance of understanding the right techniques and tools required for drilling, based on the tile type.
Importance of Choosing the Right Method for Tile Type and Shelf Weight
Selecting the appropriate method for installing shelves on tiles is crucial. The method varies depending on the tile type and the weight of the shelf and its contents.
For instance, heavier shelves require more secure anchoring, which may not be suitable for certain tiles like glass.
Understanding the physical properties of the tile and the load-bearing capacity is essential to ensure a safe and stable installation, preventing damage to both the tiles and the shelf structure.
.
Preparation Steps To hang A Shelf
Before beginning the installation of a shelf without drilling, it’s crucial to plan and prepare. Understanding the specific requirements of your space and the surface where the shelf will be placed is the first step.
This involves measuring the area, assessing the weight of items to be placed on the shelf, and considering aesthetic factors. Appropriate preparation ensures a seamless installation process and guarantees long-term stability and functionality of the shelf.
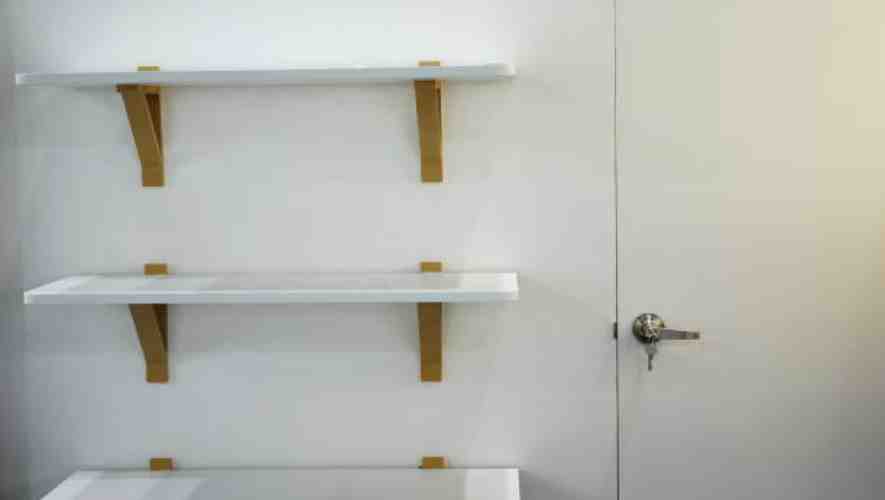
Choosing the Right Shelf for Your Space and Tile Type
Selecting the suitable shelf for your space involves considering both functionality and design. For tiled spaces, it’s essential to choose a shelf that complements the tile type, whether ceramic, porcelain, or stone.
The shelf’s weight capacity should align with your intended use, and its size and style should enhance the overall look of the room. Remember, the right shelf not only adds convenience but also elevates the space’s aesthetic appeal.
Tools and Materials Needed for Non-Drilling Methods
Installing a shelf without drilling requires specific tools and materials. Key items include a high-quality adhesive suitable for your wall type, a level to ensure the shelf is straight, and a tape measure for accurate placement.
Consider using temporary supports or tape to hold the shelf in place while the adhesive sets. Always choose materials that are designed for the weight and size of your shelf to ensure a secure and lasting hold.
Safety Considerations and Surface Preparation
Safety is paramount when installing a shelf without drilling. Ensure the area is clear of obstacles and that the surface where the shelf will be mounted is clean and dry. If dealing with fragile tiles, extra care should be taken to avoid cracking or damage.
Always wear protective gear, such as gloves and safety glasses, when handling adhesives or sharp tools. Proper surface preparation, including cleaning and priming, is essential for a strong and durable bond.
Non-Drilling Methods for Hanging Shelves
Adhesive Strips
Types of Adhesive Strips Suitable for Tiles
When choosing adhesive strips for tile surfaces, opt for those specifically designed for smooth, non-porous surfaces. Look for high-strength, waterproof options that resist temperature variations, as these characteristics are crucial for a secure hold on tile surfaces. Brands often specify the types of surfaces their products are suitable for, so always check the label before purchasing.
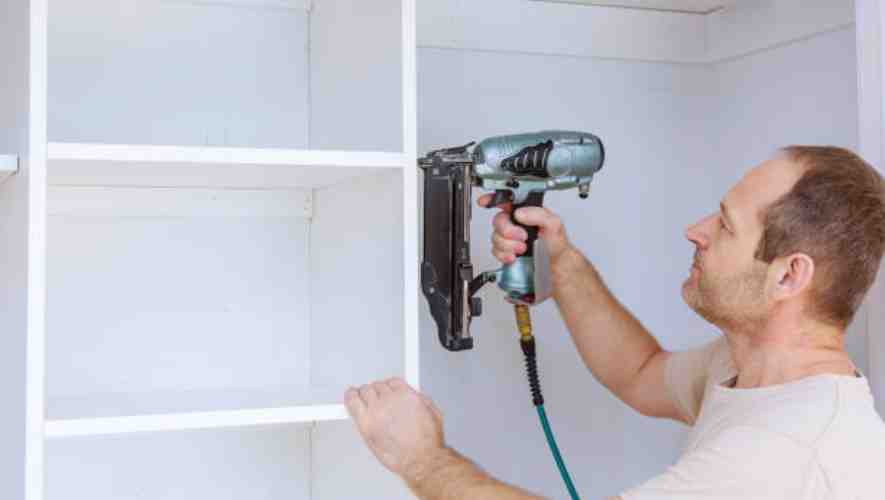
Step-by-Step Guide to Applying Adhesive Strips
Start by thoroughly cleaning the tile surface with alcohol or a grease-removing cleaner. Measure and mark where you want the shelf to go.
Attach the adhesive strips to the shelf, ensuring they are evenly spaced. Then, press the shelf firmly against the tile for the duration specified by the adhesive strip manufacturer. This ensures a strong bond.
Weight Limitations and Best Practices
It’s essential to understand the weight limitations of adhesive strips, as overloading can lead to failure. Usually, these strips can hold a few pounds, ideal for light shelves and items.
For best results, distribute weight evenly and avoid placing heavy objects on the shelf. Periodically check the bond strength and replace strips as necessary.
Suction Cups
Suitability for Different Tile Types
Suction cups work best on smooth, non-porous tiles. Textured or porous tiles may not provide enough surface area for a secure grip.
For these types of tiles, look for suction cups with a stronger grip or larger diameter. Test the suction cup on a small area of the tile first to ensure compatibility.
How to Securely Attach Suction Cups
Clean the tile and the suction cup with a lint-free cloth and mild detergent. Moisten the cup slightly for a better seal.
Press the cup firmly against the tile, ensuring there are no air bubbles under the cup. The suction mechanism should be fully engaged for a secure hold. Recheck and reapply periodically to maintain grip.
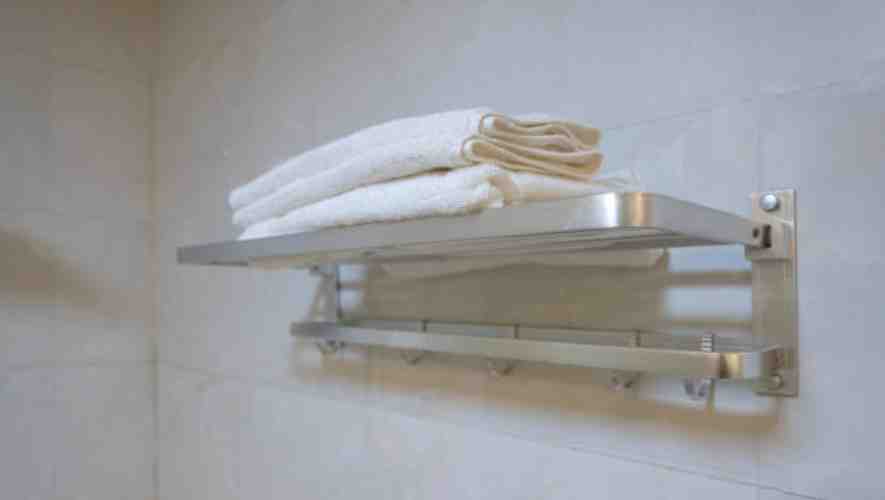
Tips for Ensuring Long-Term Hold
To ensure a long-term hold, regularly inspect the suction cups for wear and tear. Environmental factors like humidity and temperature changes can affect the suction’s effectiveness.
Avoid overloading the shelf and redistribute weight occasionally to prevent strain on any single suction cup.
Tension Rods (if applicable)
Explaining How Tension Rods Can Be Used
Tension rods offer a non-invasive way to install shelves,in tiled areas where drilling is undesirable. They work by creating pressure between two surfaces, holding the rod in place. Tension rods can be used in corners or between two walls, providing a base to rest shelves upon.
Installation Guide
Measure the space where you want to install the tension rod. Select a rod that can extend slightly beyond this measurement for a snug fit.
Clean the contact points on the tiles. Extend the rod against the tiles, adjusting the tension until it is firmly in place. Check for stability before placing any items on the shelf.
Pros and Cons of Using Tension Rods
The primary advantage of tension rods is that they require no drilling, making them perfect for renters or those who prefer not to damage tiles. They are also adjustable and can be easily moved.
Their weight capacity is usually lower than traditional shelving methods, and they may not be suitable for heavy items. Regular adjustment may be necessary to maintain tension.
Additional Tips and Tricks
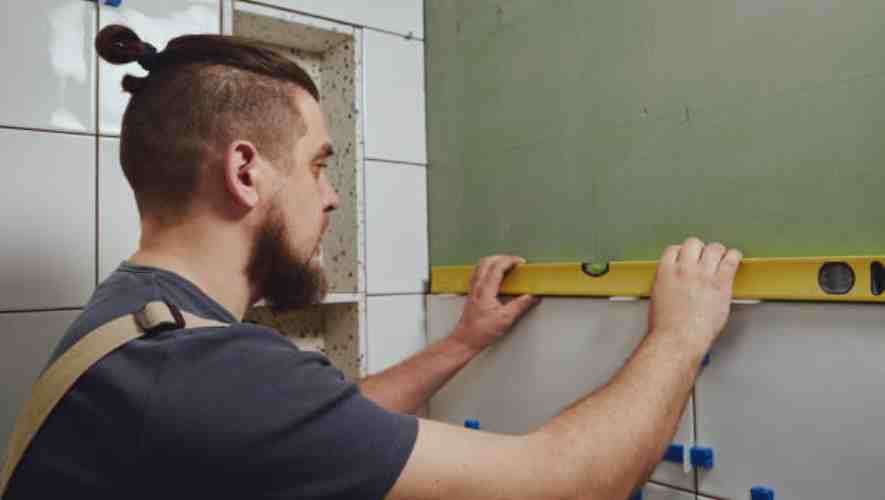
Ensuring Level Installation
When installing shelves or tiles, ensuring a level alignment is crucial. Use a high-quality spirit level for accuracy. Pay attention to both horizontal and vertical alignments. Small misalignments can lead to larger issues over time. Double-check measurements before drilling or setting tiles.
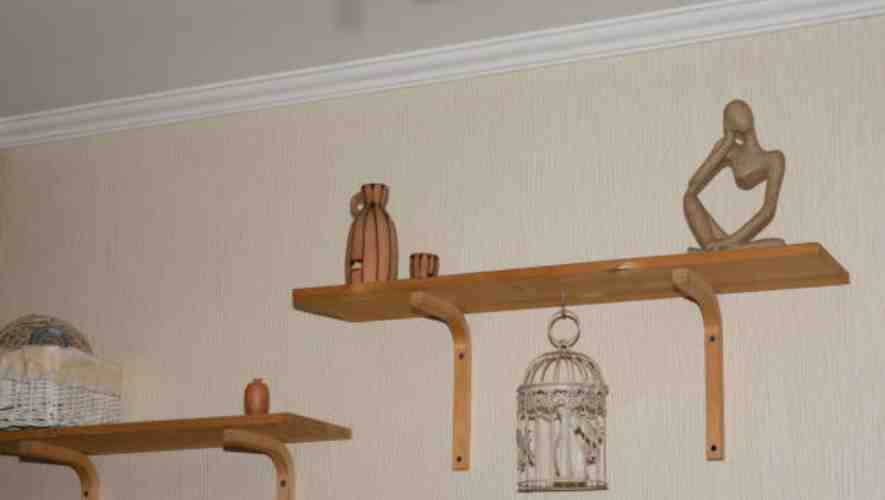
Decorating Tips for Enhancing Aesthetic Appeal
Your decor choices significantly impact the overall look. For shelves, consider a balance of items in terms of size and color. For tiles, use complementary grout colors to add contrast. Experiment with lighting to highlight textures and colors. Keep the style consistent with the room’s overall theme.
Maintenance and Care for Your Shelf and Tile
Regular maintenance ensures longevity and appearance. For shelves, dust regularly and check for signs of wear or damage. For tiles, routine cleaning with appropriate cleaners is key. Avoid harsh chemicals that can damage grout or surface. Inspect grout periodically for cracks or discoloration.
Conclusion
Successfully hanging a shelf on tile without drilling is all about choosing the right method and materials. Adhesive strips and suction cup shelves offer excellent solutions
that are both effective and temporary, perfect for those who prefer a damage-free approach.
As you conclude this journey of setting up your shelf without drilling into your tiles, remember the importance of considering the weight limits and suitability of the chosen method for your specific tiles. Experimenting with different styles and placements can also add a personal touch to your space. Ultimately, the ability to hang shelves without drilling offers a blend of functionality and flexibility, enhancing your living space without leaving any permanent marks. This approach serves as a testament to the creativity and innovation possible in modern home decoration and organization.
