
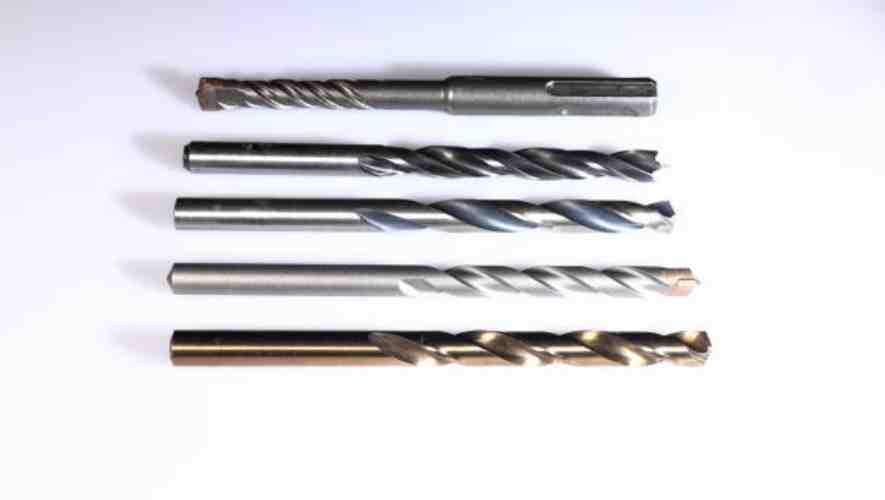
Have you ever found yourself in a situation where your project comes to a halt because a carbide drill bit has snapped off in your workpiece? It’s a frustrating scenario that many DIY enthusiasts and professionals face. In this blog post, we’ll explore the most effective methods to remove a broken carbide drill bit, ensuring you can continue your work with minimal disruption.
How To Remove A Broken Carbide Drill Bit? The key to removing a broken carbide drill bit is to apply steady, controlled force and use the right tools. This may include a center punch, a hammer, and sometimes a specialized extractor tool. Patience and precision are crucial for success without causing further damage to your workpiece.
In the following sections, we’ll dive into step-by-step instructions, tips, and tricks that are not only practical but also easy to follow. Whether you’re a seasoned professional or a beginner, this guide will provide valuable insights and techniques to tackle this common yet challenging problem. Let’s get started and turn this frustrating situation into a learning opportunity!
Safety First: Preparing for the Removal Process
Safety should be the foremost priority in any removal process. This phase involves a thorough assessment of potential hazards and implementing measures to mitigate them.
Effective preparation includes identifying risks, planning escape routes, and ensuring all safety equipment is in working order. It’s crucial to brief all involved personnel about the safety protocols and emergency procedures.
Regular drills and training sessions can significantly enhance safety awareness among the team.
Importance of Personal Protective Equipment (PPE)
Personal Protective Equipment (PPE) is an essential line of defense against workplace injuries. PPE includes items like helmets, goggles, gloves, and protective clothing, designed to minimize exposure to hazards.
It’s vital to choose PPE that complies with safety standards and is suitable for the specific tasks at hand. Regular inspections and maintenance of PPE are crucial to ensure their effectiveness. Educating workers about the correct usage and importance of PPE can greatly reduce the risk of accidents.
Securing the Work Area and the Workpiece
Securing the work area is a critical step in ensuring safety during the removal process. This involves setting up barriers or signage to restrict unauthorized access and prevent accidental intrusions.
The work area should be organized to remove potential trip hazards and ensure clear access to emergency exits. Securing the workpiece itself is vital to prevent unintended movements that could lead to accidents.
Using appropriate clamps, supports, or braces can help stabilize the workpiece and ensure a safer working environment.
Assessing the Situation
Before attempting to remove a broken drill bit, it’s crucial to comprehensively assess the situation. This involves a careful examination of the work environment, understanding the context of the breakage, and considering the tools and resources at hand. This initial assessment sets the foundation for a successful and safe extraction process.
Inspecting the Breakage: How Much of the Bit is Exposed?
The extent of the bit’s exposure is a key factor in determining the extraction method. If a significant portion of the bit is visible, simpler methods like pliers or a vice grip can be effective.
Minimal exposure may necessitate more intricate techniques, such as using a screw extractor or creating a new purchase point for extraction tools.
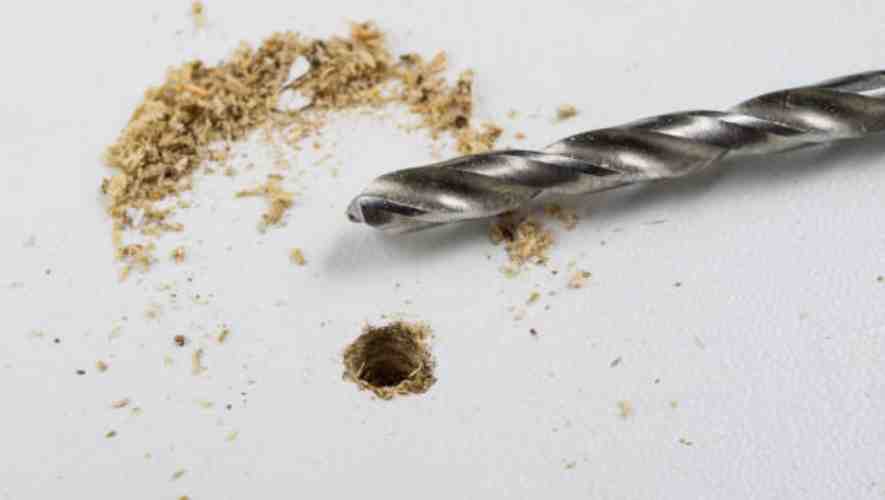
Understanding the Type of Material the Bit is Stuck In
The nature of the material in which the drill bit is lodged significantly affects the extraction process. Soft materials like wood or plastic offer more straightforward removal solutions, whereas harder materials like metal or concrete require more robust methods.
Understanding the material’s properties helps in selecting the appropriate tools and techniques, ensuring minimal damage to the material and the bit.
Evaluating Potential Risks and Complications
Evaluating potential risks is paramount for a safe extraction. This includes considering the possibility of further damaging the material or the bit, as well as personal safety risks. The use of appropriate safety gear and adherence to safety protocols is essential. Understanding when to seek professional assistance can prevent turning a minor issue into a major complication.
Techniques for Removing a Broken Carbide Drill Bit
Using Pliers for Bits with Enough Exposed Surface
To remove a broken carbide drill bit using pliers, first, ensure that the bit has a sufficient exposed surface. Carefully adjust the pliers to grip the bit firmly without applying excessive pressure, which could cause further damage. Gently rotate and pull the bit out, maintaining steady pressure to avoid slipping.
Tips for Ensuring a Firm Grip Without Causing Further Damage
When gripping the broken bit with pliers, wrap the jaws with a thin layer of rubber or cloth to enhance grip and protect the bit. Ensure the pliers are adjusted to match the bit’s diameter closely. Apply steady, controlled force to avoid bending or breaking the bit further.
Using a Punch and Hammer for Flush or Below-Surface Breaks
For a bit of broken flush or below the surface, use a punch and hammer. Carefully align the punch at the center of the bit’s exposed end. Gently tap the punch with a hammer, applying gradual force. This method can help dislodge the bit or create an exposed edge for removal.
Detailed Procedure for Aligning and Using the Punch
Position the punch precisely on the broken bit’s surface, ensuring it’s perpendicular to prevent slippage. Start with light taps to set the punch in place, increasing force as needed. Patience is key to avoid damaging the surrounding material.
How to Apply Force Effectively and Safely
When applying force, start with light taps and increase intensity slowly. Wear safety glasses to protect your eyes from potential debris. Ensure your hands are positioned safely away from the strike zone to prevent injury.
Applying Heat or Cold to Loosen the Bit (If Applicable)
In some cases, applying heat or cold can aid in removing a broken carbide drill bit. Heat causes expansion, while cold causes contraction. This thermal shift can loosen the bit’s grip in the material. Use a heat gun or ice pack, depending on the situation.
Explanation of Thermal Expansion and Contraction
Thermal expansion occurs when materials expand upon heating, while contraction happens when they cool down. This principle can be used to create a slight movement in the materials holding the bit, potentially freeing it.
Instructions on How to Safely Apply Heat or Cold
To apply heat, use a heat gun at a safe distance to avoid overheating the material or the bit. For cold application, wrap an ice pack or apply a cold spray directly to the area around the bit. Monitor the temperature closely to prevent damage to the surrounding area.
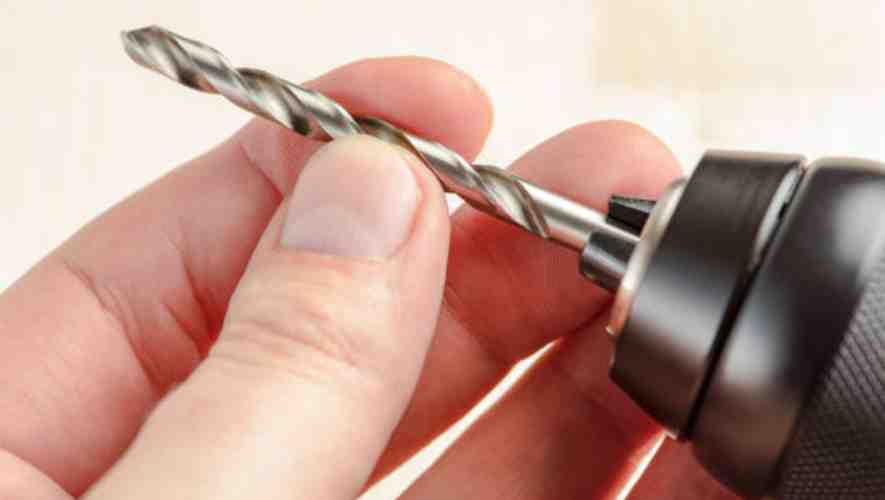
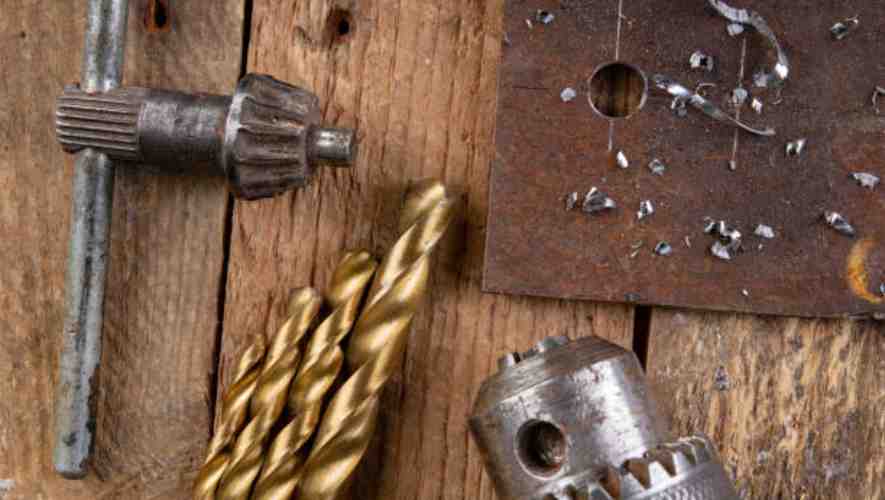
Tools and Materials Needed for Removal
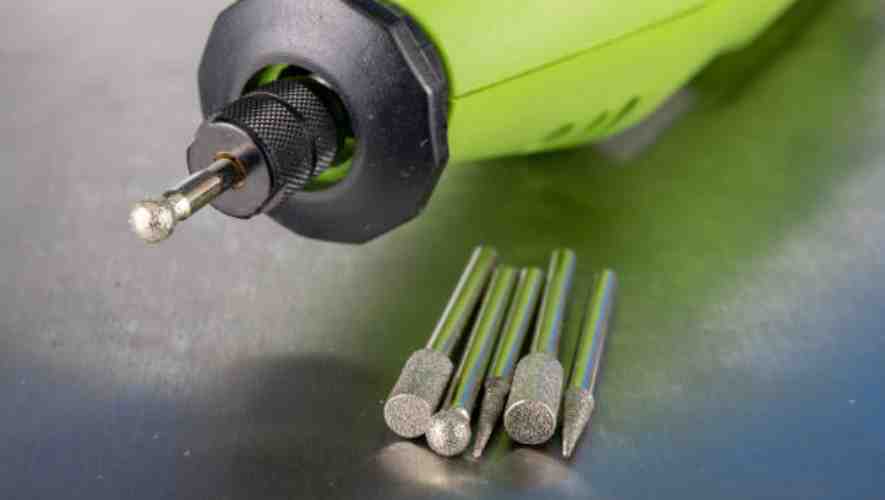
Comprehensive List of Required Tools
For any removal task, a well-prepared toolkit is essential. Key tools include pliers for gripping, a punch for dislodging items, a hammer for applying force, and a lubricant to ease friction. These tools are versatile and can be used across a variety of situations, making them indispensable for any removal process.
Choosing the Right Pliers
Pliers are crucial for gripping and manipulating small or stubborn components. It’s important to select the right type, such as needle-nose for precision work or locking pliers for a firm hold. The correct choice depends on the size and nature of the object being removed, ensuring efficiency and safety.
The Role of a Punch and Hammer
A punch and hammer are often used together to dislodge stuck components. The punch provides a precise point of impact, while the hammer delivers the necessary force. This combination is particularly useful for tasks where precision is as important as power, such as in disassembling machinery.
Importance of Lubricants in Removal
Lubricants play a key role in easing the removal process. They reduce friction and can prevent damage to both the tool and the component. Selecting the appropriate lubricant – be it oil, grease, or a specialized formula – can significantly enhance the efficiency and effectiveness of the removal process.
Tailoring Tools to Specific Situations
The success of a removal task often hinges on using the right tools for the specific situation. Factors such as the material, size, and location of the component being removed dictate the tool choice. Understanding these nuances ensures a smooth and successful removal, minimizing potential damage and effort
Aftercare: Inspecting and Preparing for Future Work
Inspecting the Workpiece and Tool Holder for Damage
After completing a task, it is crucial to inspect the workpiece and tool holder for any signs of wear or damage.
This step ensures the longevity of your tools and the quality of your work. Look for cracks, deformations, or unusual marks that could indicate stress or misuse.
Regular inspection helps in identifying issues before they escalate, ensuring that both the tool and workpiece remain in optimal condition for future use.
Tips for Preventing Future Breakages
To avoid future breakages, it is essential to select the correct drill bit for the material you are working with.
Regular maintenance, such as sharpening drill bits and ensuring tools are clean and properly lubricated, also plays a critical role.
Using the right speed and feed rate for the material can prevent undue stress on the tools. Adhering to these practices not only extends the life of your tools but also enhances safety and efficiency.
When to Seek Professional Help or Consider Replacing the Workpiece
If you encounter persistent issues or damage that seems beyond basic repair, it may be time to seek professional help.
Professionals can provide expert advice and repair services that can save both time and resources in the long run.
If a workpiece shows signs of severe damage or structural compromise, it might be more cost-effective and safer to replace it. Understanding when to seek help or replace parts is key to maintaining a high standard of work and ensuring operational safety.
Conclusion
Successfully removing a broken carbide drill bit requires patience, the right tools, and a methodical approach. Follow the steps outlined in this blog to efficiently and safely extract the bit without damaging your workpiece.
In conclusion, dealing with a broken drill bit is undoubtedly challenging, but it’s not insurmountable. With the right approach and tools, you can overcome this hurdle and continue your project with confidence. Remember, it’s all about taking your time, applying the correct techniques, and being prepared for such scenarios. By following the advice and methods shared in this blog, you’ll be well-equipped to handle this issue whenever it arises in your future projects. Happy drilling!
