
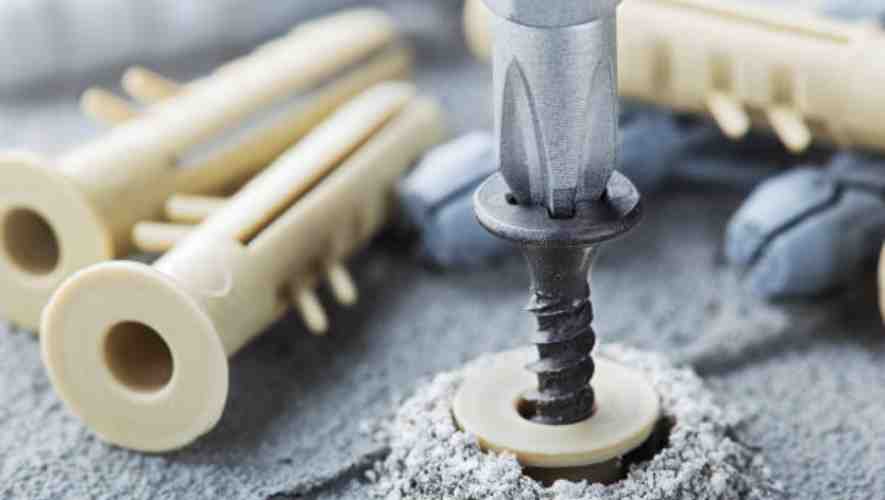
Have you ever found yourself staring at a stubborn screw, unable to get it out with your standard screwdriver? You’re not alone. Removing screws can sometimes be a frustrating task, when they’re stripped, rusted, or tightly fixed. This is where knowing how to use a drill to remove screws comes in handy, offering a more efficient and less physically demanding solution.
How To Use A Drill To Remove Screws? Removing screws with a drill is straightforward and efficient. It involves selecting the right drill bit, setting the drill to reverse mode, and gently applying pressure. This method is ideal for dealing with stubborn, stripped, or corroded screws.
In this guide, we’ll dive into the details of using a drill for screw removal. Whether you’re a DIY enthusiast or facing an unexpected repair, you’ll find practical tips and techniques to make the task easier. By the end of this blog, you’ll be equipped with the knowledge to tackle those pesky screws with confidence, saving time and effort.
Understanding the Basics
Drills are versatile tools essential for various DIY projects and professional tasks. They function primarily to create holes in different materials or to fasten objects together. Modern drills come in various designs, catering to specific needs and materials. Their use ranges from simple home repairs to complex industrial applications. Understanding the basics of drills is crucial for selecting the right tool for your task.
A drill is a tool used for making round holes or driving fasteners. It’s commonly fitted with a bit, either a drill or driver, depending on its application. The working principle of a drill involves a rotating movement that cuts into the material, like wood or metal. Drills vary in power sources, sizes, and functionalities. They are indispensable in carpentry, metalworking, construction, and many other fields.
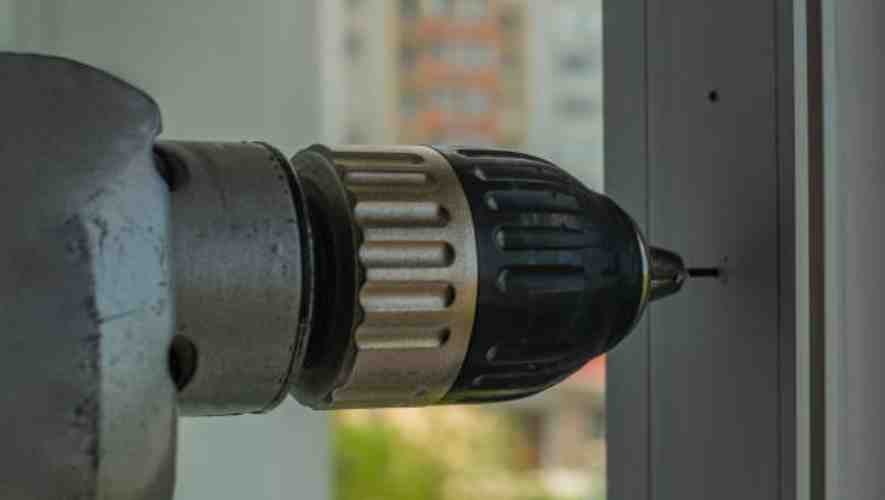
Corded drills offer consistent power supply and are typically more powerful than their cordless counterparts. They are ideal for heavy-duty tasks and continuous use. The reliance on a power outlet limits mobility but ensures steady performance for extended periods.
Cordless drills provide greater mobility due to their battery-powered design. They are perfect for tasks that require movement or where access to a power outlet is limited. While they offer convenience, their power and runtime depend on battery life, which varies across models.
Other drill types include hammer drills, for drilling into concrete and masonry, and rotary drills, for more heavy-duty applications. Each type is tailored for specific materials and uses, highlighting the importance of choosing the right drill for your project.
Screws are as varied as the materials and applications they are used for. Common types include wood screws, designed with sharp threads to grip into wooden materials. Machine screws, used in conjunction with nuts, are for metal and other hard materials. Drywall screws have a coarse thread for attaching drywall to wood or metal studs. Understanding screw types is essential for ensuring secure fastening and optimal results in your projects.
Tools and Materials Needed To Remove Screws
Required Tools
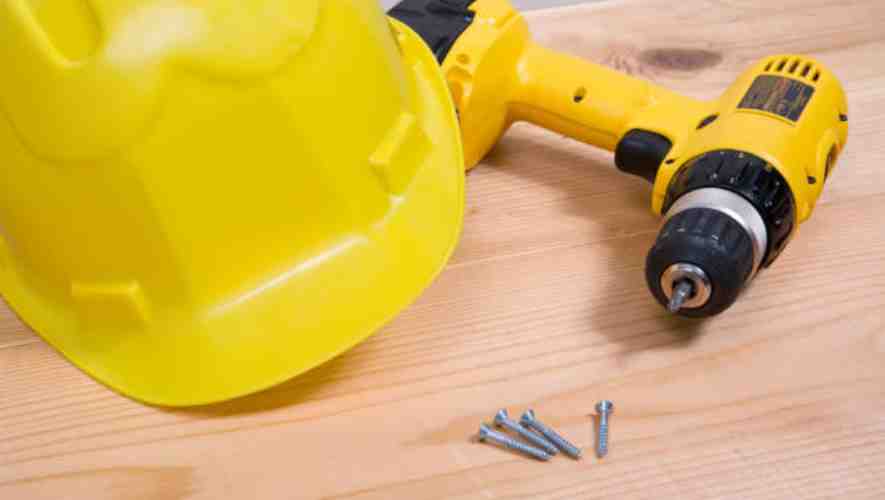
When undertaking any project, having the right tools is crucial for both efficiency and precision. Essential tools include a high-quality drill, an assortment of drill bits suited for different materials, a sturdy hammer, and a reliable screwdriver set.A tape measure and a level are indispensable for ensuring accurate measurements and alignments. These tools form the foundation of a well-equipped toolkit, enabling you to tackle a wide range of tasks with confidence.
Recommended Protective Materials
Safety is paramount in any project. To safeguard yourself, it is highly recommended to use protective materials. Durable gloves protect your hands from abrasions and improve grip. Safety goggles are essential to shield your eyes from debris,when drilling or cutting. Wearing a dust mask is advisable to avoid inhaling particulates.Ear protection is important when using loud power tools. Lastly, a sturdy pair of work boots can provide both comfort and protection for your feet during long hours of work.
Step-by-Step Guide to Removing Screws with a Drill
Positioning the Drill
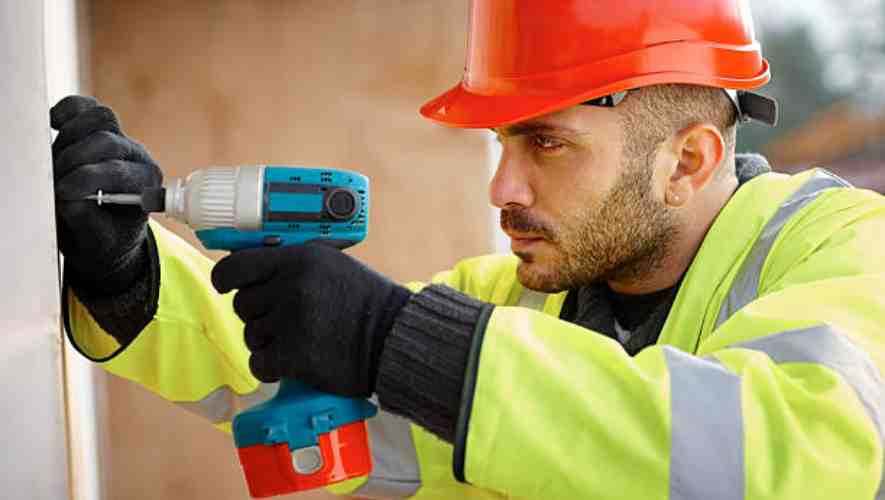
Before attempting to remove a screw with a drill, ensure the drill is positioned correctly. Hold the drill firmly and align it with the axis of the screw. This ensures maximum control and precision. Keeping your hand steady, position the drill bit directly above the screw head. Make sure your stance is balanced to apply even pressure during the process.
Setting the Correct Drill Speed and Torque
The drill speed and torque setting are crucial for efficient screw removal. Set your drill to a lower speed setting; this provides better control and reduces the risk of stripping the screw head. Adjust the torque setting according to the size and material of the screw. A higher torque may be necessary for larger or tighter screws, but be cautious to avoid damaging the screw or surrounding material.
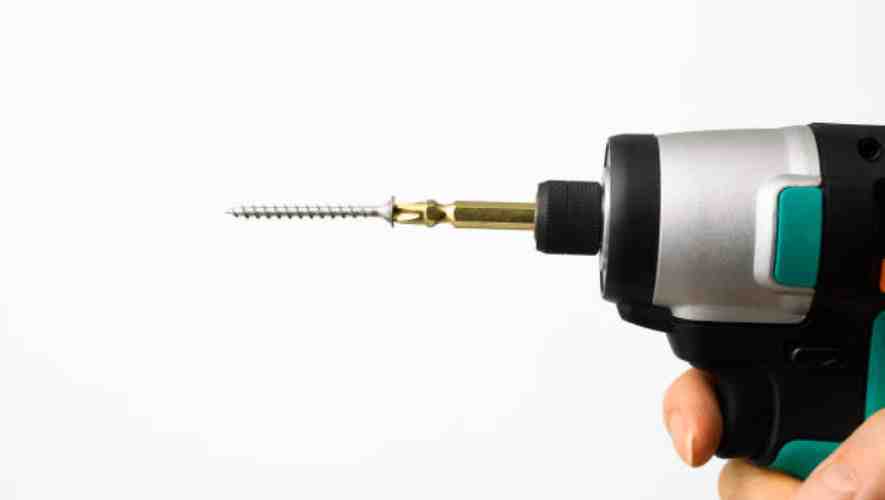
Aligning the Drill Bit with the Screw
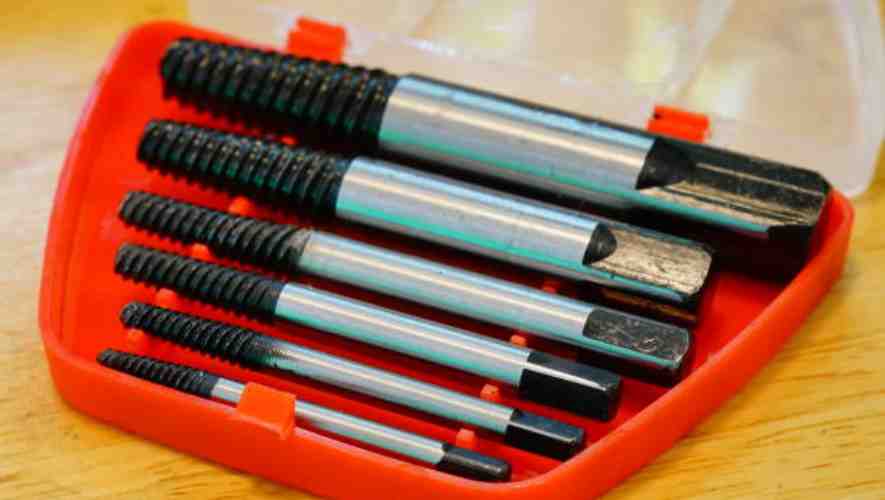
Choose a drill bit that fits the screw head snugly. A mismatched bit can slip and damage the screw head, making it harder to remove. Carefully insert the bit into the screw head, ensuring it sits firmly. If the screw head is damaged, you may need a specialized extractor bit. This step is critical for maintaining the integrity of the screw and the surface it’s attached to.
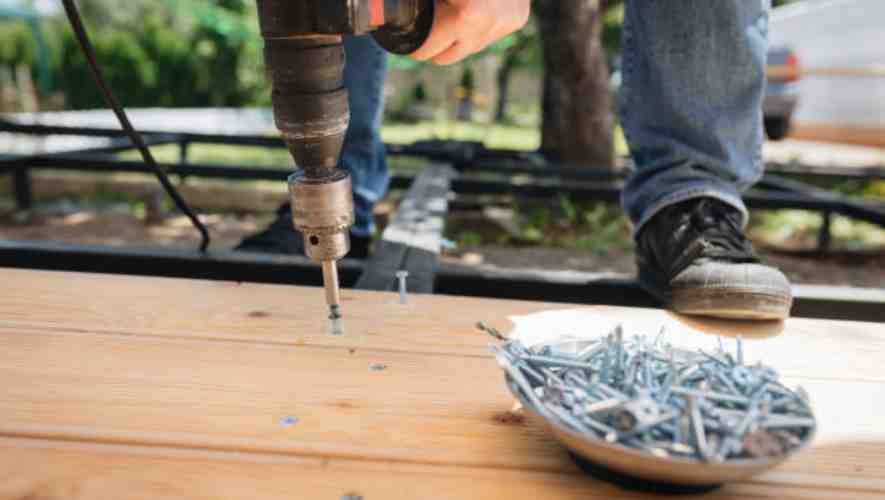
Gently Applying Pressure to Remove the Screw
Start the drill at a slow speed, gently applying steady pressure. The goal is to let the drill bit catch onto the screw head securely before increasing speed. Do not force the drill; let the bit do the work. If the screw doesn’t budge, stop and reassess rather than applying more force, as this could break the screw or damage the drill bit.
Tips for Dealing with Stubborn Screws
For screws that are difficult to remove, apply penetrating oil around the screw head and let it sit for a few minutes to loosen any corrosion. If the screw head is stripped, use a screw extractor bit or tap a small flat-head screwdriver into the screw head with a hammer for extra grip. Patience and the right tools are key when dealing with stubborn screws. If the screw still won’t come out, consider consulting a professional to avoid further damage.
Safety Precautions
Before beginning any drilling project, it is crucial to prioritize safety. Ensure you are wearing appropriate protective gear, including safety goggles, gloves, and ear protection, to safeguard against potential hazards.Check your workspace to ensure it’s clear of any obstacles or flammable materials. A well-organized and hazard-free area not only enhances safety but also increases the efficiency of your work.
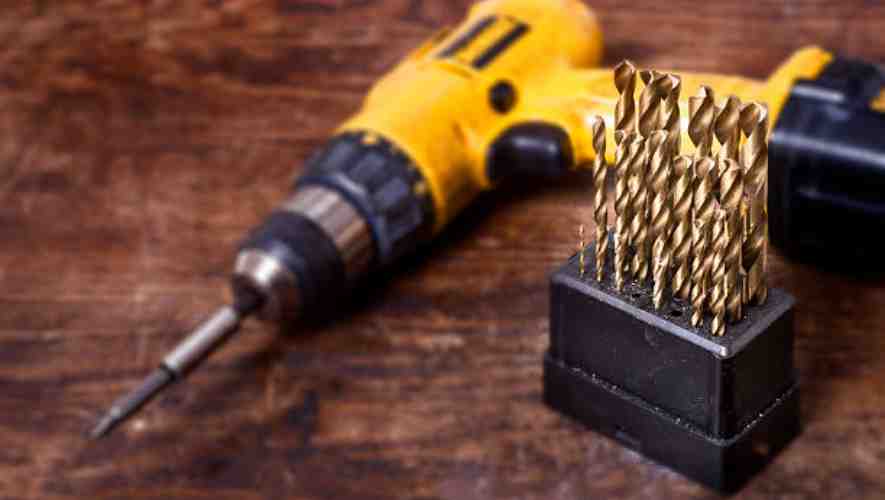
Selecting the Right Drill Bit
Choosing the correct drill bit is vital for the success of your project. The material you plan to drill into—be it wood, metal, or masonry—dictates the type of bit required. For instance, use twist bits for general purpose drilling in wood or metal, and masonry bits for concrete. Always inspect the bit for any signs of wear or damage before use, as a compromised bit can lead to poor results and potential safety risks.
Setting Up the Work Area
Preparing your work area is an essential step in ensuring a successful and safe drilling operation. Begin by securing the material you will be drilling into, using clamps or a vice to keep it stable. Ensure the drill is in good working condition and that you have all necessary accessories within reach. A well-lit and uncluttered workspace not only enhances precision in your work but also significantly reduces the risk of accidents.
Common Mistakes to Avoid
Over-tightening or Stripping the Screw
A common pitfall in screw assembly is over-tightening, which can lead to stripped screws and damaged materials. This occurs when excessive force is applied, surpassing the screw’s torque limit. To avoid this, use a calibrated torque screwdriver and maintain a firm, steady pressure. It’s crucial to select the right screw size and type for the material, ensuring a secure fit without over-exertion.
Using the Wrong Drill Bit
Selecting the appropriate drill bit is critical for effective and safe drilling. Using the wrong bit can result in poor performance, damage to the material, or even personal injury. It’s important to match the bit to the material, considering factors like hardness, thickness, and the type of screw being used. Regularly inspect and replace worn bits to maintain precision and safety in your work.
Ignoring Safety Precautions
Safety should always be the top priority in any drilling or screwing project. Ignoring basic safety precautions can lead to accidents and injuries. Always wear protective gear, such as safety glasses and gloves, and ensure your workspace is well-lit and free of hazards.Familiarize yourself with your tools’ safety features and guidelines to prevent mishaps and ensure a safe working environment.
Advanced Tips
Advanced Tips for Removing Damaged or Stripped Screws
Removing damaged or stripped screws requires precision and patience. Start by applying penetrating oil to ease the screw’s release. If a screwdriver doesn’t work, use a manual screw extractor, applying steady pressure to avoid further damage. For tiny screws, consider using a left-handed drill bit. Always work slowly to prevent the screw from breaking off inside the material.
Techniques for Specific Screw Types or Materials
Different screw types and materials demand specialized removal techniques. For brass screws, heat can be effective, but use caution to avoid melting. Stainless steel screws, prone to seizing, benefit from vibration or shock techniques. With wood screws, a rubber band between the screw and driver can enhance grip. Always match your technique with the screw type for optimal results.
Recommendations for High-Efficiency Drills or Accessories
For high-efficiency drilling, invest in a quality cordless drill with variable speed control and high torque settings. Look for drills with brushless motors for longer life and better performance. Magnetic bit holders and sharp, high-quality drill bits are essential for precise work. For tough materials, consider cobalt or carbide-tipped bits. Regular maintenance of your tools ensures consistent performance.
Maintenance and Care of Your Tools
Proper maintenance of tools is essential for ensuring their longevity and optimal performance. Regular care not only extends the life of your tools but also maintains their efficiency and safety. This involves routine checks, cleaning, proper storage, and immediate attention to any signs of wear and tear. By adopting these practices, you can significantly reduce the likelihood of tool failure and work-related accidents.
Proper Cleaning and Storage of Drills
To maintain the effectiveness of drills, it’s crucial to clean them after each use. Remove any debris or dust from the drill bits and body using a soft brush or air blower. Ensure the chuck is free from grime, as this can affect bit stability. For storage, keep drills in a dry, dust-free environment, ideally in their original case or a dedicated tool organizer. This prevents rusting and damage from environmental factors.
Routine Maintenance Tips for Longevity and Safety
Regular maintenance of your tools,drills, is vital for both longevity and safety. Periodically check for loose components, such as screws or bits, and tighten them as necessary. Lubricate moving parts to prevent friction and wear. Inspect electrical cords for damage and ensure battery-operated drills are charged properly. Following these routine maintenance tips not only extends the life of your tools but also ensures a safer working environment
Conclusion
Using a drill to remove screws is a skill that simplifies many DIY tasks and repairs. The key lies in choosing the right drill bit, setting the correct speed, and applying steady pressure.
To sum up, using a drill for screw removal is a handy skill that can make your DIY projects and home repairs much smoother. It’s a method that combines efficiency with simplicity, suitable for various types of screws and materials. Remember, the right tools and techniques are your best allies in these tasks. With practice, you’ll find that removing screws with a drill becomes a quick and effortless part of your DIY routine. So next time you’re faced with a challenging screw, reach for your drill and remember these tips. Happy drilling!
