

Are you facing the challenge of fastening pieces of wood together but unsure how to do it efficiently? It’s a common stumbling block for many DIY enthusiasts or those just starting in woodworking. The task may seem daunting, but with the right tools and techniques, it becomes a straightforward process. In this guide, we’ll explore the use of a drill for screwing into wood, a skill that, once mastered, can significantly ease your woodworking projects.
How To Use A Drill To Screw Into Wood? Knowing how to use a drill to screw into wood is essential for any DIY or woodworking project. It involves selecting the right drill and screw, marking the spot, drilling a pilot hole, and then carefully driving the screw into place. Mastering this technique ensures strong, precise, and secure wooden constructions.
The upcoming sections will dive deep into choosing the right drill and screws, preparing the wood, and the step-by-step process of screwing into wood with a drill. By the end of this blog, you will not only grasp the basics but also pick up tips and tricks to refine your technique. Let’s embark on this journey to enhance your woodworking skills and ensure your projects are not only successful but also enjoyable.
Understanding the Tools and Materials
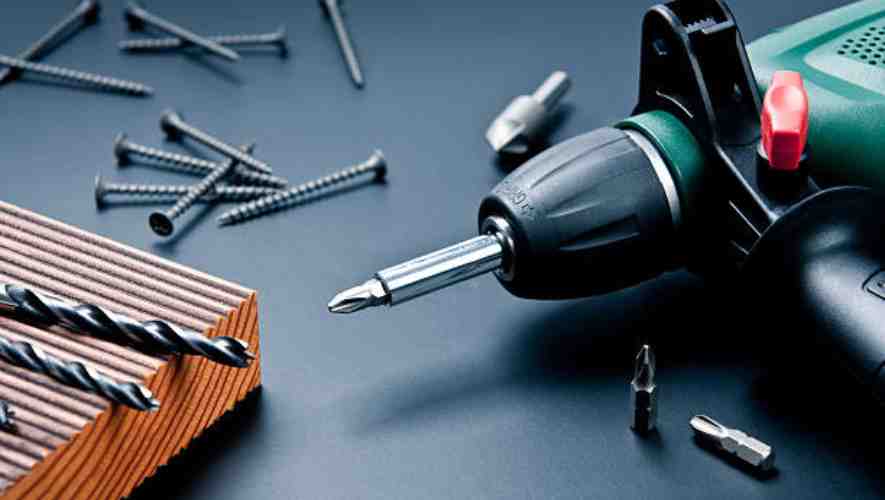
Drills are essential tools in woodworking, available in corded and cordless models. Corded drills offer constant power supply and are ideal for heavy-duty tasks, whereas cordless drills provide mobility and ease of use for lighter tasks.
Key features of a drill include its power output, measured in watts for corded drills and volts for cordless, speed control for different drilling requirements, and the chuck type, which determines the size and type of drill bit it can accommodate.
Drill bits for wood are specifically designed to cut through wood efficiently. Common types include twist bits, spade bits, and Forstner bits, each serving different purposes, like creating small holes, large flat-bottomed holes, or precise clean cuts, respectively.
Choosing the right size depends on the nature of the project; for precision tasks, smaller diameter bits are ideal, while larger bits suit projects requiring bigger holes or deeper penetrations.
There are various screws and fasteners tailored for woodworking, including wood screws, sheet metal screws, and drywall screws. Wood screws are generally used for connecting pieces of wood. When selecting screws, consider the type of wood, the weight it needs to support, and whether the project is for indoor or outdoor use, as this dictates the material of the screw (like stainless steel for moisture resistance).
Preparatory Steps
Safety First
Personal Safety Gear (Goggles, Gloves): Prioritizing safety is paramount in any woodworking project. Personal protective equipment, such as goggles and gloves, is essential to shield against potential hazards.
Goggles protect your eyes from sawdust and debris, while gloves guard your hands from splinters and cuts. Wearing these safety gears not only minimizes the risk of injury but also enhances focus and efficiency during work.
Ensuring a Safe Working Environment
An organized and hazard-free workspace is crucial for safety and productivity in woodworking. This involves maintaining a clean area, free of clutter and loose materials that might cause trips or falls.
Adequate lighting and ventilation are necessary to ensure visibility and reduce the inhalation of dust. Regularly checking tools for wear and tear and ensuring they are in good working condition also forms a part of this safety protocol.
Preparing the Wood
Choosing the Right Wood
Selecting the appropriate wood type is a critical step in your project. The choice depends on the desired finish, durability, and the project’s purpose. Hardwoods like oak and maple are ideal for furniture due to their strength and longevity, while softer woods like pine are suitable for decorative pieces.
Always inspect the wood for defects such as knots, cracks, or warping to ensure the quality of your final product.
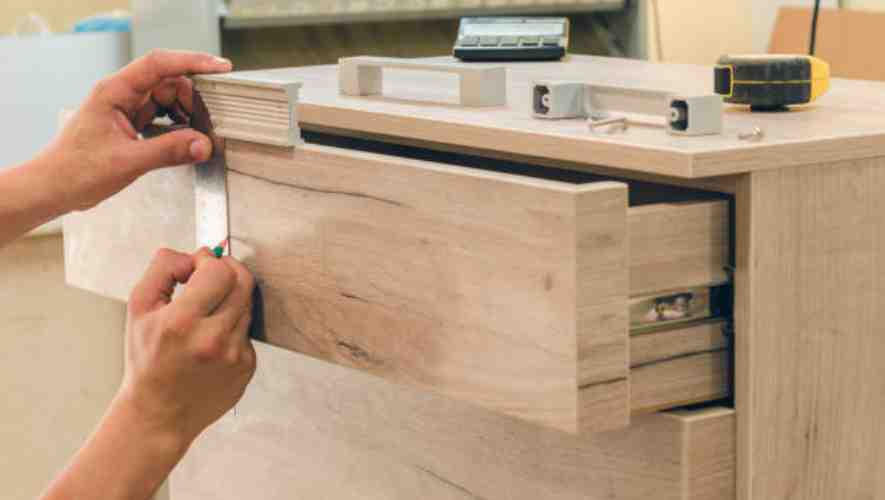
Marking the Spot for Drilling
Accurate marking before drilling is essential for precision in woodworking. This step involves measuring and marking the exact points where holes are to be drilled, ensuring they align with the design specifications.
Use a sharp pencil or marking knife for clear and precise marks. A measuring tape, ruler, or a template can be used to ensure symmetry and alignment, which is vital for the structural integrity and aesthetic appeal of your work.
Drilling into Wood: Step-by-Step Guide
Drilling into wood requires precision and understanding of the material and tools. Whether you’re a professional or a DIY enthusiast, following a step-by-step guide ensures your project’s success. In this guide, we’ll explore the intricacies of drilling into wood, focusing on preparing the drill, creating a pilot hole, and finally, securing a screw into the wood.
Setting up the Drill
Inserting and Securing the Drill Bit
Begin by choosing the appropriate drill bit for your wood type and project size. Insert the bit into the drill’s chuck, ensuring it is centered. Tighten the chuck securely to prevent the bit from wobbling or disengaging during the drilling process.
Adjusting Torque and Speed Settings
Adjust the torque setting based on the hardness of the wood; higher torque is necessary for harder woods. Set the drill speed according to the task at hand; slower speeds are ideal for precision, while higher speeds work well for drilling through softer wood quickly.
Drilling the Pilot Hole
Aligning the Drill
Position the drill perpendicular to the wood surface. Use a speed square or a carpenter’s square to ensure the drill is at a 90-degree angle, guaranteeing a straight and accurate pilot hole.
Applying Steady Pressure
Gently press the drill trigger, and apply steady, moderate pressure. Let the drill do the work; forcing it can cause the bit to bind or the wood to splinter.
Depth of the Pilot Hole
Determine the appropriate depth for the pilot hole—it should be slightly deeper than the length of the screw. You can use a piece of tape on the drill bit as a depth marker to ensure consistent and accurate drilling.
Screwing into the Wood
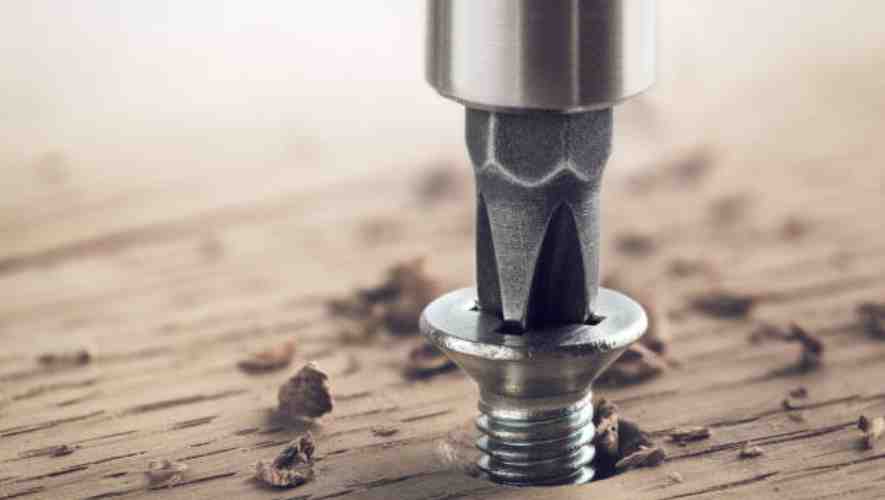
Choosing the Right Screwdriver Bit
Select a screwdriver bit that perfectly fits the screw head. An improper fit can strip the screw head or cause the bit to slip, resulting in a less secure fastening and potential damage to the wood.
Aligning the Screw with the Pilot Hole
Carefully position the screw at the pilot hole’s entrance. Ensure it’s perfectly aligned to avoid wood splitting or screw misalignment, which can weaken the joint.
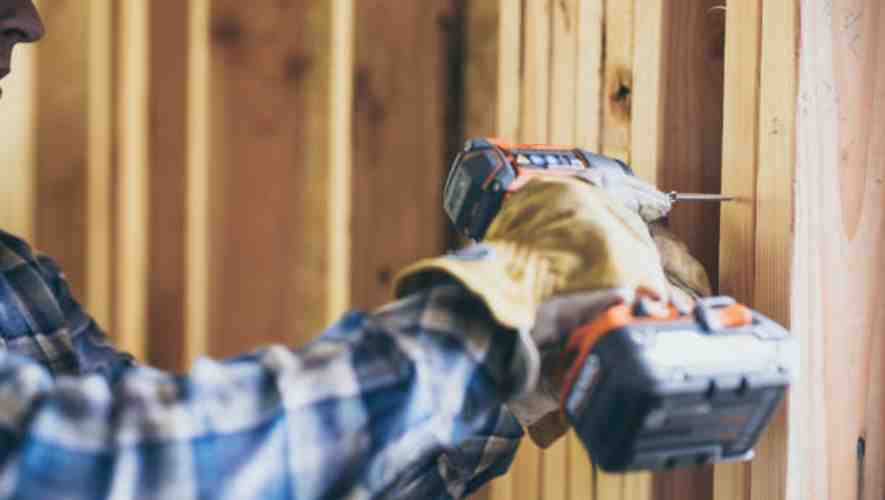
Applying Pressure and Speed
Begin screwing with a slow speed, applying firm and consistent pressure. As the screw tightens, you may need to increase the pressure to ensure the screw is flush with or slightly countersunk into the wood, providing a clean, professional finish.
Advanced Tips and Tricks
Angled Drilling Techniques
When drilling at an angle, precision is key. Start with a pilot hole to guide your drill bit. Utilize specialized angled drill guides for consistency. Remember, the angle should be marked clearly on your workpiece. Practice on scrap wood first to perfect your technique. This way, you can avoid common errors and achieve a smoother, more accurate finish.
Dealing with Hardwood
Hardwoods, known for their density, require special handling. Pre-drilling holes is essential to prevent cracking. Use sharp, high-quality drill bits and maintain a steady, moderate speed. Lubrication can help reduce friction and heat buildup. Understanding the grain direction of the hardwood can also guide your drilling process for cleaner, splinter-free holes.
Avoiding Common Mistakes (like splitting the wood)
To avoid splitting, never drill too close to the edge of your wood piece. Ensure your drill bits are sharp and appropriate for the wood type. Gradual progression in drill bit sizes can prevent shock to the material. Avoid pushing too hard; let the drill do the work. Regular checks for alignment and depth will help maintain accuracy and prevent common drilling errors.
Maintenance and Care for Your Drill
Cleaning and Storing Your Drill
Maintaining the cleanliness and proper storage of your drill is crucial for its longevity and performance. After each use, wipe the drill with a clean, dry cloth to remove dust and debris. Ensure that the air vents are free of blockages, which can cause overheating.
Store the drill in a dry, cool place, ideally in its original case or a padded tool bag. Avoid exposing it to extreme temperatures and moisture, as this can damage the internal components and the battery, if it’s a cordless model.
Regular Maintenance Checks
Regular maintenance checks are essential to keep your drill in top working condition. Every few months, inspect the cord for any damage or wear, and check the plug and socket for any signs of overheating or corrosion, for corded drills.
For battery-operated drills, ensure the battery contacts are clean and free from corrosion. Lubricate any moving parts as per the manufacturer’s instructions. Also, test the chuck and clutch settings to ensure they are functioning correctly, as these are crucial for accurate drilling.
Replacing Drill Bits
Timely replacement of drill bits is key to efficient drilling and safety. Inspect your drill bits regularly for signs of dullness, wear, or damage. Blunt or damaged bits can make drilling more difficult and potentially dangerous.
Understand the type of bits your drill needs and the materials they are suited for. Always use the correct bit for the material you’re drilling into to prevent damage. When replacing bits, ensure they are securely fastened in the chuck and aligned properly to avoid wobbling or breaking during use.
Conclusion
In summary, using a drill to screw into wood is a fundamental skill that enhances the quality and durability of your woodworking projects. By selecting the appropriate tools, marking your wood accurately, drilling pilot holes, and carefully driving the screws, you can achieve strong and precise assemblies.
Woodworking is an art that requires patience, precision, and the right technique. As you practice using a drill to screw into wood, you’ll find that your projects become more robust and your skills more refined. Remember, every piece of wood has its story, and with each screw you drive in, you’re not just building; you’re creating. So, take your time, enjoy the process, and let your woodworking projects be a reflection of your dedication and craftsmanship.
